There are a lot of ARM microcontrollers out there, and the parts from ST are featured prominently is the high-power builds we’re seeing. The STM32F4 and ~F7 are powerhouses with great support, and the STM32F0 and the other younger children of the family make for very good, low-power microcontrollers. Now, the STM32 family is getting a big brother. It runs Linux. It’s two ARM Cortex-A7 cores and one M4 core on the same chip. The STM32MP1 is the chip you want if you still can’t figure out how to waste computing cycles by blinking LEDs.
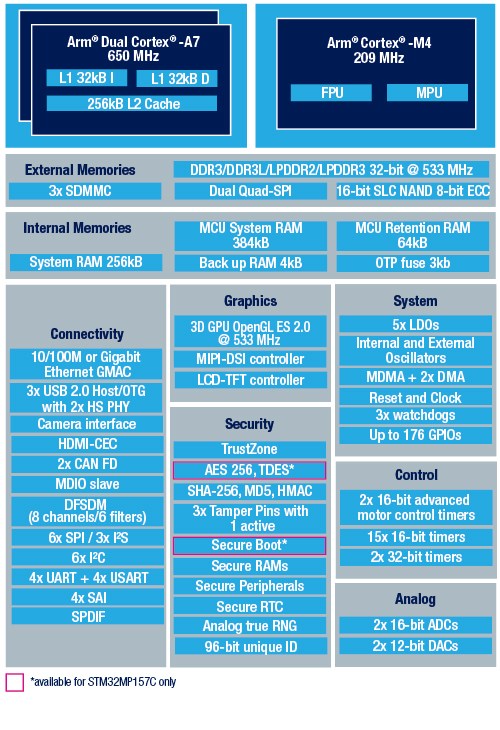
First, that Linux support. The STM32MP157C was mainlined into Linux last summer, and there is support for Android. So yes, this chip can run Linux. There is an optional 3D GPU in this family, a MIPI-DSI controller, support for HDMI-CEC, USB 2.0, and 10/100M or Gigabit Ethernet. This brings us the inevitable question of whether you can build a Raspberry Pi clone with these parts. Maybe, champ, but if you’re asking that question it’s probably not you that’s going to build one. It looks as if this chip is designed for phones, set-top boxes, and smart TVs. That doesn’t preclude a single board computer, but the biggest problem there is maintaining software support anyway.
The chip family in question all come with dual ARM Cortex-A7 processors running at a nominal 650MHz. There’s also a Cortex-M4 running at 209MHz, and the ST literature suggests that engineers are already running Linux on the A7 and an RTOS on the M4. This chip will need external memory, but DDR3 / DDR3L / LPDDR2 / LPDDR3 are supported.
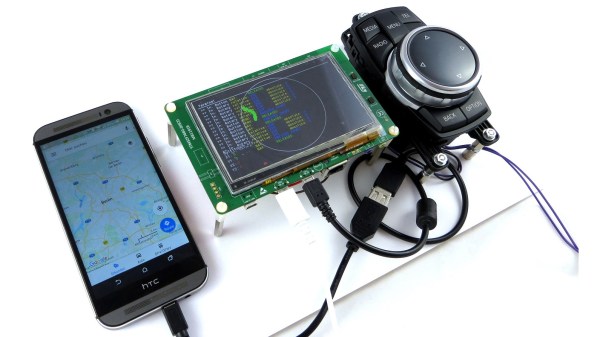
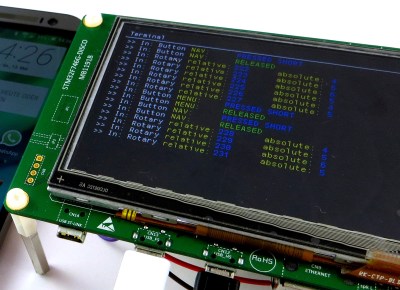
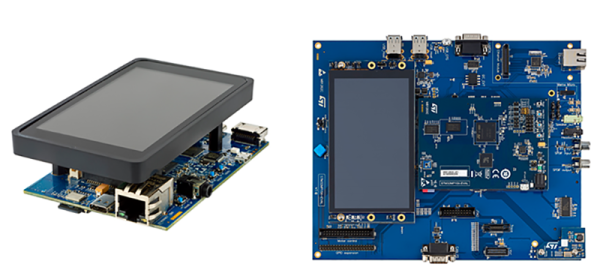
This chip is only announced right now, you can’t get it on Mouser or Digikey yet, and there’s no information on pricing. However, there are two development boards available, the Evaluation board, which features 1 GB of DDR3L, 128 MB of Flash, and an 8 GB eMMC. There’s a 5.5″ display, and enough connectors to make your heart flutter. The Discovery board is a bit more cut down, and comes with a 4″ 480×800 LCD, WiFi, Bluetooth LE, and of course it comes with GPIO expansion connectors for an Arduino and Raspberry Pi. The Discovery Board is not available at this time, but it will sell for $99 USD.