Kyleigh has an eye-controlled computer on her wheelchair but something as simple as her bedroom door was still beyond her reach… until now! [Bill Binko], recently filmed a demo of an automatic, IoT door opener built for the young girl with cerebral palsy. [Bill] is a co-founder of ATMakers, an organization that enables makers interested in assistive technologies to collaborate with users to improve quality of life.
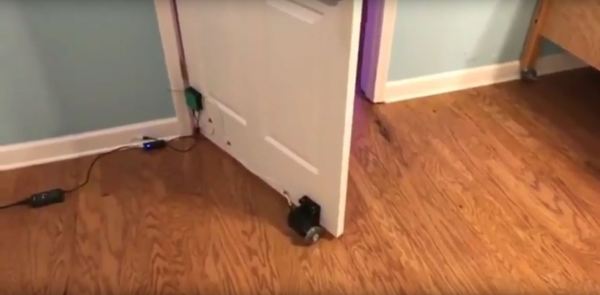
Using her eye tracking tablet (PRC Device), Kyleigh has two new icons that make the relevant call to a website, pushing a simple command to either open or close her bedroom door. The device attached to the door uses an Adafruit M0 WiFi Feather board, a DC stepper motor and wheel, a UBEC buck converter, and a potentiometer.
Since other family members are also going to be opening and closing the door, there’s potentiometer which measures the door position for proper operation next time Kyleigh wishes to use the door. The installation also maintains a fairly inconspicuous profile for the assistance it gives — the ‘brain’ is enclosed in a small box on the door, with the motor only slightly larger on the door’s base.
[Bill] believes the project has a few quibbles and wants to work out a smaller wait before the open/close process is executed and optimizing the open/close speed. You have to check out the video below to see that it works really really. We’re also excited to see Kyleigh using her gaze control to talk to an Amazon Echo. [Bill] foresee a door control improvement that links it to Alexa. And how much did it cost to improve the quality of life for this young girl? $70.
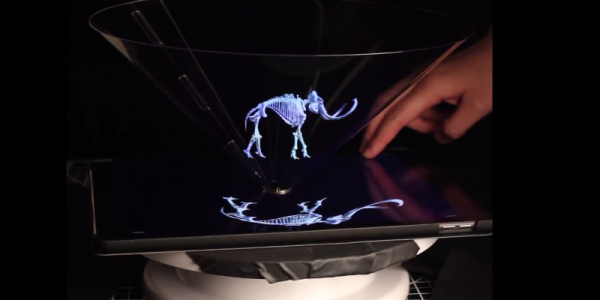
We love seeing makers help people, and cannot wait to see what 2018 will bring! If you’re looking for more inspiration, don’t miss the eye-controlled wheelchair project called Eyedrivomatic which won the 2015 Hackaday Prize. There’s also the top Assistive Technology projects from the Hackaday Prize.
Continue reading “IoT Doorman: Eye-Controlled Door For A Girl With Cerebral Palsy”