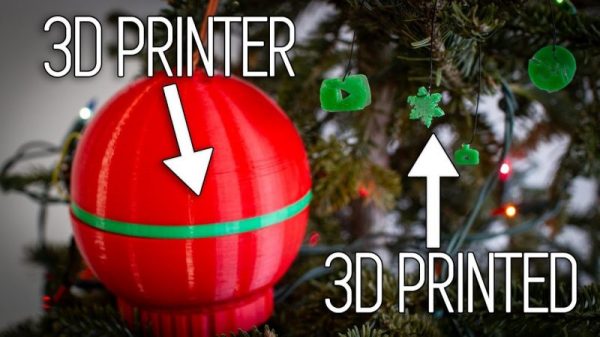
Sure there are the occasional functional Christmas tree ornaments; we had one that plugged into the lights and was supposed to sound like a bird gently trilling its song, but was in fact so eardrum-piercing that we were forbidden from using it. But in general, ornaments are just supposed to be for looks, right? Not so fast — this 3D-printed ornament has a 3D-printer inside that prints other ornaments. One day it might just be the must-have in functional Christmas decor.
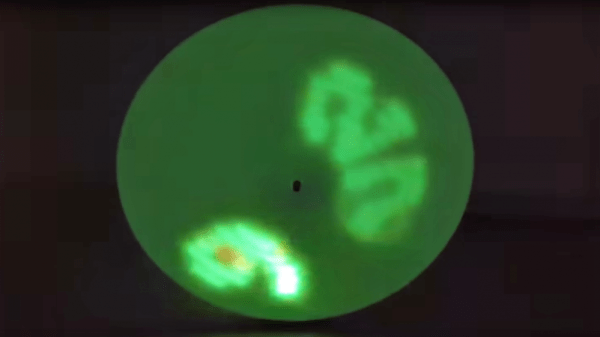
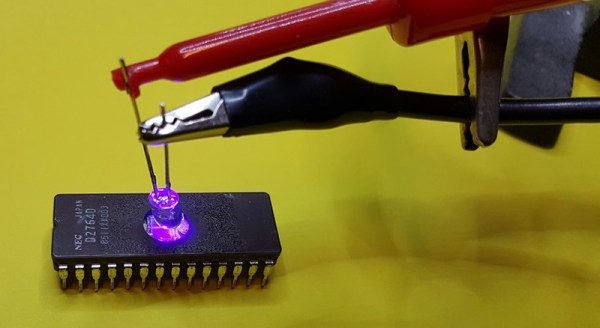
Given that [Sean Hodgins] had only a few days to work on this tree-dwelling 3D-printer, the questionable print quality and tiny print volume can be overlooked. But the fact that he got this working at all is quite a feat. We were initially surprised that he chose to build a stereolithography (SLA) printer rather than the more common fused deposition modeling (FDM) printer, but it makes sense. SLA only requires movement in the Z-axis, provided in this case by the guts of an old DVD drive. The build platform moves in and out of a tiny resin tank, the base of which has a small LCD screen whose backlight has been replaced by a bunch of UV LEDs. A Feather M0 controls the build stage height and displays pre-sliced bitmaps on the LCD, curing the resin in the tank a slice at a time.
Results were mixed, with the tiny snowflake being the best of the bunch. For a rush job, though, and one that competed with collaborating on a package-theft deterring glitter-bomb, it’s pretty impressive. Here’s hoping that this turns into a full-sized SLA build like [Sean] promises.
Continue reading “Have Yourself A Recursive Little Christmas: Ornament That Prints Ornaments”