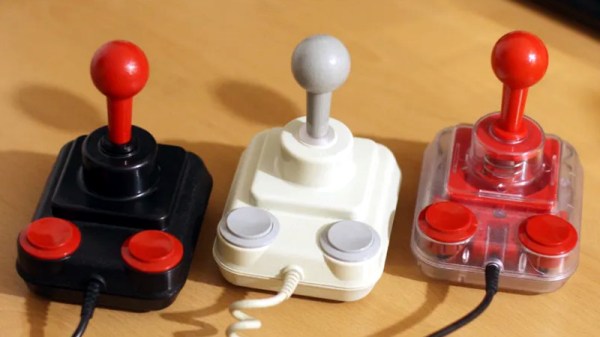
The Competition Pro joystick is often considered to be the pinnacle of input devices, at least as far as the 1980s gaming goes. But the design isn’t perfect, and time hasn’t been kind to certain aspects of its mechanism. For example, the large rubber disc used to keep the stick centered on early generations of the hardware will invariably be hardened up on any surviving specimens. Looking to return these classic controllers to their former glory, and then some, [mageb] has released a number of 3D printed modifications for the Competition Pro that should be of great interest to the vintage gamer.
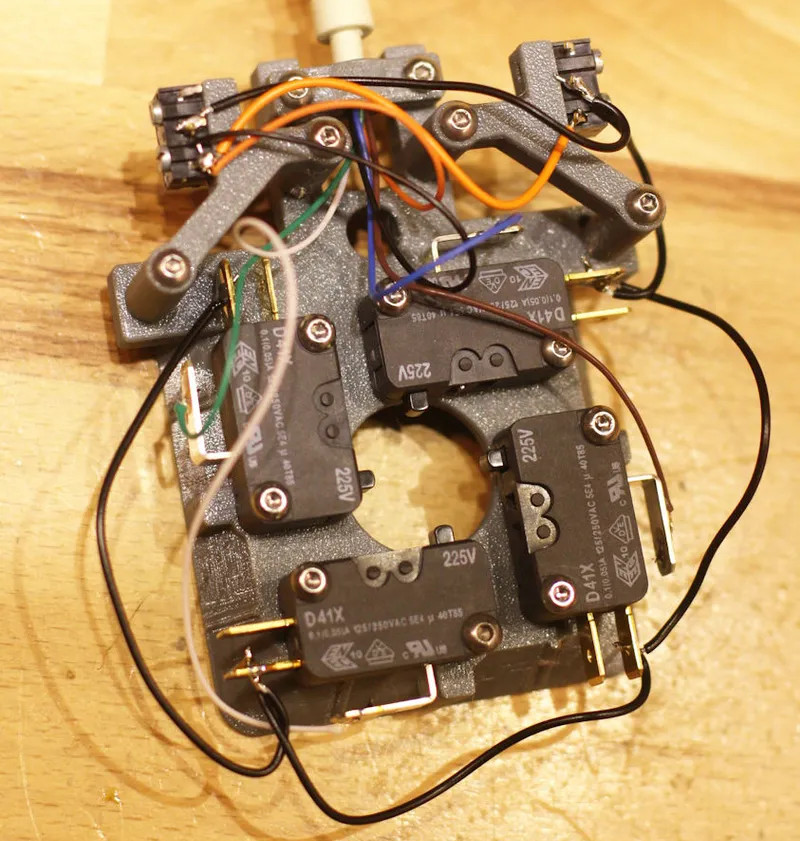
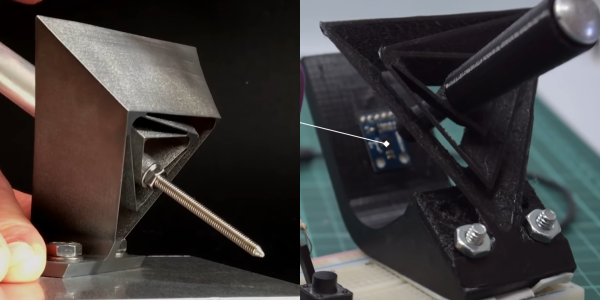
First and foremost is the deletion of the original rubber disc for a new spring mechanism. Even if this is the only modification you do, [mageb] says you’ll already have a better and longer-lasting joystick to show for it. But if you want to continue with the full rebuild, be aware that there’s no going back to stock. Once you start cutting the original parts, you’re committed to taking it all the way.
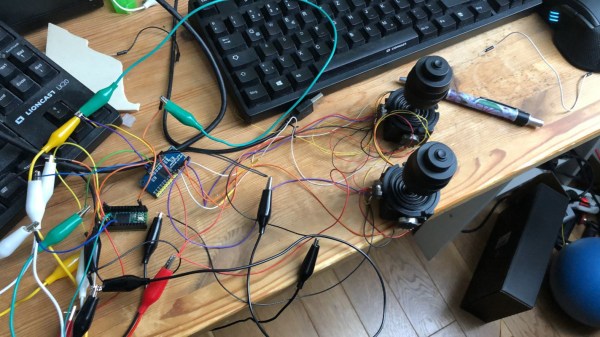
Assuming you’re not afraid to get your hands dirty, the next step is cutting the metal contacts from the bottom of the face buttons so they’ll work with the new microswitch array he’s designed. Each button gets its switch, and four handle movement of the joystick. You can try out different switches to adjust the feel of the joystick, but [mageb] assures us that he’s already done the research and put the best quality switches in the bill of materials.
The end result is a Competition Pro joystick that looks more or less the same from the outside, but is considerably improved internally. That’s always a win in our books, though we’re sure somebody out there is going to get mad that the brittle old rubber disc wasn’t sent to the Smithsonian.