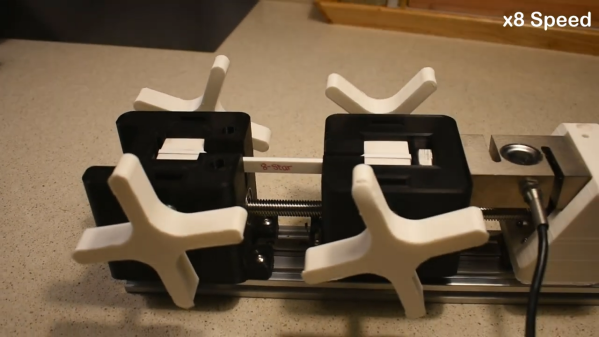
Material testing is important in big industry, where manufacturers must be able to trust the properties of the raw materials they’re using. The rest of us generally take a supplier’s word for it that they’re giving us what we’ve paid for. However, you could always take on material testing yourself with the Universal Tensile Testing Machine from [Xieshi Zhang].
Unlike a six-figure industrial machine, this build is much more affordable, costing on the order of $300 to build. It uses an Arduino to read a tensile strain gauge, and is capable of applying up to a kilonewton of force. To achieve this, it uses a NEMA 17 stepper motor driving a lead screw to apply tensile strain or compression to the specimen under test. The test fixture is assembled from 3D-printed components, and built on top of a piece of aluminium extrusion.
Fundamentally, it’s a smaller version of a machine most engineering undergraduates will see in a materials lab experiment. It could be highly useful for anyone wanting to experiment with 3D printed structures; it would be more than capable of testing various filaments and infill types for their tensile and compression performance. Video after the break.
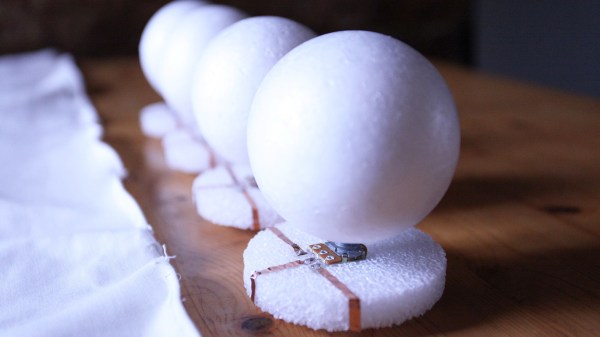
Some folks bring out an heirloom table runner when they have company, but what if you sewed your own and made it musical? We’d never put it away! [kAi CHENG] has an Instructable about how to recreate his melodic material, and there is a link to his website, which describes his design process, not just the finished product. We have a video below showing a jam session where he exercises a basic function set.
GarageBand is his DAW of choice, which receives translated MIDI from a Lilypad. If you don’t have a Lilypad, any Arduino based on the ATmega328P chip should work seamlessly. Testing shows that conductive threads in the soft circuit results in an occasional short circuit, but copper tape makes a good conductor at the intersections. Wide metallic strips make for tolerant landing pads beneath modular potentiometers fitted with inviting foam knobs. Each twist controls a loop in GarageBand, and there is a pressure-sensitive pad to change the soundset. Of course, since this is all over MIDI, you can customize to your heart’s content.
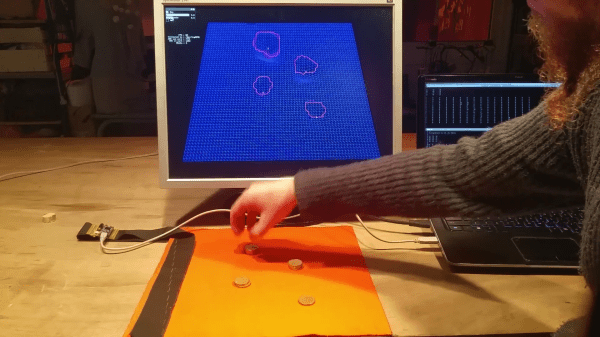
[Maurin Donneaud] has clearly put a lot of work into making a large flexible touch sensitive cloth, providing a clean and intuitive interface, and putting it out there for anyone to integrate into their own project.. This pressure sensing fabric is touted as an electronic musical interface, but if you only think about controlling music, you are limiting yourself. You could teach AI to land a ‘copter more evenly, detect sparring/larping strikes in armor, protect athletes by integrating it into padding, or measure tension points in your golf swing, just to name a few in sixty seconds’ writers brainstorming. This homemade e-textile measures three dimensions, and you can build it yourself with conductive thread, conductive fabric, and piezoresistive fabric. If you were intimidated by the idea before, there is no longer a reason to hold back.
The idea is not new and we have seen some neat iterations but this one conjures ideas a mile (kilometer) a minute. Watching the wireframe interface reminds us of black-hole simulations in space-time, but these ones are much more terrestrial and responding in real-time. Most importantly they show consistent results when stacks of coins are placed across the surface. Like most others out there, this is a sandwich where the slices of bread are ordinary fabric and piezoresistive material and the cold cuts are conductive strips arranged in a grid. [Maurin] designed a custom PCB which makes a handy adapter between a Teensy and houses a resistor network to know which grid line is getting pressed.
If you don’t need flexible touch surfaces, we can help you there too.
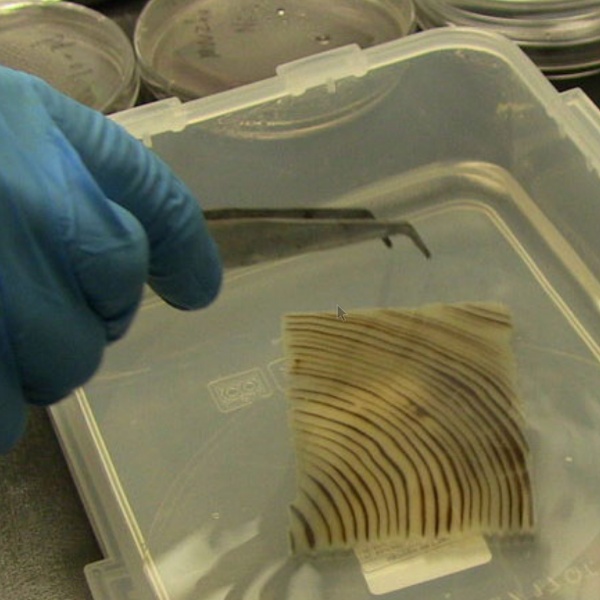
It’s not transparent aluminum, exactly, but it might be even better: transparent wood. Scientists at the University of Maryland have devised a way to remove all of its coloring, leaving behind an essentially clear piece of wood.
By boiling the block of wood in a NaOH and Na2SO chemical bath for a few hours the wood loses its lignin, which is gives wood its color. The major caveat here is that the lignin also gives wood strength; the colorless cellulose structure that remains is itself very fragile. The solution is to impregnate the transparent wood with an epoxy using about three vacuum cycles, which results in a composite that is stronger than the original wood.
There are some really interesting applications for this material. It does exhibit some haze so it is not as optimally transparent as glass but in cases where light and not vision is the goal — like architectural glass block — this is a winner. Anything traditionally build out of wood for its mechanical properties will be able to add an alpha color channel to the available options.
The next step is finding a way to scale up the process. At this point the process has only been successful on samples up to 1 centimeter thick. If you’re looking to build a starship out of this stuff in the meantime, your best bet is still transparent aluminum. We do still wonder if there’s a way to eliminate the need for epoxy, too.
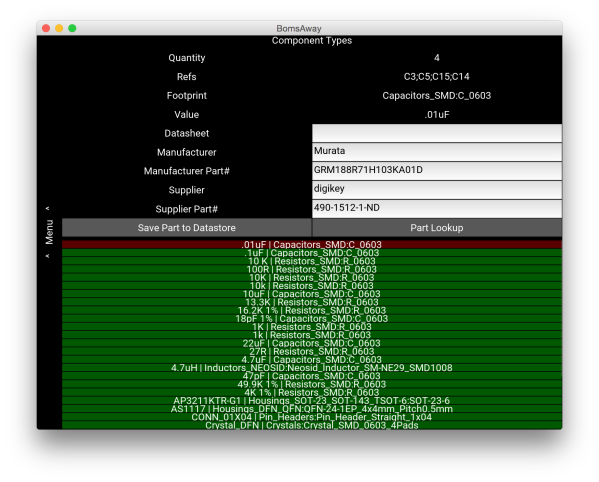
KiCAD remains a popular tool for designing PCBs and other circuits, and with good reason: it’s versatile and it’s got pretty much everything needed to build any type of circuit board you’d want. It also comes with a pretty steep learning curve, though, and [Jeff] was especially frustrated with the bill of materials (BOM) features in KiCAD. After applying some Python and Kivy, [Jeff] now has a BOM manager that makes up for some of KiCAD’s shortcomings.
Currently, the tool handles schematic import, like-component consolidation, and a user-managed parts database that can be used to store and retrieve commonly used parts for the future. All of the changes can be saved back to the original schematic. [Jeff] hopes that his tool will save some time for anyone who makes more than one PCB a year and has to deal with the lack of BOM features native to KiCAD.
[Jeff] still has some features he’d like to add such as unit tests, a user guide, and a cleaner user interface. What other features are you anxious to see added to KiCAD?
I was in a fit of nerd glee the first time I used tooling board. I’d used MDF for similar purposes before, and I doubt I ever will again. Called Renshape, Precision Board Plus, or that green stuff people on another continent buy; it’s all the same extremely useful, unfortunately expensive, stuff. It’s hard to pin down exactly what tooling board is. Most of the blends are proprietary. It is usually a very dense polyurethane foam, sometimes by itself, sometimes with a fine fiber filler.
What makes tooling board so good is its absolute dimensional stability and its general apathy to normal temperature swings. (It even comes in versions that can go through curing ovens.) It is impervious to humidity. It has good surface finish, and it machines perfectly without wearing down tools.
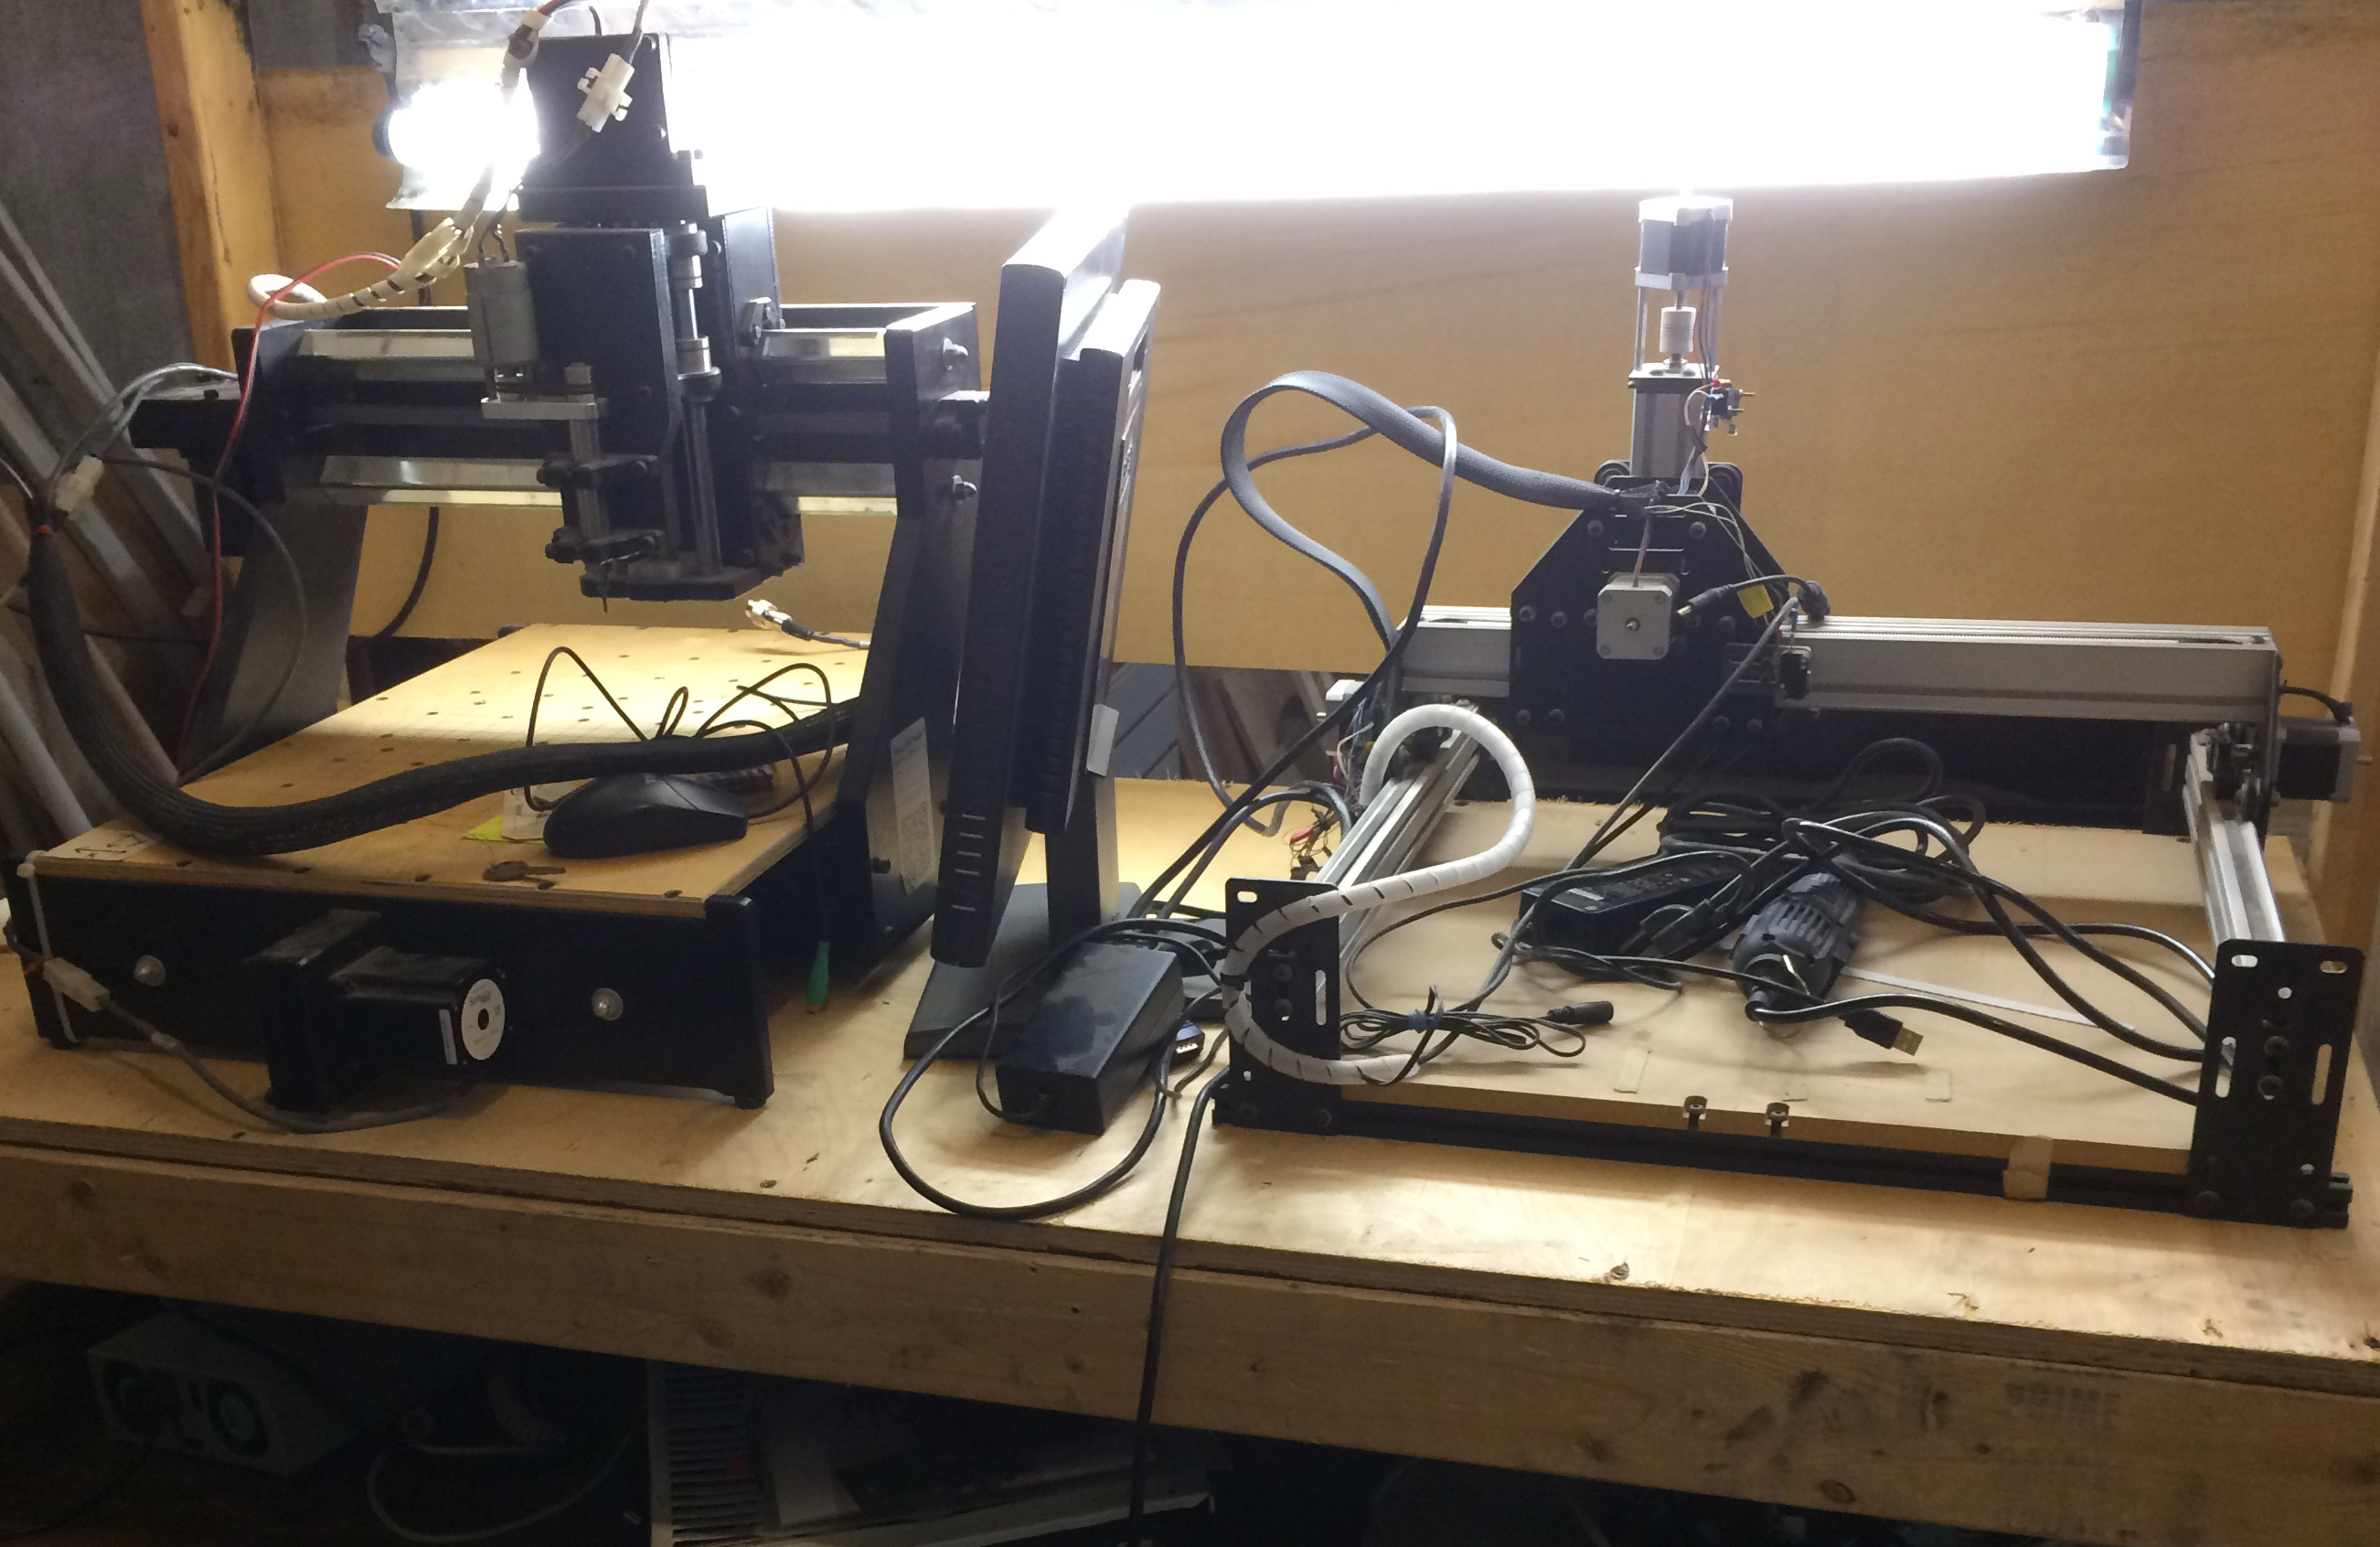
The CNC set-up I coaxed precision molds out of.
This stuff is really tops as far as machining goes. I got super precise molds out of a very basic CNC machine at the LVL1 hackerspace. Renshape cut easily at a high spindle speed, and put practically no load on the machine. Climb and conventional milling were equal load wise with no immediately perceivable difference in finish. In the end I hit the precision range of my cheap digital calipers: +-.005mm, when the temperature is right, the battery is a charged, and the planets align.
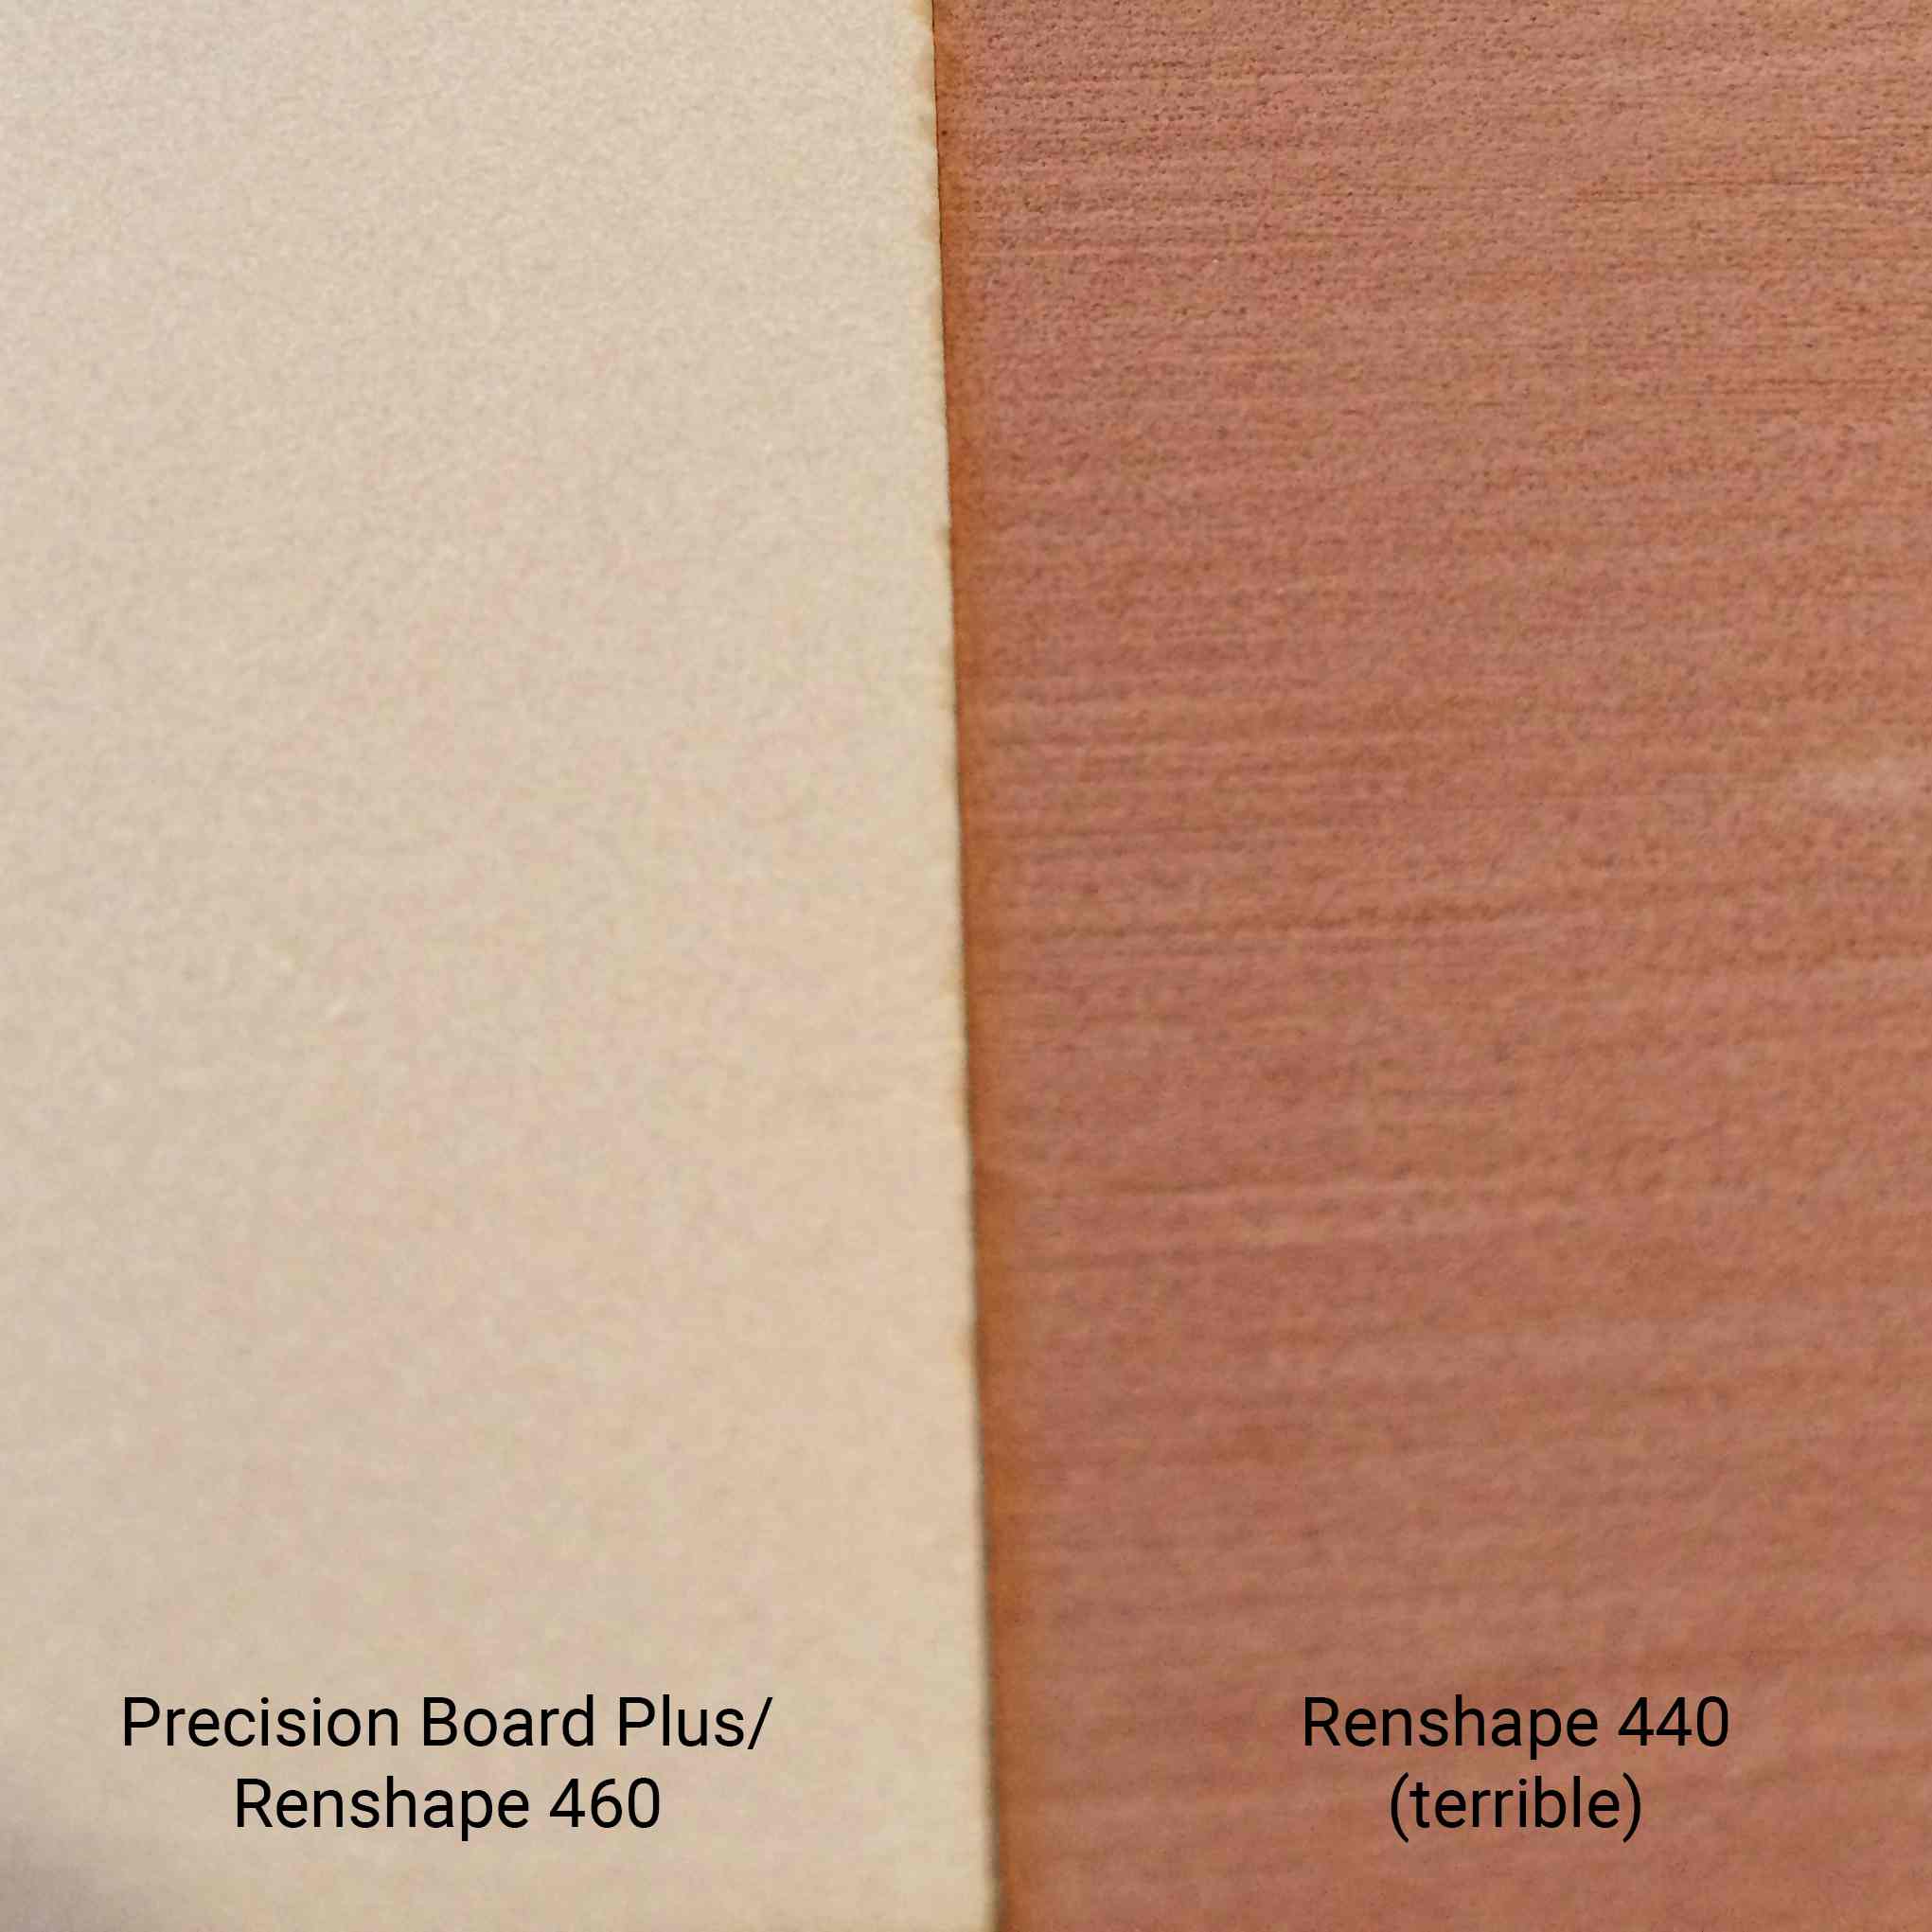
I like to do resin casting when I get serious about a part. If you are making a master mold, there’s nothing better than tooling board. I’ve used both Renshape 460 and Precision Board Plus. Both impart a very light matte pattern, equivalent to a light bead blast on an injection mold. There’s no finishing required, though I mistakenly bought Renshape 440 at first and had to sand it a little to get the finish I wanted.
Tooling board is great for masters in metal casting, and is often used in the industry for just that, especially if quick and accurate prototypes are needed. It’s also tough enough to last through a few rounds of metal stamping in the home shop.
If you are doing lay-up for carbon fiber, fiberglass, or leather, this is also a very good choice. It will be unaffected by the chemicals, heat, and vacuum you may use in the process. It is tough enough hold alignment pins for proper set-up without premature ovaling. It is also a very good choice for vacuum forming.
Tooling board is, unsurprisingly, really good for tooling. It’s a great material for soft-jaws, alignment fixtures, and assembly fixtures, especially if you are doing delicate precision assemblies.
If you’re made of money, tooling board can be used for models, signs and props. It sands, shapes, and files extremely well. It bonds well to a lot of substances. It also takes paint very well with none of the absorption properties of wood or MDF. Most professional model shops will use it. The one big flaw of tooling board is its price — this stuff is expensive. There’s no good DIY version that I’ve scrounged up so far. If you’re making a mold master, a fixture, or anything where you need tooling board’s properties and you are likely to get a few uses out of the board, then it’s probably worth it. Also, be careful of sellers selling plain “Renshape” it is probably going to be the lower grade Renshape 440 and not the more expensive Renshape 460 (or equivalent), where you start to really see the surface finish advantage of the material.
Tooling board is an industrial material. Typically you can call up a supplier and tell them what you’d like to do with it and they will be able to help. If you are making tools for carbon fiber quadcopter frame lay-up, let them know and they’ll have a formulation for that. If you are resin casting, there’s a formulation that gives superior surface finish.
It’s a pretty common material in the industrial scene, but I don’t see it a lot on the hobby scene. This is almost certainly due to its cost, as well as a shortage of small quantity re-sellers. (If someone starts selling assorted sizes on eBay for a reasonable price you have at least one buyer in me.) However, after using it in the niches it is designed for, I really don’t use anything else. I used to hack MDF to fit, but MDF is awful to paint, has no dimensional stability, and dulls tools really fast.
Are you a fan of tooling board? Have a good source? If you have anything to add, let us know in the comments.
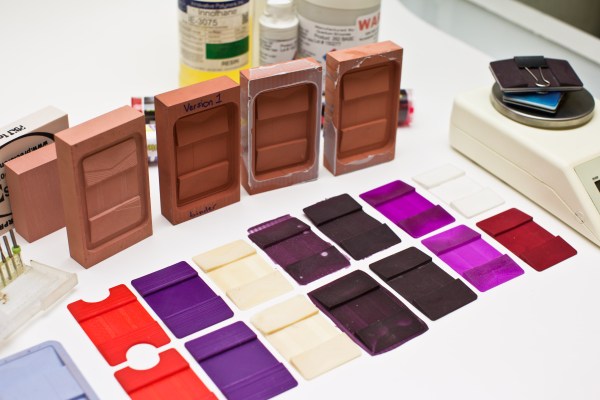
In material science, thermal expansion is a very well understood concept. However, in most cases it’s regarded as somewhat of a nuisance. It’s the kind of thing that gives engineers headaches, and entire subsystems of machines are often designed specifically to combat it. But a group of students at MIT have come up with an ingeniously simple way of taking advantage of thermal expansion to create shape-changing composites.
Their project is a method of creating shape-shifting composites, called uniMorph. It works by using resistive heating (or simply ambient temperature) to change the temperature of a sandwich composite. The composite is made of two different materials, and the copper traces to heat them. The two materials themselves aren’t particularly important, what’s important is that they have vastly different thermal expansion rates.
When the composite is heated, one material will expand more or less than the other material. Depending on the relative shapes of the two materials, this causes the composite to bend or twist in predetermined ways. How much it bends, for example, is just a matter of how the layers are cut, and how much they’re heated.
The concept itself isn’t exactly new – bimetallic composites have existed for ages. We even covered a similar idea that works based on moisture content. But, the methods used for uniMorph are very well thought out. It’s very inexpensive to produce, and the students seem to have devised reliable techniques for designing the layers in order to produce a desired shape change.