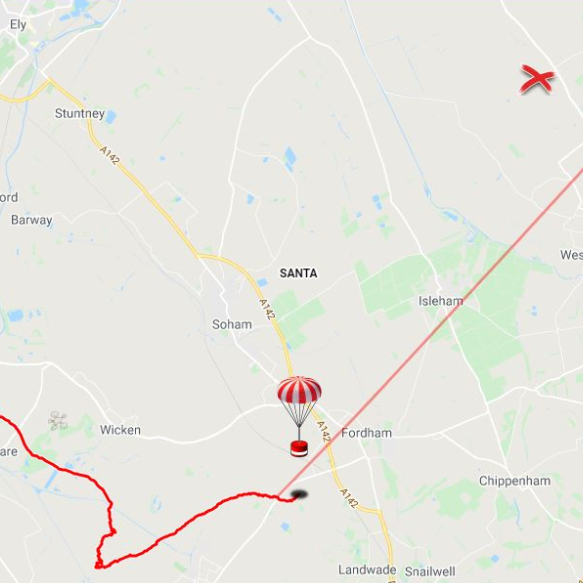
A cutdown in high-altitude balloon (HAB) parlance refers to detaching a payload, and can refer to the act of severing a line or to the mechanism itself. How is this done? The most common way is the “hot wire” method: a segment of wire is heated rapidly with a high current, causing it to melt through something like a nylon line.
But there’s more than one way to solve a problem, and while documenting different cutdown methods, [KI4MCW] found that a caliper-style archery release plus hobby servo could be used as a high strength cutdown mechanism. An archery release (or bow release) is a tool to assist in holding the string of a bow in the drawn position, and cleanly release it at the touch of a lever or button. It occurred to [KI4MCW] that these features might be made to serve as a payload release as well, and you can see here the crude but successful prototype for a reusable cutdown.
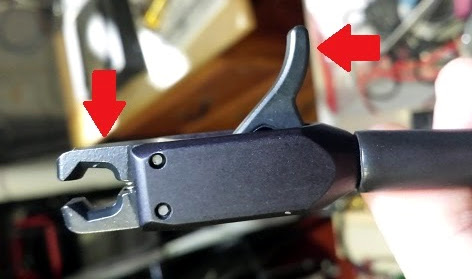
The archery release [KI4MCW] obtained opens its jaws when a trigger-style lever on the side is pulled. The force required to trigger this is remarkably low, and a low-torque economical hobby servo easily does the job. In fact, the force needed to trip the release is so low that [KI4MCW] added a short rubber band to provide some opposing tension on the lever, just to be sure no spontaneous triggers occurred. The device hasn’t flown yet, but the prototype looks promising. Maybe a mechanism like this would be appropriate for a payload like dropping a high-altitude RC glider from a balloon.