Attention Europe! Next weekend, May 6th and 7th, is Make Munich. Hackaday wants to help you warm up with a Bring-a-Hack party on Friday, May 5th from 20:30 and on at the Munich local branch of the Chaos Computer Club.
Immediately following build-up for exhibitors at Make Munich, head on over to Schleißheimer Str. 41 (corner Heßstrasse, U-Bahn Theresienstraße) where Hackaday will be providing beer, Mate, and pizza for anyone who brings along a small project that they’re working on. We’ll have Hackaday.com and Hackaday Prize stickers galore, and a few copies of the Hackaday Omnibus on hand for those who really wow us, or just ask really nicely.
 Afterwards, get a little sleep and then head back over to Make Munich on Saturday morning. We’ll be wandering around at least on Saturday, so if you see anyone in a Hackaday t-shirt, say hi! There is a lot to see.
Unlike other similar fairs, Make Munich is entirely volunteer-run, and a great way to show your support for the local scene is to help out. The deal: hang out with cool people and help run the show for four hours, and you get in free. We’ve heard that they still have some shifts open.
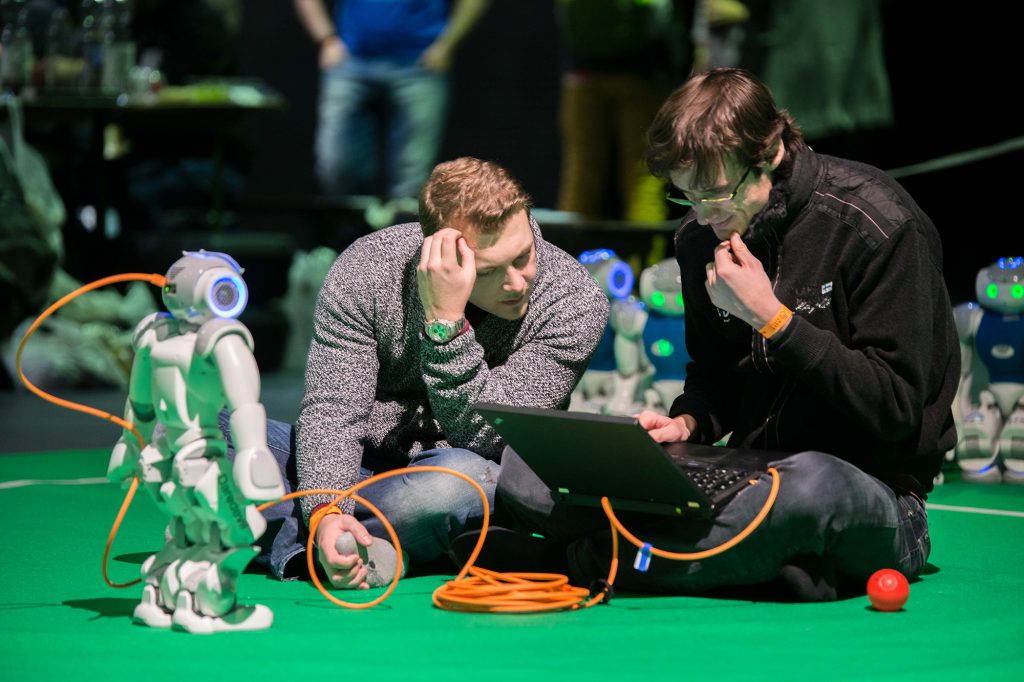
Saturday night is the Hebocon terrible robot battle, which is always absurd, and always worth the price of admission. (And you’ve already paid that if you’re going to attend on Saturday anyway.) Rules are sumo-esque, and if your lump of, well whatever, moves — it’s a robot and it has a chance. Battle starts at 18:30. Check out the video from last year embedded below.
If you still want more Make Munich, it goes on Sunday as well. We’ll be at home typing up the previous days’ events so the rest of you can read about it while sipping coffee.
Just in case you missed it in all the hubbub, we repeat: Hackaday Prize Bring-a-Hack at μC3, Friday May 5th from 20:30 on.
Come say hi to [Elliot Williams] and all of your other favorite Munich hackers! Bring a hack, show and tell, pizza and beer. And Mate, and probably Spezi. If you’re coming, shout out in the comments, and let us know your favorite toppings. Continue reading “Hackaday Prize Bring-a-Hack At Make Munich Next Week!”
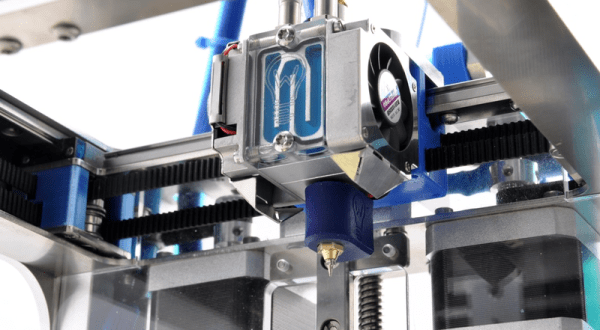
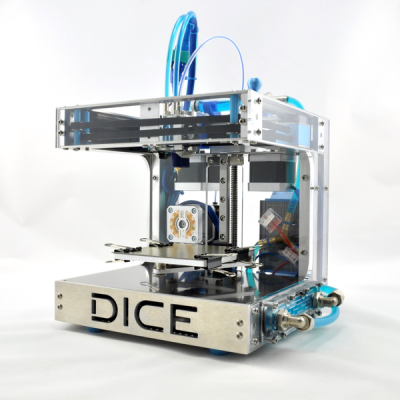 [René] had built a few 3D printers before, so he had a good feel for the parameters and design tradeoffs before he embarked on the DICE project. Making a small print volume, for instance, means that the frame can be smaller and thus exponentially more rigid. This means that it’s capable of very fast movements — 833 mm/s is no joke! It also looks to make very precise little prints. What could make it even more awesome? Water-cooled stepper motors, magnetic interchangeable printheads, and in-built lighting.