Knitwear can protect you from a winter chill, but what if it could keep you safe from the prying eyes of Big Brother as well? [Ottilia Westerlund] decided to put her knitting skills to the test for this anti-surveillance sweater.
[Westerlund] explains that “yarn is a programable material” containing FOR loops and other similar programming concepts transmitted as knitting patterns. In the video (after the break) she also explores the history of knitting in espionage using steganography embedded in socks and other knitwear to pass intelligence in unobtrusive ways. This lead to the restriction of shipping handmade knit goods in WWII by the UK government.
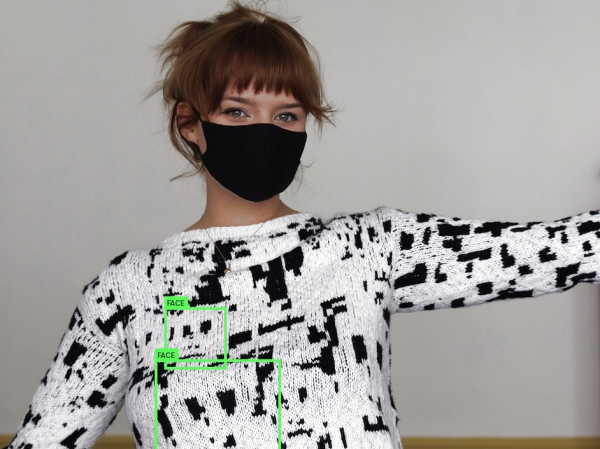
Back in the modern day, [Westerlund] took the Hyperface pattern developed by the Adam Harvey and turned it into a knitting pattern. Designed to circumvent detection by Viola-Jones based facial detection systems, the pattern presents a computer vision system with a number of “faces” to distract it from covered human faces in an image. While the knitted jumper (sweater for us Americans) can confuse certain face detection systems, [Westerlund] crushes our hope of a fuzzy revolution by saying that it is unsuccessful against the increasingly prevalent neural network-based facial detection systems creeping on our day-to-day activities.
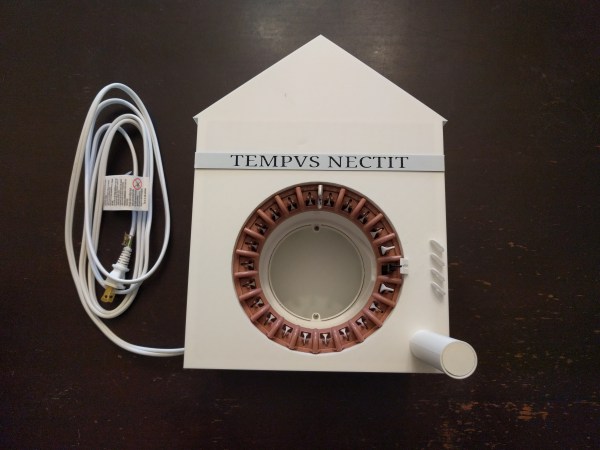
The knitting pattern is available if you want to try your hands at it, but [Westerlund] warns it’s a bit of a pain to actually implement. If you want to try knitting and tech mashup, check out this knitting clock or this software to turn 3D models into knitting patterns.