The idea of transferring energy with water isn’t exactly new. In fact, it’s downright ancient. Running water has been tapped to power our contrivances since folks were getting excited about that new library they were opening up over in Alexandria. But what if there was a way to deliver power with water that wasn’t kinetic, and instead relied on the electrical properties of the planet’s favorite libation?
That’s exactly what [Jay Bowles] set out to explore with his latest experiment. Since water (we know, not pure water) conducts electricity, it stands to reason that it could be used as a stand-in for traditional copper wiring. Why would you want to do such a thing? Because unlike wires, water can easily morph into whatever shape may be required, and can be moved around and controlled with nothing more complex than ball valves.
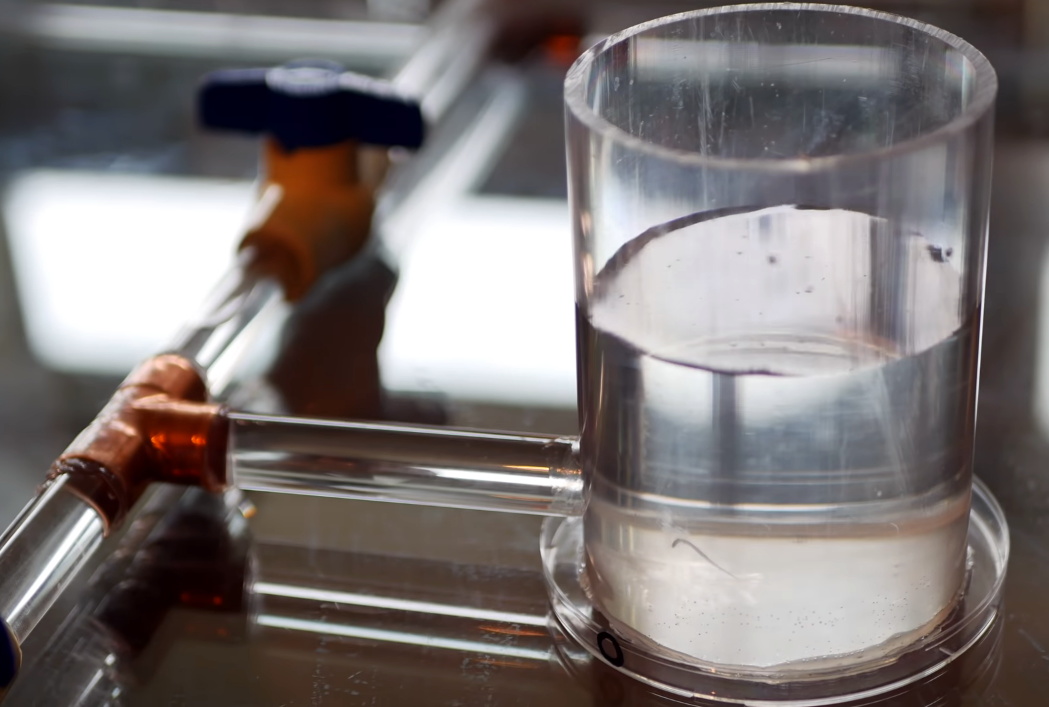 To test this concept, [Jay] put together a water distribution system out of simple acrylic tubing. A reservoir was attached to one of his high voltage generators, and copper caps were placed at the end of the tubes to serve as direct attachment points for devices.
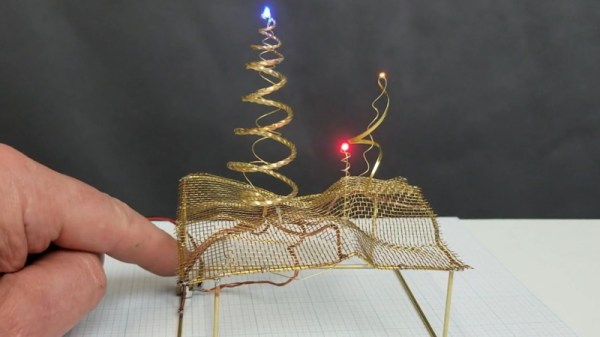
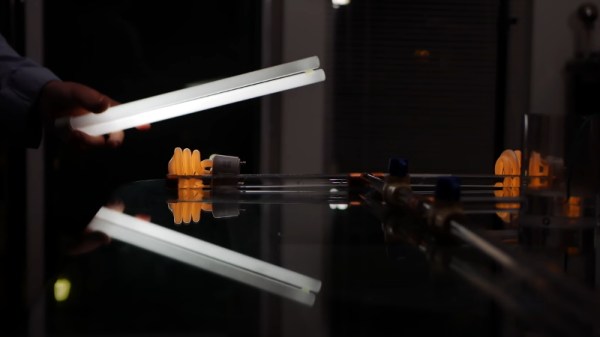
But thanks to capacitive coupling, the fluorescent lights he uses don’t actually need to be physically connected to light up. As demonstrated in the video after the break, the lights surrounding the system can be independently controlled just by turning their respective valves on and off; all without any physical contact being made.
Of course, compared to traditional wiring there are plenty of downsides to this idea. Copper wires don’t tend to freeze in the winter and spring a leak, nor do they build up bubbles of explosive hydrogen gas. So it’s safe to say the wiring in your house probably won’t ever be replaced with a tube of charged water. But [Jay] does have some interesting ideas of how this technique could be used in non-traditional ways. For example, he describes how outdoor lighting could be powered by the energy radiating from a small stream.
Even if the practical applications of this technique are somewhat limited, there’s no question that it’s a fascinating idea. Believing that he’s the first person to ever demonstrate power transmission under these specific circumstances, he’s decided to call the concept “Bowles Transmission”. We’d love to see somebody use this principle in one of their projects, and we’re willing to bet so would [Jay].
As with his recent ozone sterilization experiments, we imagine this idea is going to be met with some debate. But that’s sort of the point. [Jay] doesn’t claim to have all the answers, and hopes these videos get people thinking and talking. As they say, nothing great was ever achieved without enthusiasm.
Continue reading “High Voltage Experiment Pipes Power With Water”