Pushing all of your data into “The Cloud” sounds great, until you remember that what you’re really talking about is somebody else’s computer. That means all your hard-crunched data could potentially become inaccessible should the company running the service go under or change the rules on you; a situation we’ve unfortunately already seen play out.
Which makes this project from [Zoltan Doczi] and [Róbert Szalóki] so appealing. Not only does it show how easy it can be to shuffle your data through the tubes and off to that big data center in the sky, but they send it to one of the few companies that seem incapable of losing market share: Google. But fear not, this isn’t some experimental sensor API that the Big G will decide it’s shutting down next Tuesday in favor of a nearly identical service with a different name. All your precious bits and bytes will be stored in one of Google’s flagship products: Sheets.
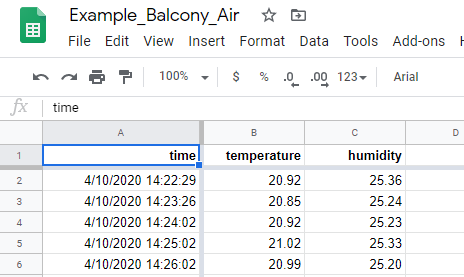 It turns out that Sheets has a “Deploy as Web App” function that will spit out a custom URL that clients can use to access the spreadsheet data. This project shows how that feature can be exploited with the help of a little Python code to push data directly into Google’s servers from the Raspberry Pi or other suitably diminutive computer.
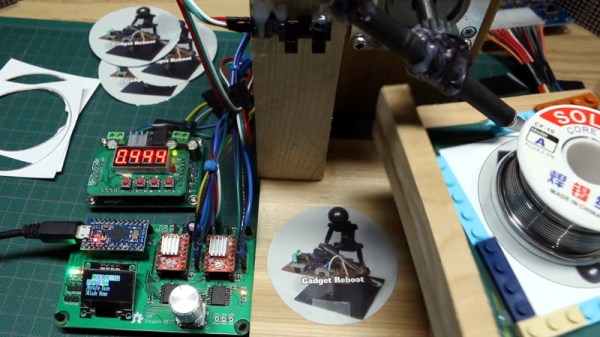
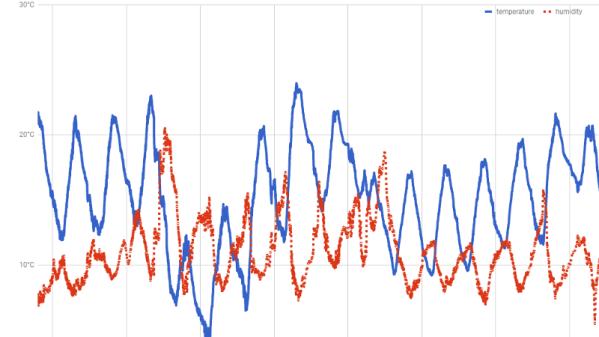
Here they’re using a temperature and humidity sensor, but the only limitation is your imagination. As an added bonus, the chart and graph functions in Sheets can be used to make high-quality visualizations of your recorded data at no extra charge.
You might be wondering what would happen if a bunch of hackers all over the world started pushing data into Sheets every few seconds. Honestly, we don’t know. The last time we showed how you could interact with one of their services in unexpected ways, Google announced they were retiring it on the very same day. It was probably just a coincidence, but to be on the safe side, we’d recommend keeping the update frequency fairly low.
Back in 2012, before the service was even known as Google Sheets, we covered how you could do something very similar by manually assembling HTTP packets containing your data. We’d say this validates the concept for long-term data storage, but clearly the methodology has changed considerably in the intervening years. Somebody else’s computer, indeed.