You might think the era of the 3.5 inch “floppy” disk is over, and of course, you’d be right. But when has that ever stopped hackers before? Just because these disks are no longer being manufactured doesn’t mean you can’t find them, or that the appropriate drives aren’t readily available. In fact, as [Ladyada] explained during this week’s Floppy Interfacing Hack Chat with Adafruit, the ongoing chip shortages mean its often easier and cheaper to track down old hardware like this than it is modern microcontrollers and other high-tech components.
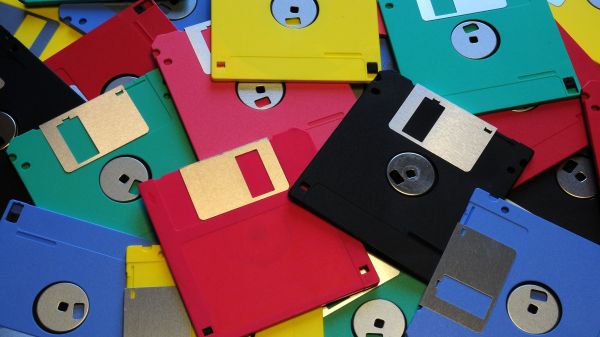
 What awaits the brave hacker that picks up a box of random floppies and a dusty old drive at the local thrift store? More than you might expect. As the Hack Chat goes on, it becomes increasingly obvious that these quaint pieces of antiquated technology can be rather difficult to work with. For one thing there are more formats out there than you’ve probably considered, and maddeningly, not all drives are able to read all types (even if they say they do). That means a disk which might seem like a dud on one drive could work perfectly fine in another, which is why the team at Adafruit recommend having a few on hand if you want to maximize your chances of success.
Now here comes the tricky part: unless you happen to have a 1990s vintage computer laying around, getting these drives hooked up is decidedly non-trivial. Which is why Adafruit have been researching how to interface the drives with modern microcontrollers. This includes the Adafruit_Floppy project, which aims to port the well known Greaseweazle and FluxEngine firmwares to affordable MCUs like the Raspberry Pi Pico. There’s also been promising developments with bringing native floppy support to CircuitPython, which would make reading these disks as easy as writing a few lines of code.
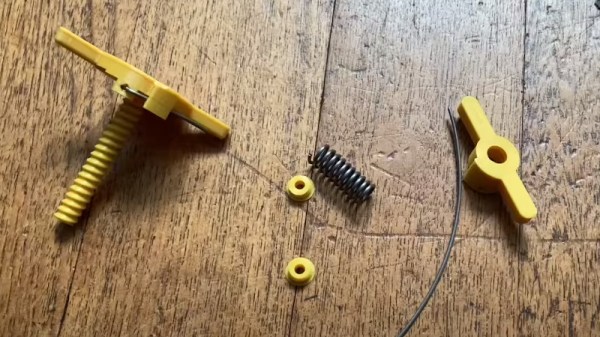
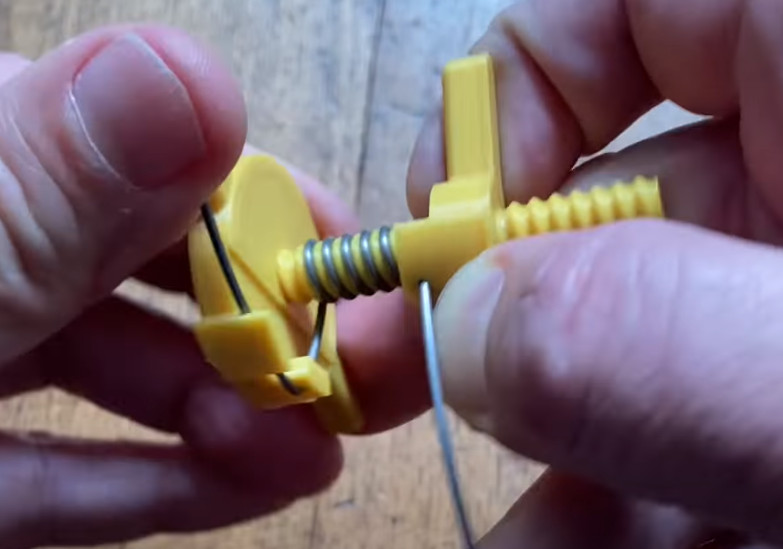
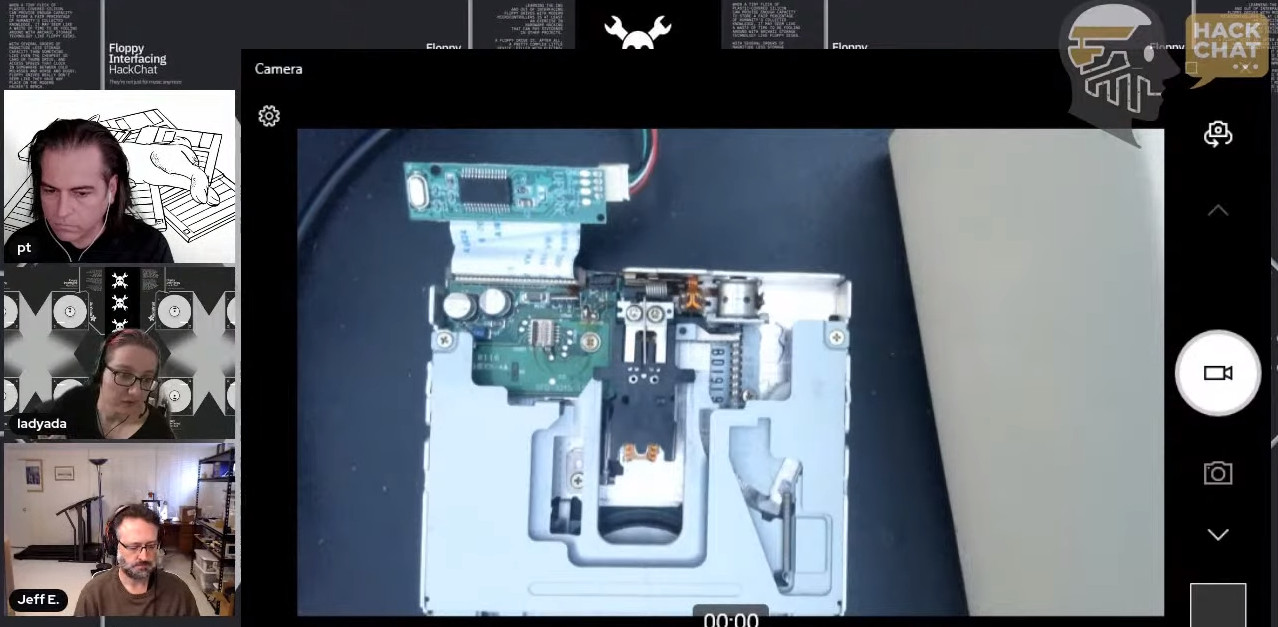
But wait, surely this is a solved problem? Why not just pick up a cheap USB floppy drive from the A to Z online retailer we all love to hate? Unfortunately, these gadgets are something of a mixed bag. [Ladyada] pulls one apart on camera to show that what you’re actually getting with one of these units is a new old stock laptop floppy drive hooked up to a dodgy purpose-built chip that connects to the original 26-pin flex cable and offers up a USB interface. That would be great, if it wasn’t for the fact that the chip is exceedingly selective about what kind of disks it will read. If you’re only worried about bog standard IBM-formatted disks they can work in a pinch, but like they say, you get what you pay for.
So is it all just academic? Is there really any reason to use a floppy disk in 2022? The fine folks at Adafruit would argue that the skills necessary to read usable data out of a stream of magnetic flux changes may very well come in handy in unexpected ways down the road. But even if not, there’s at least one good reason to cultivate the technology required to reliably read from these once ubiquitous storage devices: archiving the data stored on these disks before they invariably succumb to so-called “bit rot” and are potentially lost to history.
Continue reading “Adafruit Hack Chat Helps You Copy That Floppy”