From the release of the DMG-01 in 1989 until the final Micro variant hit store shelves in 2005, the Nintendo Game Boy line represented the epitome of handheld gaming for hundreds of millions of players. But that’s not to say there weren’t a wide array of other handheld systems that aimed to chip away at the Japanese gaming giant’s monopoly. SEGA and Sony released high-tech systems that brought impressive technical innovations, while Tiger Electronics famously took the opposite approach with ultra-cheap handhelds that leveraged simplistic games based on popular children’s franchises.
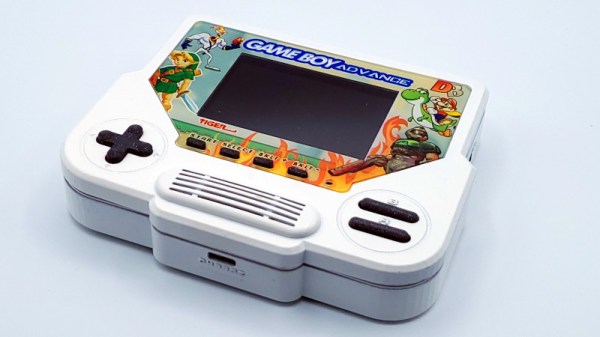
[Chris Downing] had to make do with these budget Tiger games as a child, and now as an adult, he’s determined to made things right with the Tiger Boy Advance. As the name implies, this retro hybrid combines the look and feel of a branded Tiger game with the power and software compatibility of a legitimate Nintendo Game Boy Advance (GBA) circa 2001. It even sprinkles in some modern niceties, like USB-C charging and a backlit display. While most of its charm is probably lost on anyone who didn’t grow up within a fairly narrow range of years, the video below seems to prove that even modern kids can appreciate this one-of-a-kind creation.
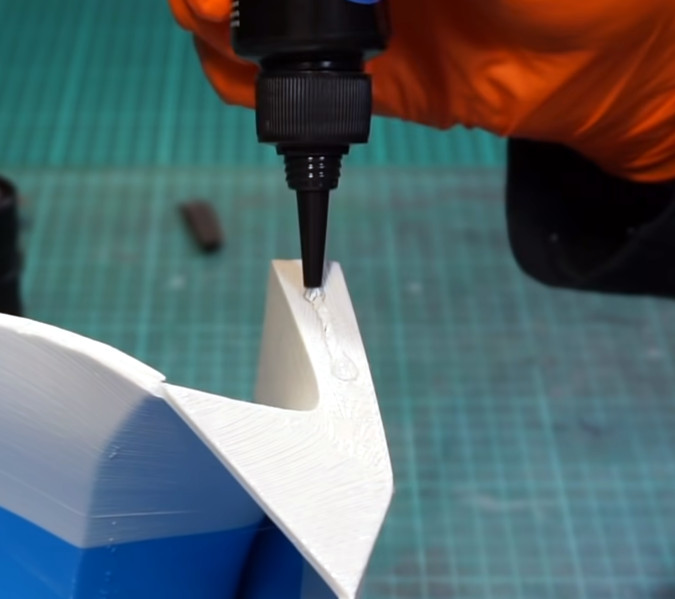
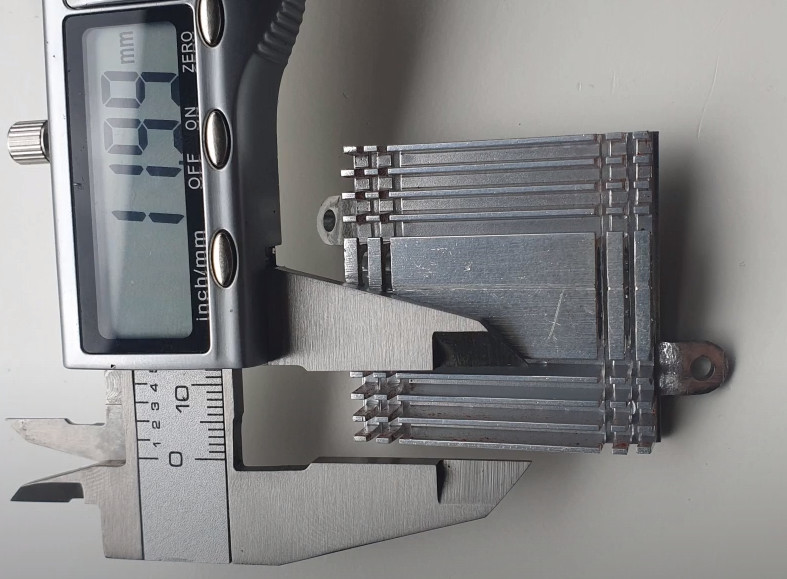
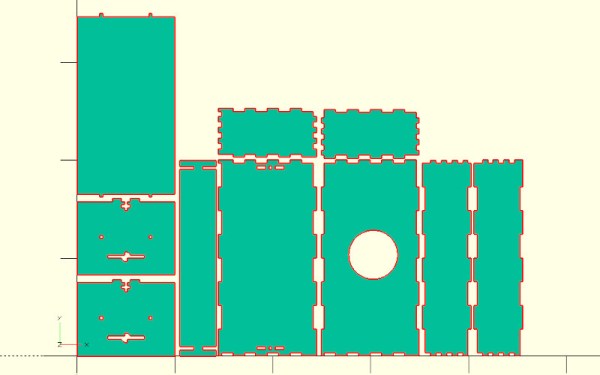
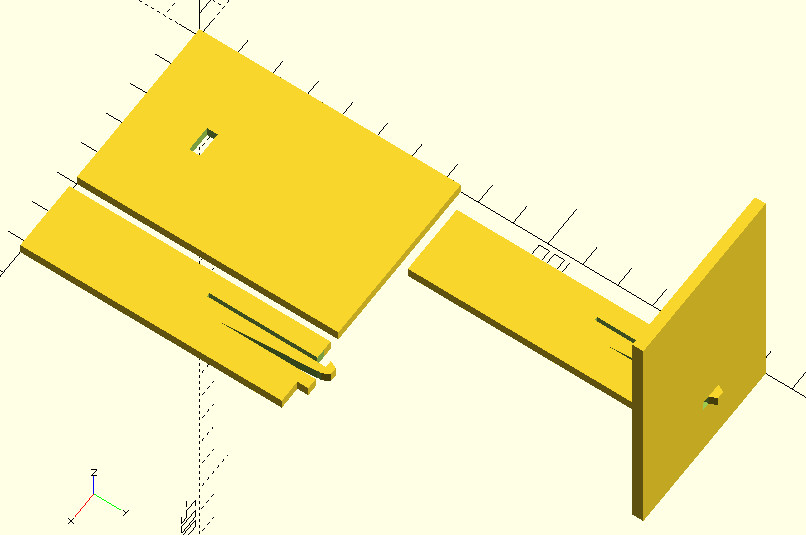
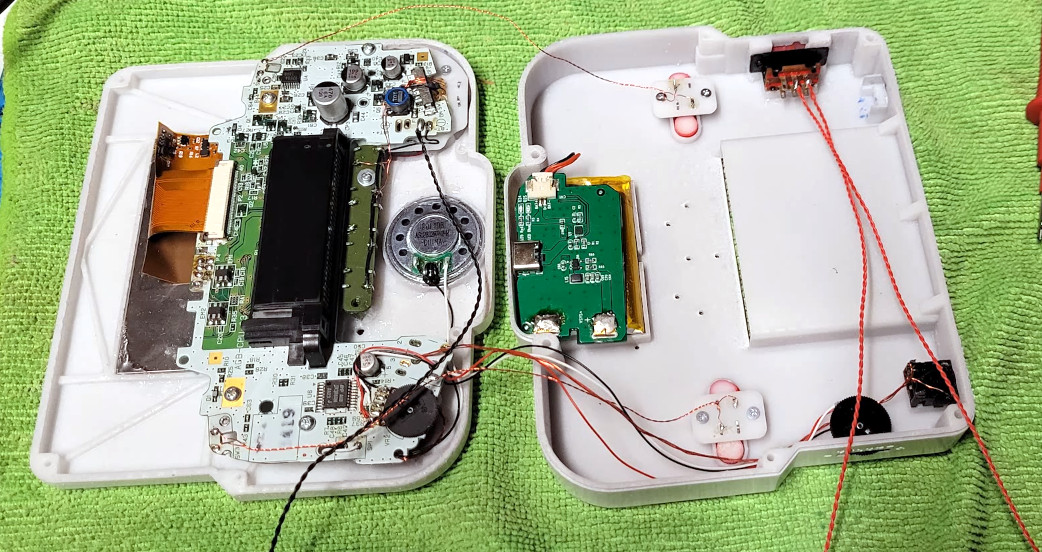 From an electronics standpoint, the system is essentially just a gutted GBA crammed into a 3D printed approximation of an old Tiger game from around the mid 1990s. But what makes this project special is the nostalgia-fueled attention to detail that [Chris] brings to the table.
Take for example the custom manufactured faceplate that combines artwork from some of the era’s best known games. Getting the image printed on the back of the CNC-cut piece of clear acrylic proved to be quite a challenge, but the final result looks incredibly professional. Instead of using the GBA’s stock buttons and directional pad, [Chris] decided to 3D print replacements that mimic the look of the original Tiger controls. It all culminates in a device that perfectly recreates the unique look of the original Tiger games.
Some will argue that he’d have done better to equip the system with a Raspberry Pi Zero 2 and the latest build of RetroPie, and frankly, it’s easy to see the appeal of going that route. But [Chris] didn’t make this for us, he built it to encapsulate a very specific time from his own childhood. We’re just glad that the technology now available to the individual maker allowed him to turn this particular dream into reality.
Continue reading “Tiger Boy Advance Is A 90s Kid Dream Come True”