A potentiometer is a simple electrical device that allows resistance to be varied at will. Most everyone in the electronics field is intimately familiar with how they work on a fundamental level. Of course, we all had to be taught once, though, and a great way to do that would be with a teaching tool like the one [DiscoLapy] built.
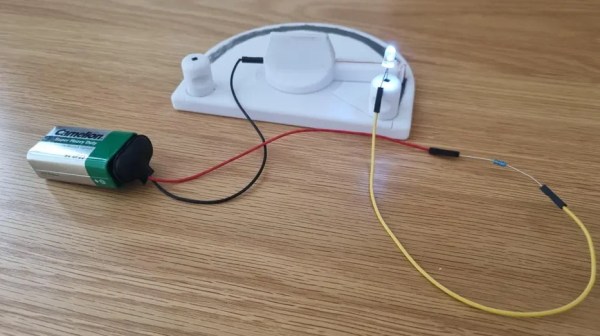
What you’re looking at here is a very simple potentiometer that bares its function for all to see. It consists of a 3D printed base and knob, which form the mechanical part of the device. A paper track is then laid on top to act as the main resistive element, once properly covered with graphite from a regular old pencil. From there, it’s as simple as adding the necessary contacts and wiper to the device, and you’ve got a potentiometer sitting in front of you.
What’s great about this build is that it’s very intuitive. Just by looking at it or putting it together, you get a straightforward understanding of everything that’s going on. By drawing the resistive trace, and by turning the knob, particularly if hooked up to an LED or something like in the demonstration, it’s easy to see how the potentiometer varies its resistance and affects a circuit.
We’ve featured some other fantastic teaching tools in the past, too. If you’ve got your own educational gems, be sure to let us know.


