I’ll confess. Although printf-style debugging has a bad rep, I find myself turning to it on occasion. Sure, printf is expensive and brings in a lot of code, but if you have the space and time to use it while debugging you can always remove it before you are finished. However, what if you don’t have an output device or you are using it for something else? If you are using most modern ARM chips, you have another option — a dedicated output channel that is used for several things, including debugging output. I decided I wanted to try that on the Blackpill running mbed, and found out it isn’t as easy as you might think. But it is possible, and when you are done reading, you’ll be able to do it, too.
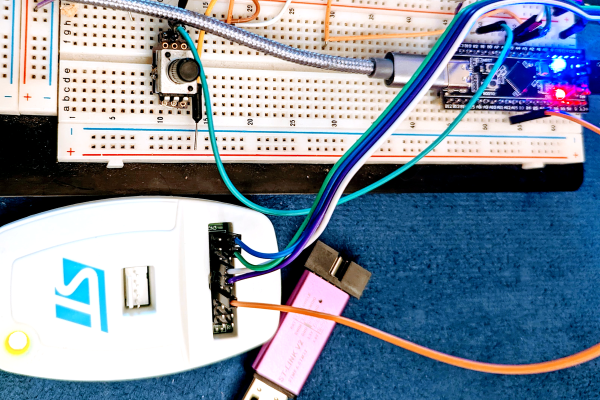
I’m writing this using the STM32-specific ST-LINK hardware. If you use other JTAG devices like the BlackMagic probe, you probably already have this set up for you.
What You Get
I’ll start backward with the end result, then talk about the software, so you’ll be good and motivated by the time you get to the hardware requirements. Spoiler alert: your existing hardware might need a quick hack to make it work, although you can buy something off the shelf if you prefer.
Here is a very simple test program:
SWO_Channel debugport;  // requires #include "SWO.h"
int main()
  {
  unsigned count=0;
  debugport.printf("\r\nHello World from SWO\r\n");
  debugport.printf("CPU SystemCoreClock is %d Hz\r\n", SystemCoreClock);

  while (1)
    {
    led = !led; // flip LED if output is true
    ThisThread::sleep_for(rate); // sleepy time
    if (count % 10) debugport.putc('*'); else debugport.printf("%d\r\n",count);
    count++;
    }
}