Human-animal conflict is always a contentious issue, and finding ways to prevent damage without causing harm to the animals often requires creative solutions. [James Milward] needed a humane method to stop badgers and foxes from uprooting his garden, leading him to create the Furbinator 3000, a system that combines computer vision with audio deterrents..
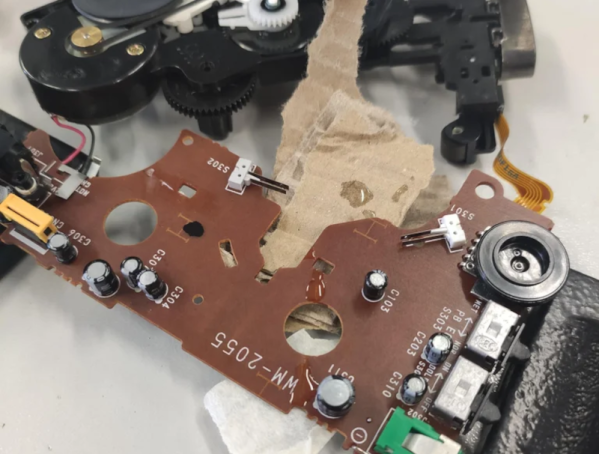
[James] initially tried using scent repellents (which were ignored) and blocking access to his garden (resulting in more digging), but found some success with commercial ultrasonic audio repellent devices. However, these had to be manually turned off during the day to avoid annoying activation of the PIR motion sensors by [James] and his family, and the integrated solar panels couldn’t keep up with the load.
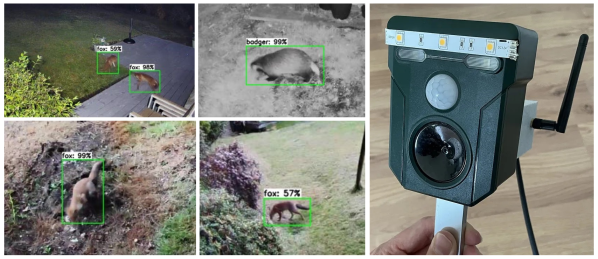
This presented a good opportunity to try his hand at practical machine vision. He already had a substantial number of sample images from the Ring cameras in his garden, which he turned into a functional TensorFlow Lite model with about 2.5 hours of training. He linked it with event-activated RTSP streams from his Ring cameras using the ring-mqtt library. To minimize false positives on stationary objects, he incorporated a motion filter into the processing pipeline. When it identifies a fox or badger with reasonable accuracy, it generates an MQTT event.
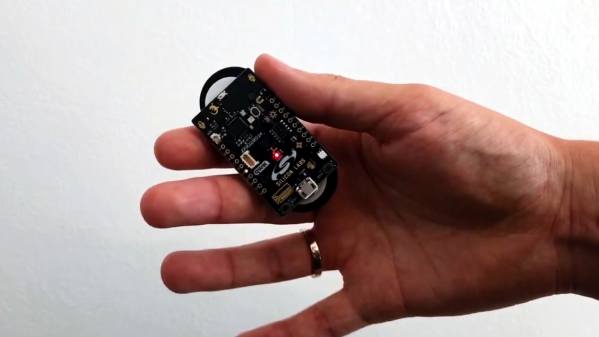
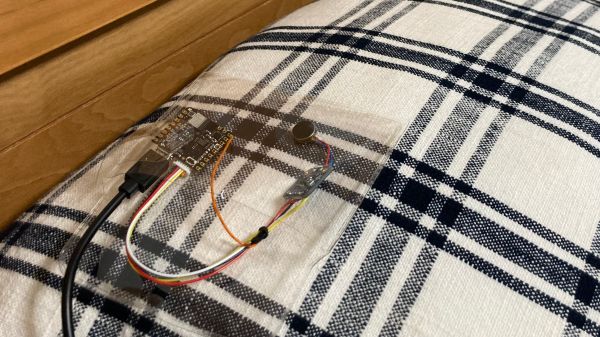
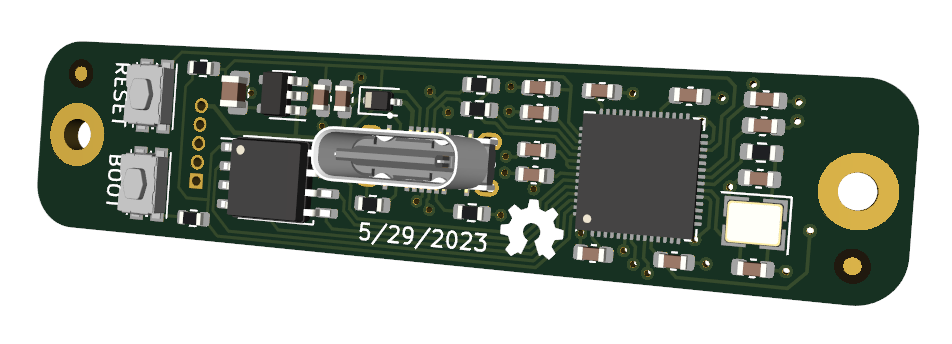
[James] modified the ultrasonic devices so they would react to these events using an ESP8266-based WeMos D1 Mini Pro development board and added an external 5 V power supply for sustained operation. All development was performed in a Docker container which simplified deployment on a Raspberry Pi 4.
After implementing the system, [James] woke up to the satisfying sight of his garden remaining untouched overnight, a victory that even earned him some coverage by the BBC.
Thanks for the tip [Laurent]!