USB devices are now ubiquitous and, from an information security standpoint, this is a terrifying prospect as malicious software can potentially be injected into a system by plugging in a compromised USB stick. To help get some piece of mind, [Cesare Pizzi] created USBValve to help expose suspicious USB activity on the fly.
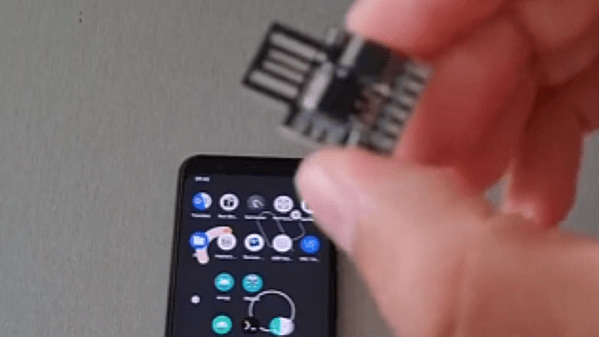
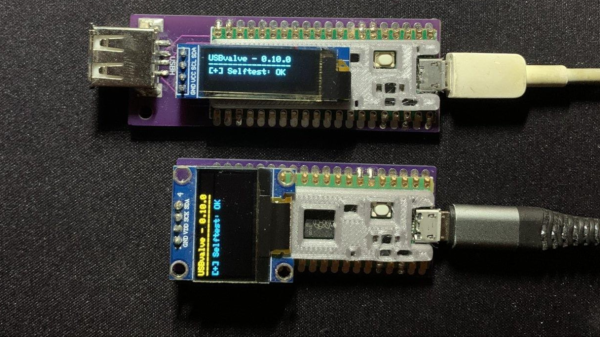
The idea behind USBValve is to have the onboard microcontroller advertise itself as a storage device, pretending to have a filesystem with some common files available. When an unknown USB device is first inserted into the USB port on the USBValve tool, USBValve displays usage information, via the attached OLED screen, on whether the USB device is accessing files it shouldn’t be or immediately trying to write to the filesystem, which is a clear sign of malicious behavior.
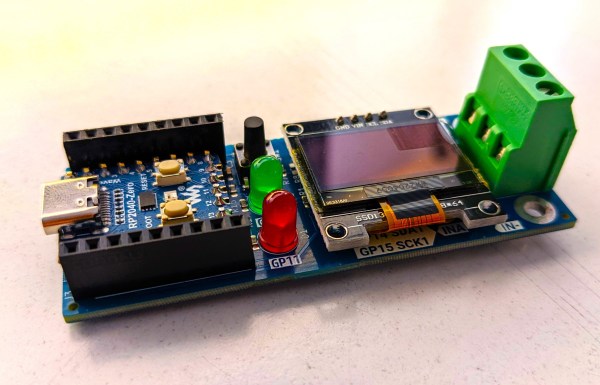
The USBValve hardware is a straight forward composition of a Raspberry Pi Pico, an tiny I2C OLED screen and an optional PCB carrier board with a 3D printed spacer. The software uses Adafruit’s Tiny USB library along with the SSD1306AsciiWire library to drive the OLED display. And it’s all open source, including the code and PCB design files.
There’s a lot of security fun to be had with USB, from DIY dirt cheap Rubber Duckies to open source hardware Rubber Duckies, to discussions on the BadUSB exploits. The simplicity of the USBValve project allows it to be low cost, easy to use and can provide concise, critical information for a variety of real world threats.
After the break, be sure to check out [Cesare Pizzi]’s talk about USBValve at the SCC Insomnihack conference which has a wealth of information on how it fares against some known malware attacks, discussions on some of its shortcomings and potential avenues for improvement.
Thanks to [watchdog] for the tip!
Continue reading “Sleuth Untrusted USB Communication With USBValve”