One of the most common types of beekeeping hive is based around the Langstroth hive, first patented in the United States in 1852. While it does have some nice features like movable frames, the march of history has progressed considerably while this core of beekeeping practices has changed very little. But that really just means that beekeeping as a hobby is rife with opportunities for innovation, and [Advoko] is pioneering his own modern style of beehive.
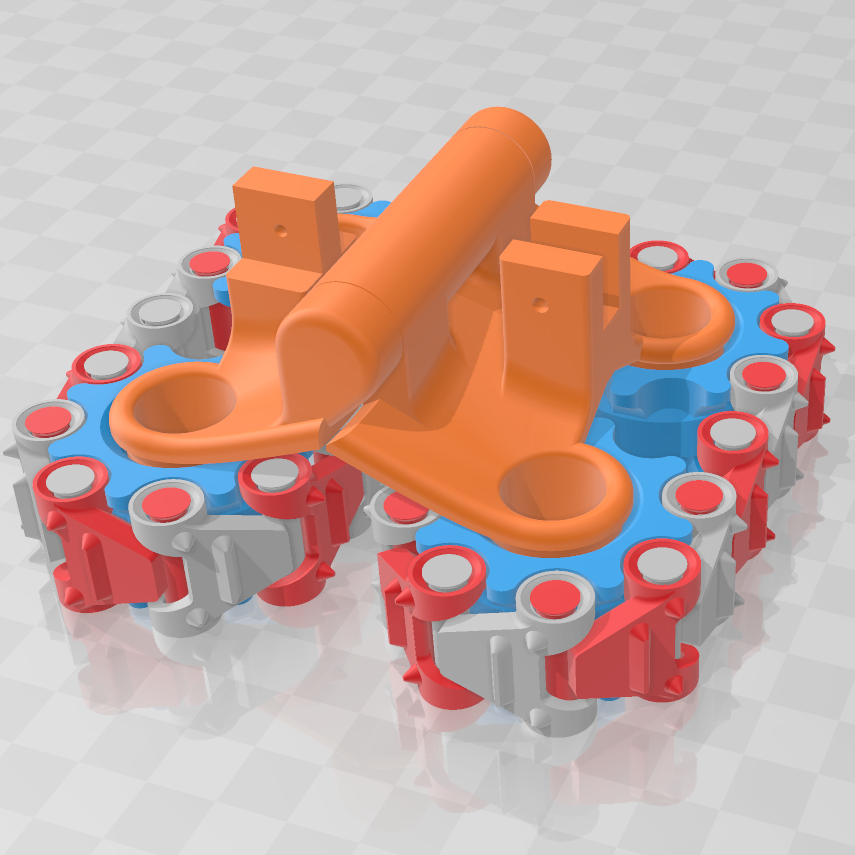
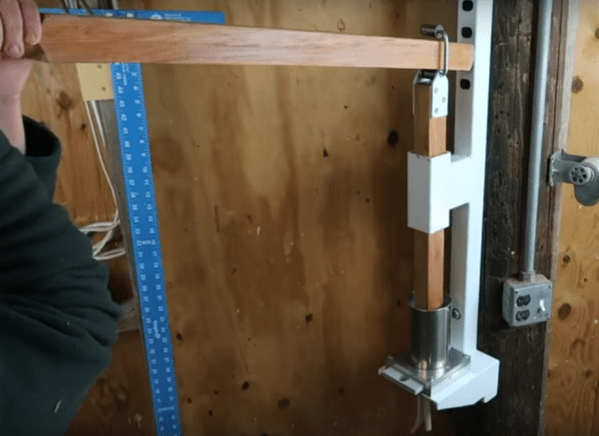
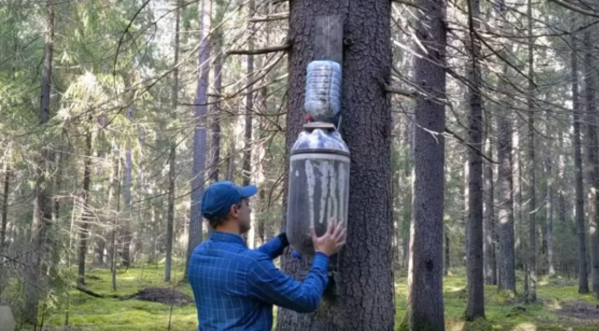
In nature, bees like to live inside of things like hollowed-out tree trunks, so he has modeled his hive design after that by basing it around large inverted plastic bottles. Bees can enter in the opening at the bottle and build their comb inside from the top down. The bottles can be closed and moved easily without contacting the bees, and he even creates honey supers out of smaller bottles which allows honey to be harvested without disturbing the core beehive.There are a number of strategies to improve the bees’ stay in the bottles as well, such as giving them wooden skewers in the bottle to build their comb on and closing the bottles in insulation to help the hives regulate their temperature more evenly and to keep them dark.
He hopes this idea will help inspire those with an interest in the hobby who wouldn’t otherwise have the large amount of money it takes to set up even a few Langstroth-type hives. Even if you don’t live in a part of the world where the Langstroth hive is common, this system still should be possible to get up and running with a minimum of financial investment. Once you’ve started, though, take a look at some other builds which augment the hive with some monitoring technology.