At this point, it’s safe to say that word clocks aren’t quite as exciting as they once were. We’ve seen versions that boil the concept down to what amounts to a parts bin build, which for better or for worse, takes a lot of the magic out of it. You just get an array of LEDs, put some letters in front of it, write some code, and you’re done.
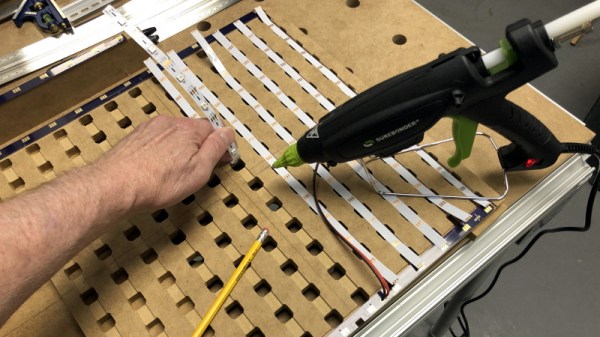
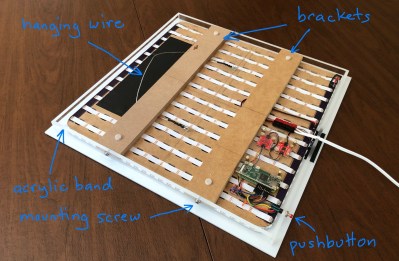
But then [Mark Sidell] sent in his build, and we remembered why we collectively fell in love with these clocks in the first place. It wasn’t the end result that captivated us, although the final clock is indeed gorgeous, but the story of its painstaking design and construction. The documentation created for this project is unquestionably some of the best we’ve seen in a very long time, and whether or not you have any desire to build a word clock of your own, you won’t regret sitting down and reading through it.
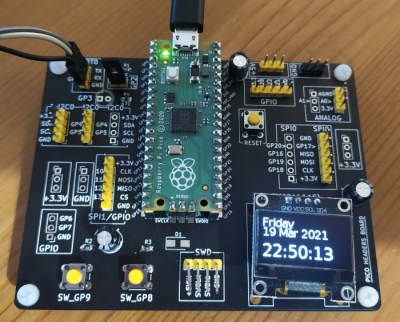
 If you can somehow come away from reading through that build log and not be impressed, surely the clock’s feature set will put you over the edge. The ability to show time in just five minute increments makes this one of the most practical word clocks we’ve seen, and the quality of life features such as automatic brightness control based on ambient light level, and a smartphone-controlled web interface for configuring the clock are just a few of its standout features.
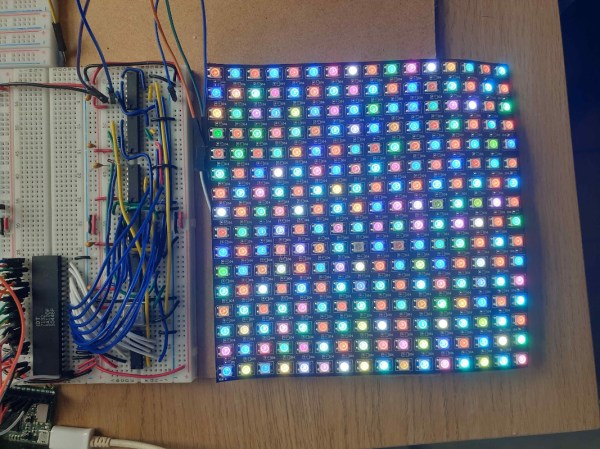
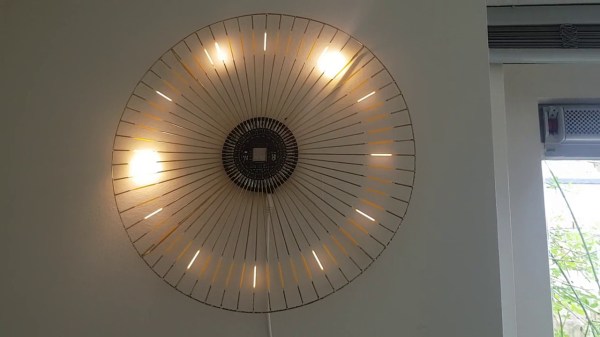
Incidentally the glow behind the clock, provided by a dedicated array of WS2812 RGB LEDs, isn’t just for ambiance. It indicates the position of the sun in the sky as calculated by the Python astral package, as well as mimicking the colors of the sunrise and sunset. There’s even a compass onboard to make sure the LEDs are properly aligned with their astronautical counterpart.
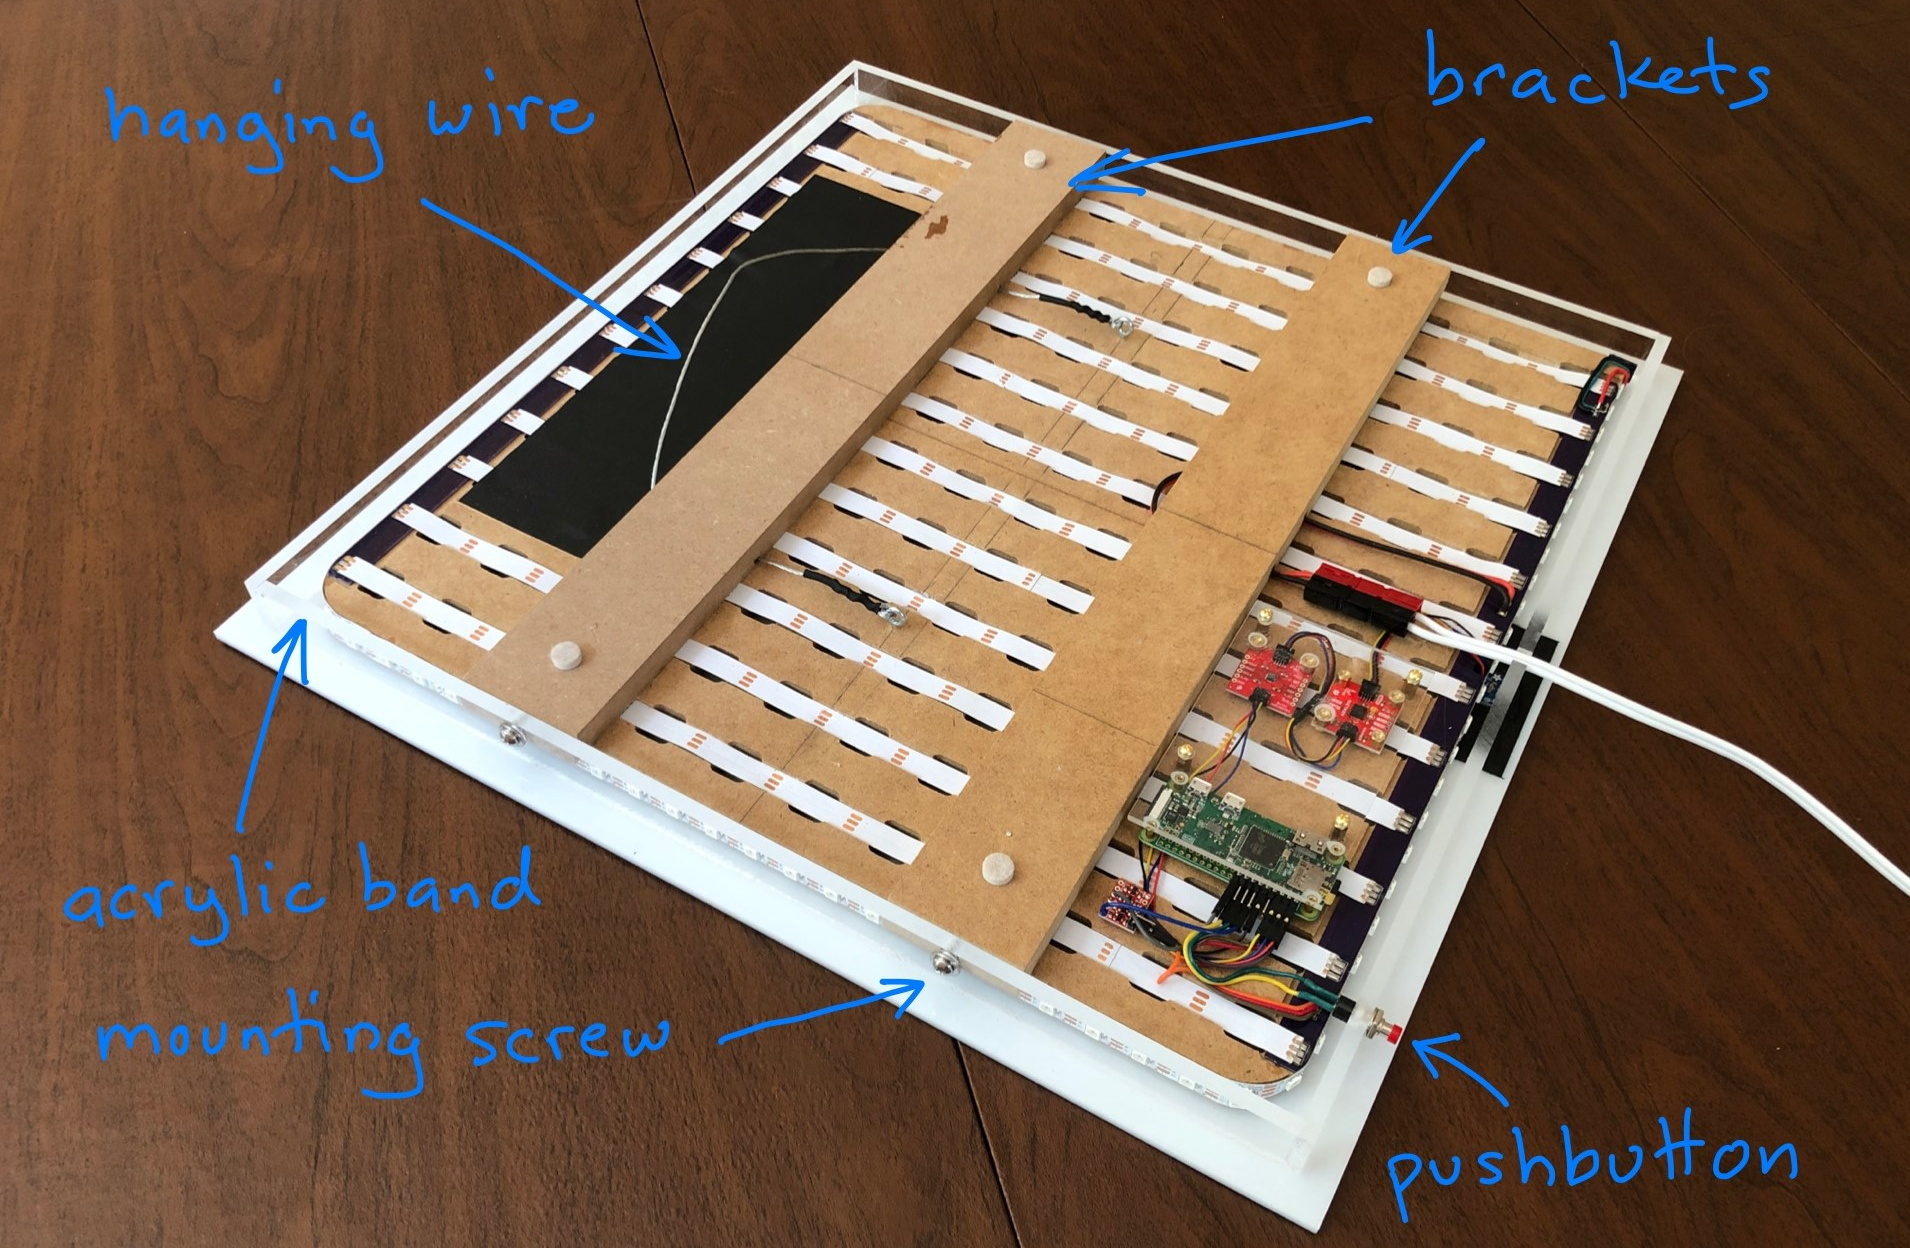
[Mark] actually made several of these clocks, most of which were given away as gifts. Some of the lucky recipients lived far enough away that the clock had to be shipped, so he designed a custom shipping case to hold everything securely during the trip. It also meant he had to come up with a way of remotely maintaining the code on these clocks without user intervention, so he created a firmware update and telemetry gathering backend with Amazon Web Services that they check into periodically. Honestly, the attention to detail put into every element of this project is just staggering.
If you’re interested in seeing what all the fuss is about with these word clocks, but aren’t quite at [Mark]’s level, don’t worry. As we said earlier, you can build a small version with little more than an LED array and a microcontroller. Just don’t blame us if it ends up turning into an obsession.
Continue reading “Gorgeous Specimen Is The Final Word In Word Clocks” →

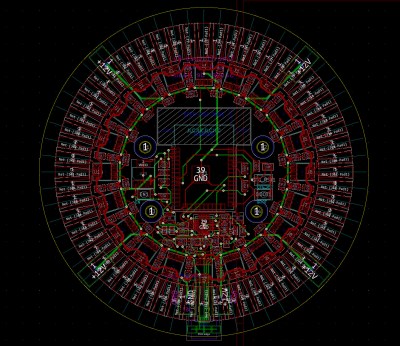 WS2811 LED controllers, which we’re so accustomed to seeing alongside RGB LEDs that they almost feel strange to see here, provide the 12 volts required for each filament and make individual addressing a breeze.