Join us on Wednesday, July 14 at noon Pacific for the SCADA Security Hack Chat with Éireann Leverett!
As a society, we’ve learned a lot of hard lessons over the last year and a half or so. But one of the strongest lessons we’ve faced is the true fragility of our infrastructure. The crumbling buildings and bridges and their tragic consequences are one thing, but along with attacks on the food and energy supply chains, it’s clear that our systems are at the most vulnerable as their complexity increases.
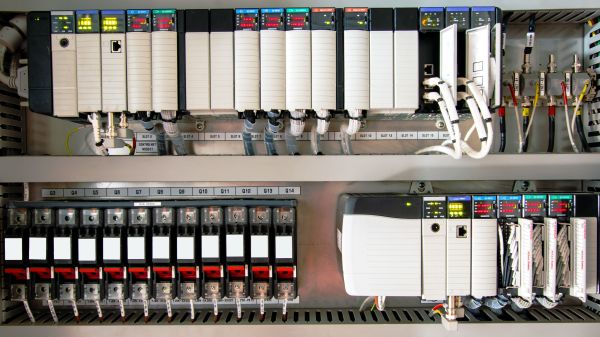
And boy are we good at making complex systems. In the United States alone, millions of miles of cables and pipelines stitch the country together from one coast to the other, much of it installed in remote and rugged places. Such far-flung systems require monitoring and control, which is the job of supervisory control and data acquisition, or SCADA, systems. These networks have grown along with the infrastructure, often in a somewhat ad hoc manner, and given their nature they can be tempting targets for threat actors.
Finding ways to secure such systems is very much on Éireann Leverett’s mind. As a Senior Risk Researcher at the University of Cambridge, he knows about the threats to our infrastructure and works to find ways to mitigate them. His book Solving Cyber Risk lays out a framework for protecting IT infrastructure in general. For this Hack Chat, Éireann will be addressing the special needs of SCADA systems, and how best to protect these networks. Drop by with your questions about infrastructure automation, mitigating cyber risks, and what it takes to protect the endless web of pipes and wires we all need to survive.
 Our Hack Chats are live community events in the Hackaday.io Hack Chat group messaging. This week we’ll be sitting down on Wednesday, July 14 at 12:00 PM Pacific time. If time zones have you tied up, we have a handy time zone converter.