Researchers at the NCCGroup have been working on a 5-part explanation of a Windows kernel vulnerability, targeting the Kernel Transaction Manager (KTM). The vulnerability, CVE-2018-8611, is a local privilege escalation bug. There doesn’t seem to be a way to exploit this remotely, but it is an interesting bug, and NCCGroup’s work on it is outstanding.
They start with a bit of background on what the KTM is, and why one might want to use it. Next is a handy guide to reverse engineering Microsoft patches. From there, they describe the race condition and how to actually exploit it. They cover a wide swath in the series, so go check it out.
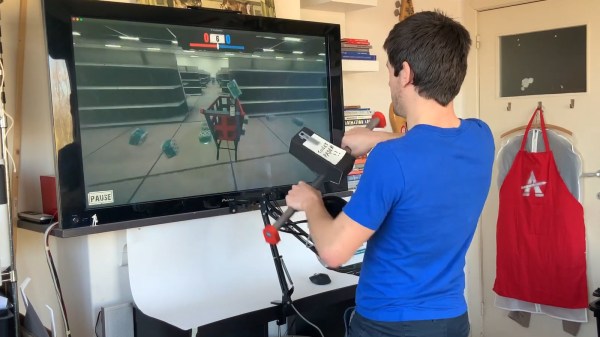
Left4Dead 2
Just a reminder that bugs show up where you least expect them, [Hunter Stanton] shares his story of finding a code execution bug in the popular Valve game, Left4Dead 2. Since the game’s code isn’t available to look at, he decided to go the route of fuzzing. The specific approach he took was to fuzz the navigation mesh data, part of the data contained in each game map. Letting the Basic Fuzzing Framework (BFF) run for three days turned up a few possible crashes, and the most promising turned out to have code execution potential. [Hunter] submitted the find through Valve’s HackerOne bug bounty program, and landed a cool $10k bounty for his trouble.
While it isn’t directly an RCE, [Hunter] does point out that malicious mesh data could be distributed with downloadable maps on the Steam workshop. Alternatively, it should be possible to set up a fake game server that distributes the trapped map. Continue reading “This Week In Security: Leaking Partial Bits, Apple News, And Overzealous Contact Tracing”