The bagpipes, most commonly seen in their Great Highland form from Scotland, are a loud and imposing musical instrument. Known for being difficult to practice quietly, they’re not the ideal thing to pick up in these times of quarantine and isolation. But, if you must, here’s how you can craft your own at home!
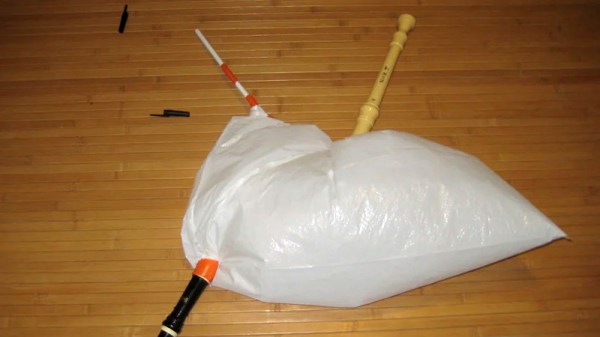
A garbage bag is used as the air bag for this design, readily available and easy to work with. A recorder is then installed into the bag to act as the chanter – the part of the instrument with with pitch is controlled by finger position. A second recorder is then installed as a drone, which produces the continuous harmonizing note typical of bagpipes. A pair of pens are used to create the blowpipe which supplies air to the instrument. Everything is then sealed up with tape and you’re ready to go!
While it’s not a great facsimile of an authentic Scottish bagpipe, it does work in the same way and make some noise. It would be interesting to see a talented player handle such a makeshift piece. Alternatively, consider some of the alternative DIY instruments we’ve featured before. Video after the break.
Continue reading “DIY Bagpipes Made From Common Household Items”