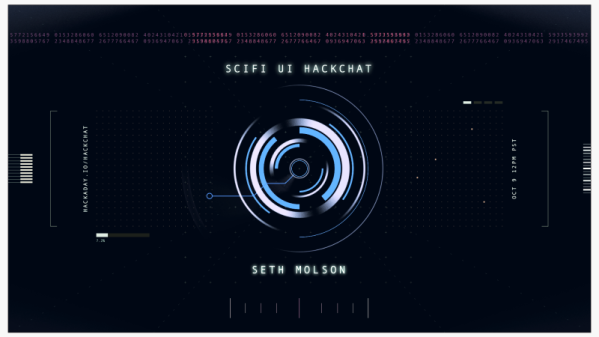
Join us on Wednesday, October 9 at noon Pacific for the Designing Sci-Fi Hack Chat with Seth Molson!
We all know the feeling of watching a movie set in a galaxy far, far away and seeing something that makes us say, “That’s not realistic at all!” The irony of watching human actors dressed up as alien creatures prancing across a fantasy landscape and expecting realism is lost on us as we willingly suspend disbelief in order to get into the story; seeing something in that artificial world that looks cheesy or goofy can shock you out of that state and ruin the compact between filmmaker and audience.
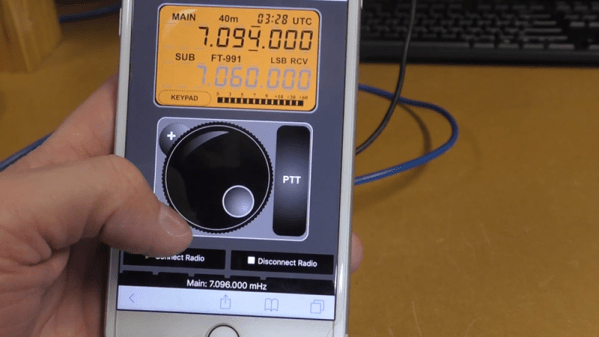
Perhaps nowhere do things get riskier for filmmakers than the design of the user interfaces of sci-fi and fantasy sets. Be they the control panels of spacecraft, consoles for futuristic computers, or even simply the screens of phones that are yet to be, sci-fi UI design can make or break a movie. The job of designing a sci-fi set used to be as simple as wiring up strings of blinkenlights; now, the job falls to a dedicated artist called a Playback Designer who can create something that looks fresh and new but still plausible to audiences used to interacting with technology that earlier generations couldn’t have dreamed of.
Seth Molson is one such artist, and you’ve probably seen some of his work on shows such as Timeless, Stargate Universe, and recently Netflix’s reboot of Lost in Space. When tasked to deliver control panels for spacecraft and systems that exist only in a writer’s mind, Seth sits down with graphics and animation software to make it happen.
Join us as we take a look behind the scenes with Seth and find out exactly what it’s like to be a Playback Designer. Find out what Seth’s toolchain looks like, how he interacts with the rest of the production design crew to come up with a consistent and believable look and feel for interfaces, and what it’s like to design futures that only exist — for now — in someone’s imagination.
 Our Hack Chats are live community events in the Hackaday.io Hack Chat group messaging. This week we’ll be sitting down on Wednesday, October 9 at 12:00 PM Pacific time. If time zones have got you down, we have a handy time zone converter.
Click that speech bubble to the right, and you’ll be taken directly to the Hack Chat group on Hackaday.io. You don’t have to wait until Wednesday; join whenever you want and you can see what the community is talking about.