This week starts out with a nifty vulnerability in the glibc dynamic loader. This is an important step in running a binary executable on Linux, as it pulls the list of required shared libraries, and loads those libraries into memory. Glibc also includes a feature to adjust some runtime settings, via the GLIBC_TUNABLES environment variable. That’s where the vulnerability resides, and researchers from Qualsys obviously had a bit of fun in taking inspiration to pick the vulnerability name, “Looney Tunables”.
The problem is memory handling in the sanitizing parser. This function iterates through the environment variable, looking for strings of tunable1=aa, separated by colons. These strings get copied to the sanitized buffer, but the parsing logic goes awry when handling the malformed tunable1=tunable2=AAA. The first equals sign is taken at face value, copying the rest of the string into the buffer. But then the second equals sign is also processed as another key=value pair, leading to a buffer overflow.
The reason this particular overflow is interesting is that if the binary to be run is a Set-User-ID (SUID) root application, the dynamic loader runs as root, too. If the overflow can achieve code execution, then it’s a straightforward privilege escalation. And since we’re talking about it, you know there’s a way to execute code. It turns out, it’s possible to overwrite the pointer to the library search path, which determines where the dynamic loader will look for libraries. Tell it to look first in an attacker-controlled location, and you can easily load a malicious libc.so for instant code execution.
This vulnerability affects many Linux distros, and there’s already a Proof of Concept (PoC) published. So, it’s time to go check for updates for cve-2023-4911. Continue reading “This Week In Security: Looney Tunables, Not A 0-day*, And Curl Warning”
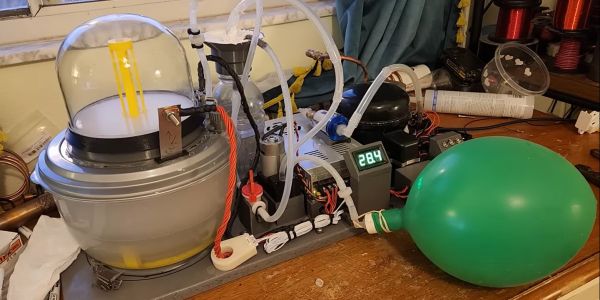
![Automated hydrogen generator setup, courtesy of [Hyperspace Pirate]'s dog drinking bowl.](https://hackaday.com/wp-content/uploads/2023/10/automated_hydrogen_generator_basics.jpg)