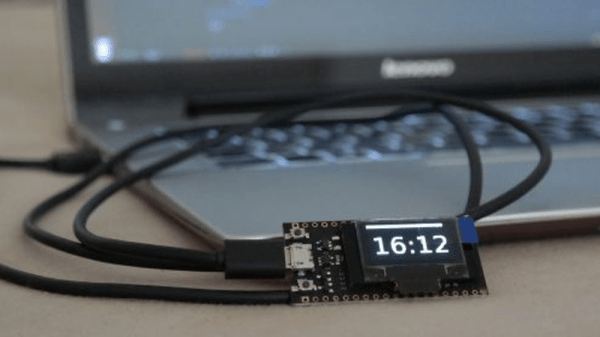
In the aftermath of the London Unconference, after the usual beer drinking networking at the pub, I meet Javier Varela, one of our many readers that were present. It turns out my fellow Iberic friend is involved in some interesting hardware projects, one of them being the OVM20 Lite board. I was looking for an excuse to mess around with my old Prusa and this was the perfect one. The P3Steel 3D printer was just getting dusty on my basement and it printed just fine in the past. Until one day…
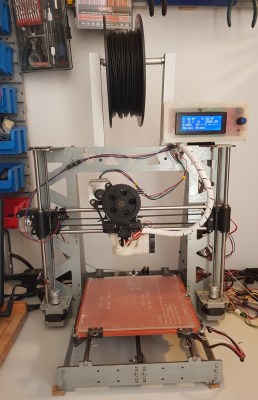
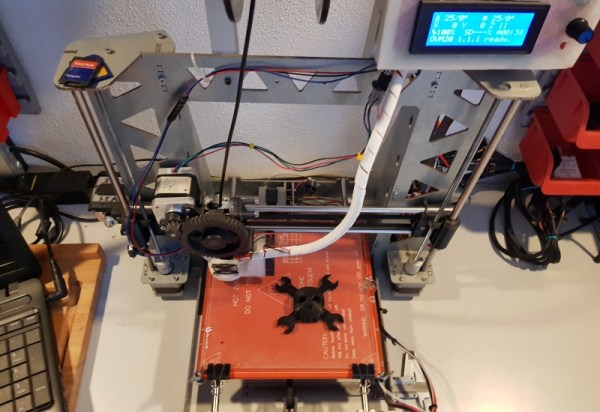
Based on Arduino Mega 2560 with the RAMPS 1.4, it was a pretty standard and cheap option to get some years ago (and still is). My additional modifications or upgrades from the standard options was a LCD screen and the DRV8825 stepper drivers.
What happened was that one fine day the prints started to skew. No matter how hard I tried, it skewed. I checked the driver’s potentiometer, I went back to the motor specifications, I swapped drivers around, and I even flashed another firmware. If the print was big enough, it will get messed up. Sometimes even small prints failed. When you are debugging something like this for hours, there comes a point in time that you start to suspect everything. Was it overheating the drivers? If so, why did this never happened before? Maybe the power supply is fluctuating and coming to the end of its life? Some messed up capacitor in the board? Was it RAMPS’ fault or Arduino? A motor starting to fail? A mechanical issue? I had a fine-tuned Marlin firmware that I manually tweaked and slightly changed, which I had no backup off after the flashing. In retrospect, I actually checked for a lot of things that couldn’t really be related to the problem back then but I also learned quite a lot.