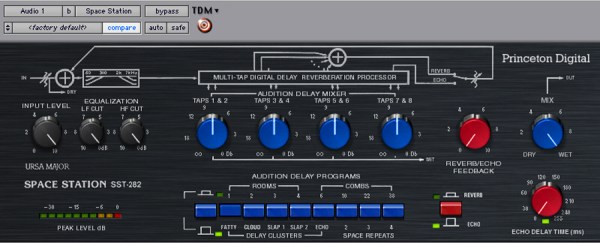
The Ursa Major Space Station SST282 is a dinosaur of a digital reverb. Okay, so maybe 1978 isn’t ancient yet, but it is getting to the point where one has to worry about the possibility of component failure. At least that’s what [Obsoletetechnology] thought when they created a backup of its memory contents.
As can be seen from some of Hackaday’s previous articles, a part does not have to be an older one to fail. However, there is no such thing as being too paranoid when it comes to older parts reaching their lifetime. Especially when there is valuable memory involved. Each bit of PROM memory is locked by a fuse on its location grid to store permanent data. To be able to read this and collect the respective data, a Raspberry Pi 3 PROM reader was created.
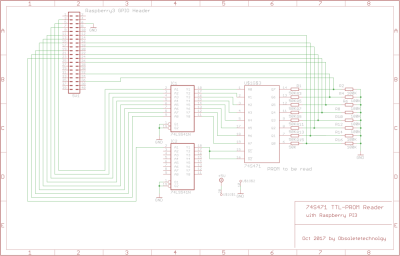
The SST282 uses 3 TTL-level 74xx series Schottky PROM memories on board that hold RAM lookup tables. In the case that these failed, all of the subsequent information would be lost since there are no surviving memory dumps online. Fortunately we are interested only in gathering their contents, so the PROM reader schematic is fairly rudimentary. The chip’s address and data buses connect to a Pi’s GPIO header, and the only other thing to note is a 74LS541 TTL level shifter that converts the Pi’s 3.3V output to the PROM’s 5V TTL level.
Linux can have a somewhat split personality. If you use it as a desktop OS, it has a lot of GUI tools, although sometimes you still need to access the command line. If you use it as a headless server, though, you probably ought to know your way around the command line pretty well. This is especially true if you don’t want to litter up your hard drive (and CPU) with X servers and other peculiarities of the graphical user interface.
Personally, I like the command line, but I am realistic enough to know that not everyone shares that feeling. I’ll also admit that for some tasks — especially those you don’t do very often — it is nice to have some helpful buttons and menus. There are several administration tools that you might be interested in using to handle administration tasks on your Linux machines. I’m going to look at two of them you might want to experiment with that both use a Web browser to provide their interface.
Want to experience the Hackaday Superconference from the comfort of your own workshop? Just follow us on YouTube or on Facebook as two days of live streaming talks begin this Saturday morning.
This weekend is the Hackaday Superconference, the greatest hardware conference on Earth. While the Superconference is the most amazing gatherings of engineers and engineering enthusiasts, we realize that not everyone can make it out to our ultimate hardware conference. This year, we’re doing something special for everyone who can’t make it out — we’re opening up live streams and live chat to those who can’t attend. This is your chance to take part in the Superconference, even if you’re thousands of miles away.
You are invited to the chat room for the event. Join the Superconference chat right now and be part of the culture of the Hacker Village that springs to life during Supercon.
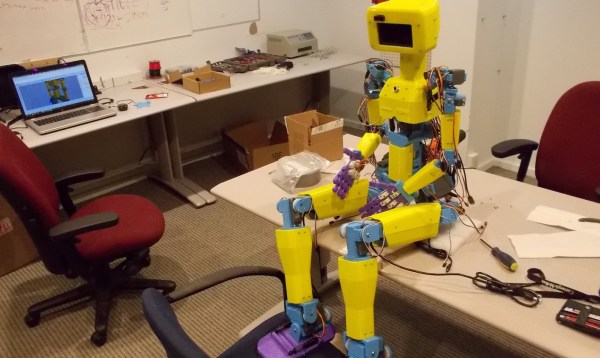
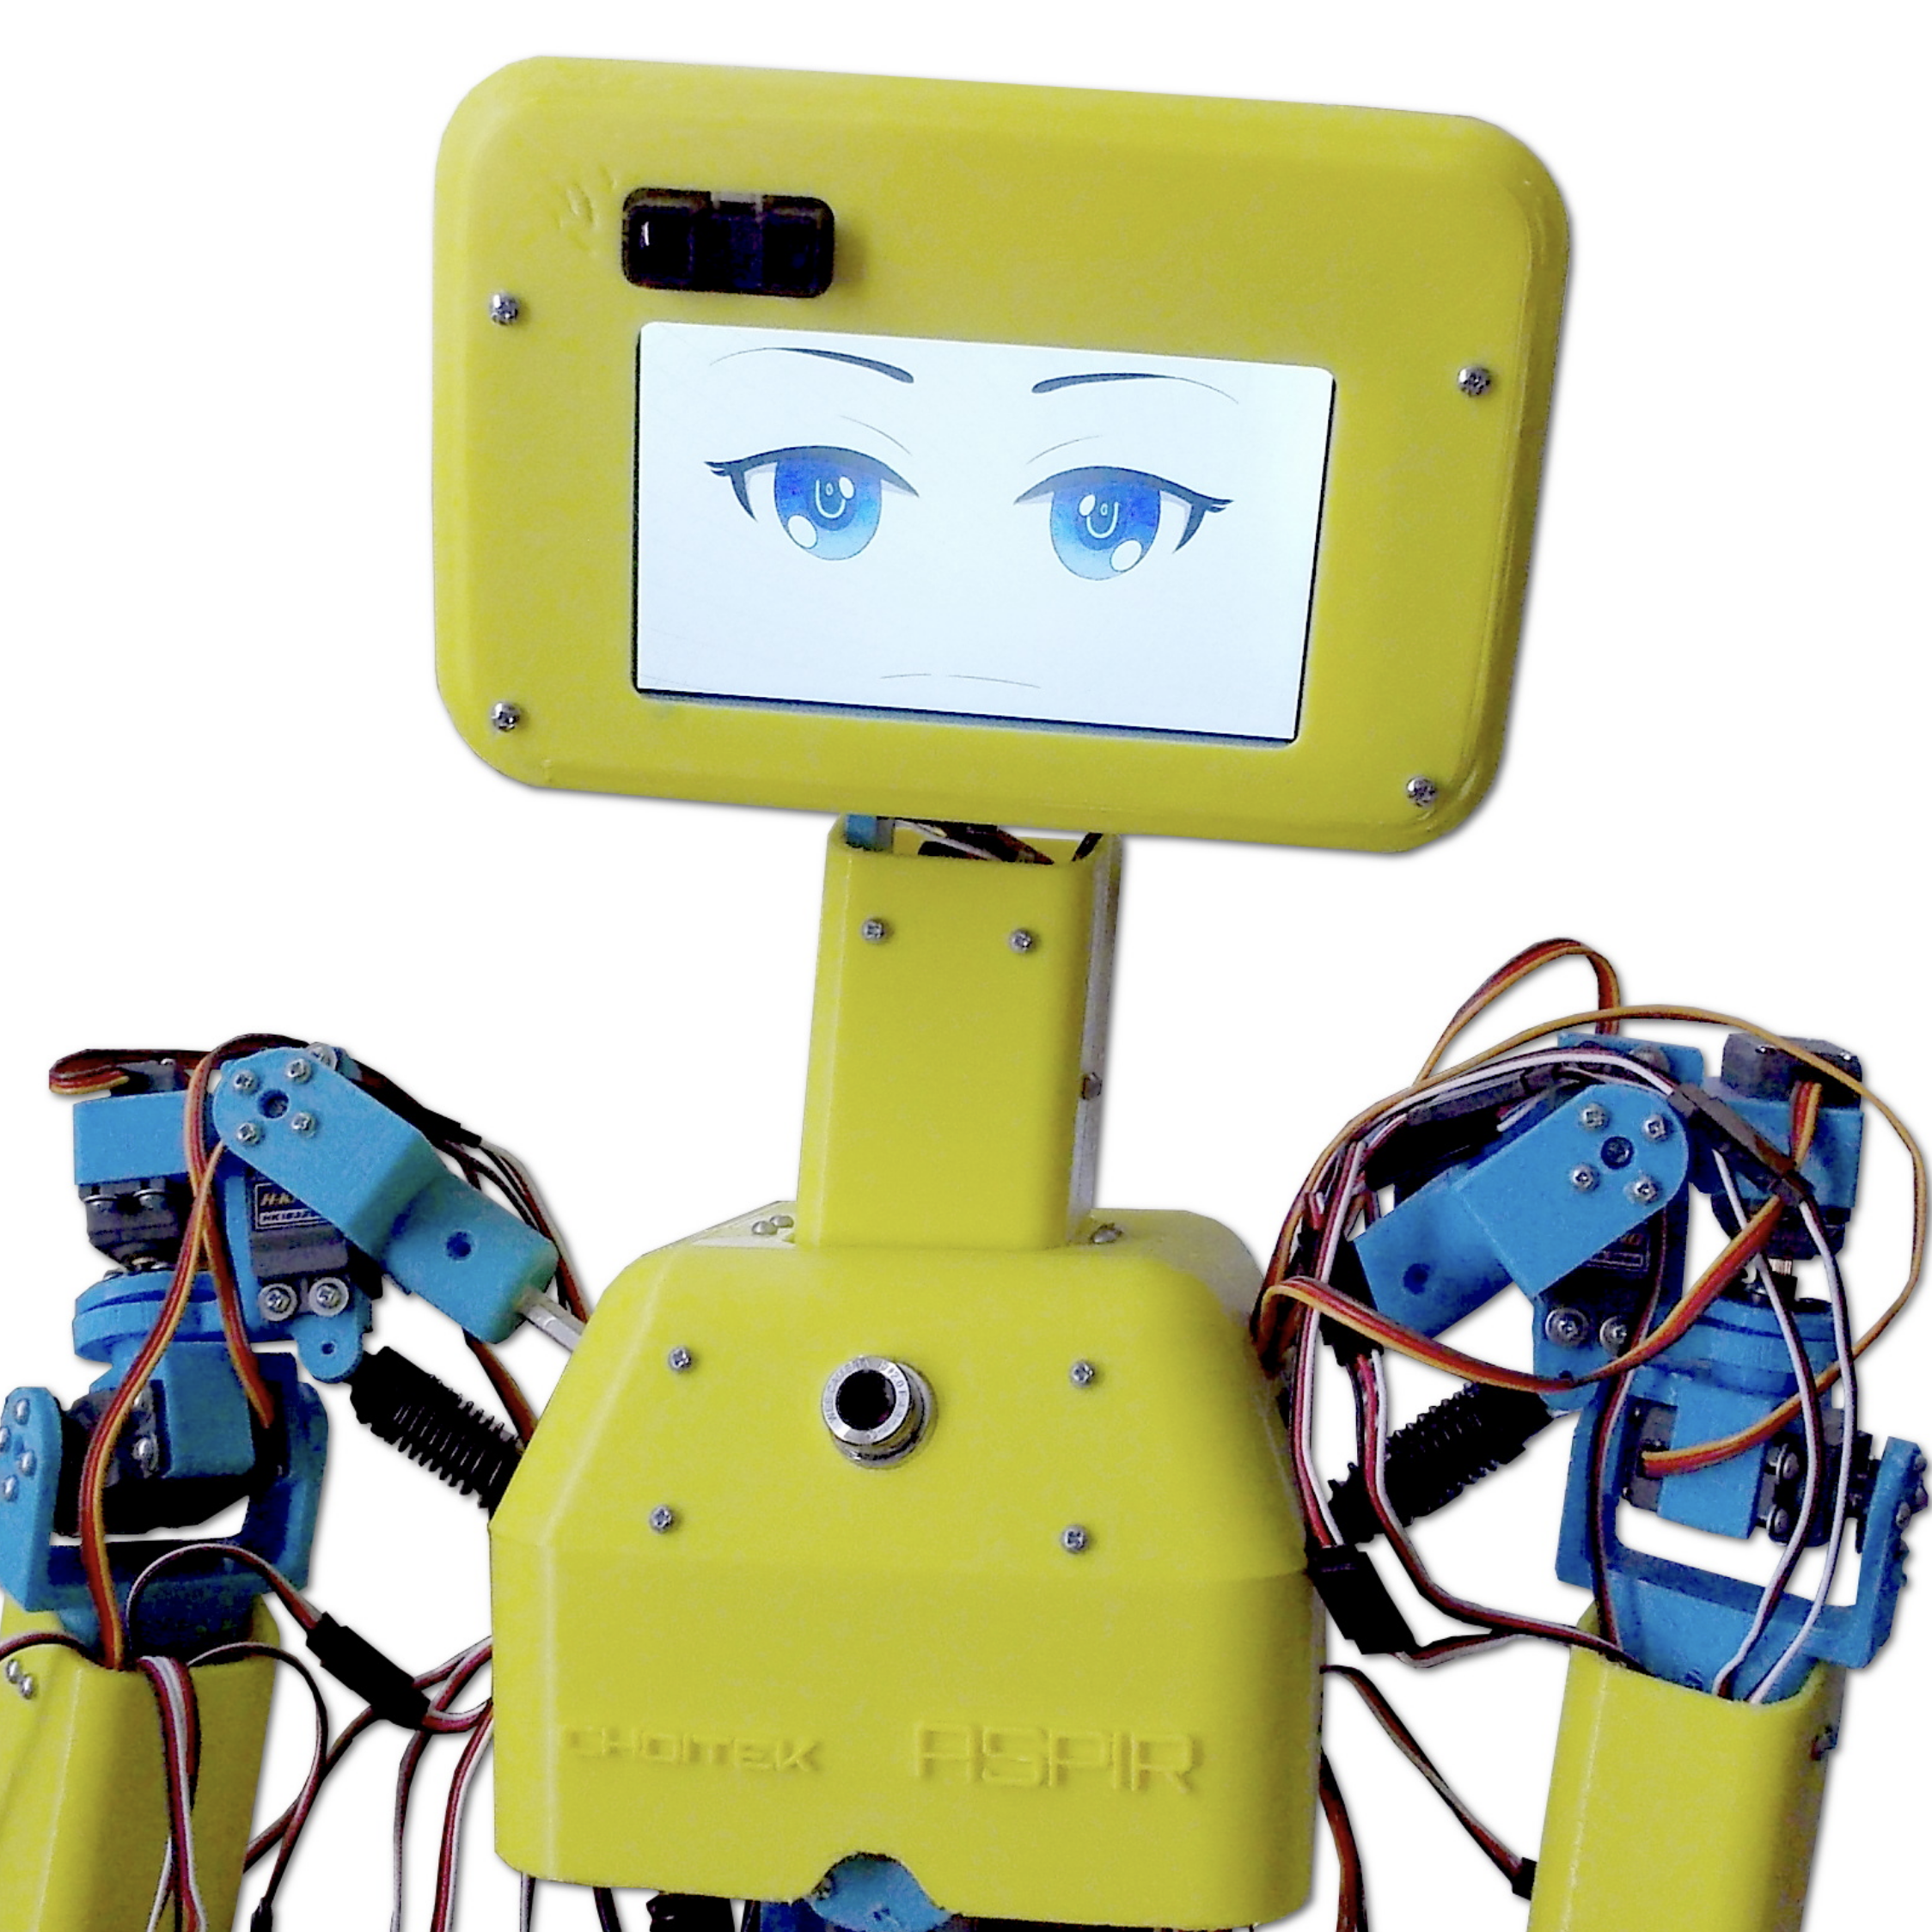
ASPIR, the Autonomous Support and Positive Inspiration Robot is an goblin-sized robot, designed by [John Choi], aims to split the difference between smaller hobbyist robots and more robust but pricy full-sized humanoids only a research institute could afford. By contrast, [John] estimates it cost a relatively meager $2,500 to create such a homunculus.
The robot consists of 33 servos of various types moving the limb, controlled by an Arduino Mega with a servo control shield seated on it. The chassis uses 5 kg of filament and took 300 hours to print, and it has a skeleton made up of aluminum hex rods. Spring-loaded RC shocks help reinforce the shoulders. There are some nice touches, like 3D-printed hands with living hinge fingers, each digit actuated by a metal-gear micro servo. It stores its power bricks in its shins. For sensors it includes a chest-mounted webcam and a laser distance sensor.
The main design feature is the Android smartphone serving as its brains, and also — at least cosmetically — its eyes. Those eyes… might be just a teensy bit too Chucky for our taste. (Nice work, [John]!)
When men were men, and oscilloscopes were oscillographs.
Do you remember your first oscilloscope? Maybe we have entered the era in which younger readers think of a sleek model with an LCD screen, but for the slightly older among us the image that will come to mind is likely to be a CRT-based behemoth. Mine was a 2MHz bandwidth Cossor from the 1950s, wildly outdated by the 1980s, but it came to me at no cost. It proudly proclaims itself as a “Portable Oscillograph”, but requires its owner to be a weightlifter to move it. I still have it, as a relic and curio.
For most of us a new ‘scope is still a significant investment. Even affordable current models such as the extremely popular Rigol instruments are likely to cost several hundred dollars, but offer measurement functions undreamed of by those 1950s engineers who would have looked on the Cossor as an object of desire.
Oscilloscope buyers on a budget may not have the cash for a Rigol, a Hantek, or any of the other affordable ‘scopes. Someone starting on the road of electronic engineering can scout around for a cheap or free second-hand CRT model, but thanks to the ever advancing march of technology they also have another option. Modern microprocessors and microcontrollers have analogue-to-digital converters and processor cores that are fast enough to provide the functions of a simple oscilloscope, and to that end a variety of very cheap ‘scopes and ‘scope kits have come on the market. These invariably have a rather small LCD screen and a relatively low bandwidth, but since they can be had for almost pocket-money prices their shortcomings can be overlooked in the name of value. It’s been a matter of curiosity for some time then: are these instruments any good? For around £16 ($21) and the minor effort of an online order from China, we decided to find out.
If you look at most stockists of electronic kits these days, you are likely to find an oscilloscope kit in their range. These are volume produced in China, and the same design trends appear across different models. You can buy surface mount or through-hole, and most of them feature a bare board with maybe a piece of laser-cut Perspex standing in for a case. There are one or two models appearing that come with a case though, and it was one of these that we ordered. The JYE Tech DSO150 is a single-channel ‘scope with a 2.4″ 320×240 pixel colour LCD screen and a 200kHz bandwidth. Its specification is typical of the crop of similar kits, though its smart case sets it apart and made it an easy choice.
In the Box
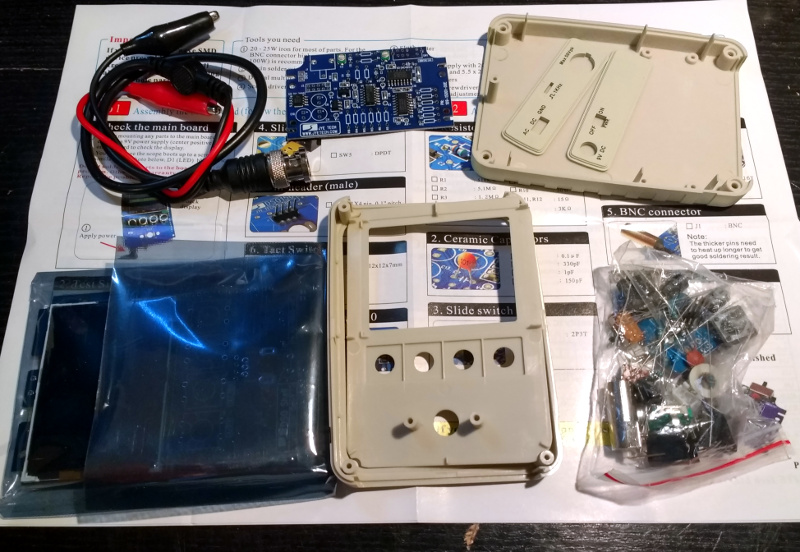
We ordered one, and when it arrived, it was packed in a small cardboard carton that had suffered some crushing in transit, but had protected the internal contents well enough that no harm had been done. A layer of foam protected the LCD, and the case parts appeared rigid enough to protect the rest of the components. There was a bag of discretes, the case parts, two PCBs, a test lead with crocodile clips, and two pages of instructions.
When looking at a kit, it’s best to start with the instructions, because no matter the quality of the kit itself it is the quality of the instructions that make or break a kit. If you can’t build it then it doesn’t matter how good it might be, it’s effectively junk.
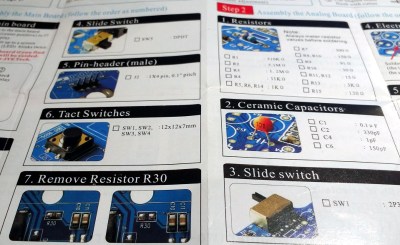
The DSO150 instructions are two sheets of high quality double-sided colour print, with the emphasis on pictures rather than words, The front page introduces the kit and gives a quick soldering guide, then the next two pages step through each stage of construction. The final page has basic instructions for use, specification, and a troubleshooting guide. Our kit had all surface-mount parts already fitted, if we’d known the kit could also be had with SMD parts to fit we’d have bought that version instead.
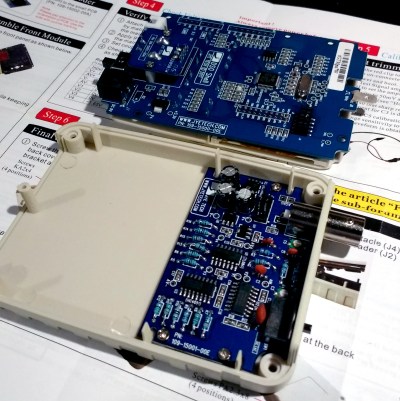
Inside the DSO100.
The instruction steps are long on images and short on text, but there are sometimes few cues as to where the component in question lies on the board. Sometimes some careful examination of board and picture is necessary to ensure correct placement. The first step though doesn’t involve any soldering, wire the main board up to a 9V supply, and watch the LCD boot into the oscilloscope software. There is support via a forum on the JYE Tech website, we presume you’d go there if it failed to boot out of the box. A 9V PSU isn’t included, you’ll need to find one with a 2.1mm centre positive plug. Fortunately a suitable candidate was in the box of wall warts here, formerly being used by a router.
The main board assembly is straightforward enough, being the assembly of larger through-hole parts such as switches and connectors. The analogue board has a brace of small through-hole resistors and ceramic capacitors to fit, of these the resistors were of the tiny variety which made distinguishing between some of their colour stripes a little difficult. Bring your multimeter to check. There is a BNC connector that requires significant heat on there too, so make sure you have a suitably beefy iron to hand. Finally there is a small board for the rotary encoder, then the front of the case can be assembled to the main board, the analogue board attached, and the ‘scope set up. Verify on-board voltages, attach the test clip to the calibration output and adjust the compensation capacitors for a square wave, and the rest of the case can be added to complete the unit.
Functionality
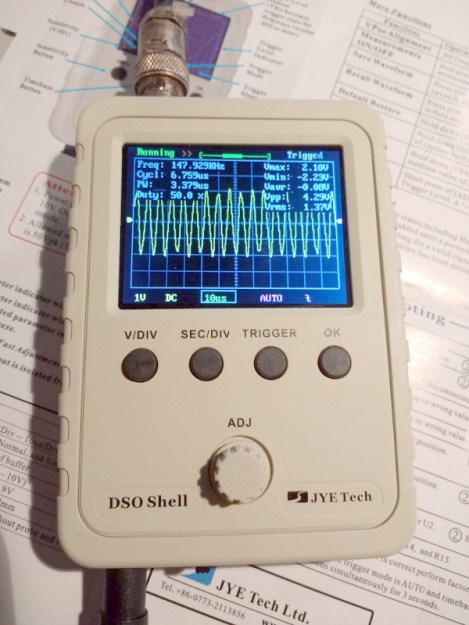
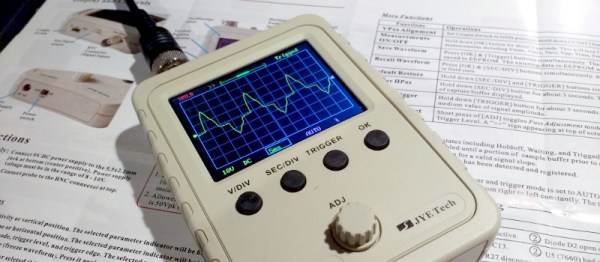
The DSO150 showing the upper end of its bandwidth.
In use, the DSO150 makes a simple and straightforward enough oscilloscope. The usual volts/division and timebase selection is easy enough, and the various trigger modes can quickly be selected. If you’ve used an oscilloscope before then you will have no problems getting started with it. But of course, the DSO150 isn’t just a simple oscilloscope, it’s a digital storage ‘scope. And with 1024 sampling points it can do the usual storage ‘scope thing of allowing the user to examine a stored waveform in great detail, scrolling back and forth through the stored points. Here the instruction sheet falls short, not mentioning that a double tap on the V/div or Sec/div buttons allows you to scroll.
Connecting the signal generator to our DSO150 allowed the exploration of its bandwidth. The claimed 200kHz is pretty spot-on, winding the signal generator far beyond that point showed a tail-off in displayed amplitude. Also the minimum 10µS per division limits the usefulness of a waveform display at these frequencies.
The DSO150 is supplied with a short test lead terminated in a pair of crocodile clips. This is somewhat less useful than the oscilloscope probes we’re used to, though happily it can also be used with a standard 1x/10x probe. Looking at the square wave on the test terminal through a standard probe reveals a sharp corner on the waveform, so there seems not to be any problems between the compensation on-board and that in the probe. It’s likely that either the DSO150 here will be used with a standard probe, or that the crocodile clip will swiftly be replaced with a probe of some kind.
Closing Thoughts
So then, the JYE Tech DSO150 oscilloscope kit. A nice little ‘scope within the limitations of the STM32F103C8 microcontroller that drives it. If you can put up with a 200kHz bandwidth and a 50V peak input voltage then it’s a useful pocket instrument. Its calibration will depend on the STM’s crystal and voltage reference, but as with the rest of its specification, when you consider its pocket-money price those become minor considerations. Add in that its software is open-source, and you have a very nice platform indeed. If we wanted to nitpick we’d ask for a battery compartment and a proper probe, but since both of those would put up the price we wouldn’t make too much noise about it. If you need a pocket ‘scope to supplement your bench scope when working on lower frequencies, or if you have a youngster in the family looking for their first ‘scope, buy one! Our review unit will definitely see some use rather than gathering dust.
Anyone keeping up with financial news today is surely inundated with stories about Bitcoin and other cryptocurrencies. While most of the news is about the potentially inflated value of some of these coins, and how drastically they have changed in price in just a decade, there are other interesting things going on behind the scenes. For example, the currency Ethereum allows for a distributed programming platform of sorts to be implemented in the blockchain, which [GusGorman402] has taken advantage of in his latest project (YouTube link, embedded below).
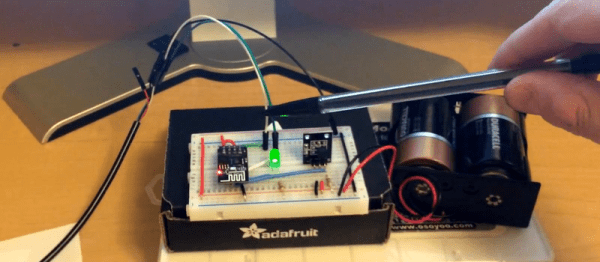
The device that he built is based on an ESP8266 which connects to a router running an instance of a Go Ethereum node. Essentially, he uses the Ethereum blockchain to control an LED connected to the ESP8266 using a feature of Ethereum called a smart contract. While this might be a misleading name, a smart contract is basically an autonomous program that can do virtually anything a programmer writes into it. While this is a roundabout way to write a “Hello World” program, it does demonstrate the power of the Ethereum platform when compared to other cryptocurrencies.
If you’re interested in currency trading, blockchains, cryptography, or the future of computing, be sure to check out the detailed video after the break. It’s a curious new tool, and it will be interesting to see how developers and hackers alike use it to accomplish things we’ve never thought of yet.
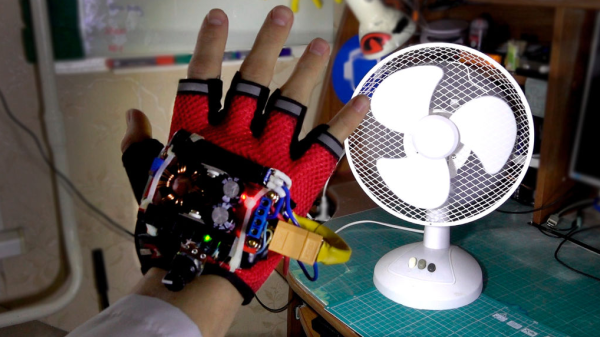
What do you get when you put an ultra-bright LED in the palm of a glove, and strobe it controlled by an accelerometer? A Time Control Glove! In creator [MadGyver]’s own words, it’s “just a stroboscope with frequency adjustment” but the effect is where all the fun is.
The Time Control Glove uses the stroboscopic effect, which many of us have seen used in timeless water drop fountains where the strobe rate makes drops appear to change speed, freeze in place, and even change direction. [MadGyver] made the entire assembly portable by putting it into a glove. An on-board accelerometer toggles the strobe in response to a shake, and the frequency is changed by twisting the glove left or right. The immediate visual feedback to the physical motions is great. The whole effect is really striking on the video, which is embedded below.



 If you look at most stockists of electronic kits these days, you are likely to find an oscilloscope kit in their range. These are volume produced in China, and the same design trends appear across different models. You can buy surface mount or through-hole, and most of them feature a bare board with maybe a piece of laser-cut Perspex standing in for a case. There are one or two models appearing that come with a case though, and it was one of these that we ordered.