Here’s a fun thought experiment. UDP packets can be sent with an arbitrary source IP and port, so you can send a packet to one server, and could aim the response at another server. What happens if that response triggers another response? What if you could craft a packet that continues that cycle endlessly? That is essentially the idea behind Loop DoS (Denial of Service).
This unique avalanche of packets has been managed using specific implementations of several different network services, like TFTP, DNS, and NTP. There are several CVEs being used to track the issue, but CVE-2024-2169 is particularly odd, with the description that “Implementations of UDP application protocol are vulnerable to network loops.” This seems to be a blanket CVE for UDP, which is particularly inappropriate given that the first DoS of this sort was first reported in 2009 at the latest.
More details are available in a Google Doc. There some interesting tidbits there, like the existence of cross-protocol loops, and several legacy protocols that are vulnerable by design. The important thing to remember here is you have to have an accessible UDP port for this sort of attack to take place, so if you’re not using it, firewall it.
Flipper Flips Back
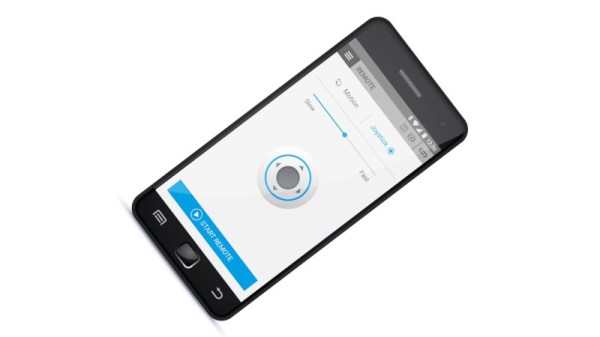
We’ve covered the saga of the Flipper Zero vs the Canadian government, in the context of car theft. The short version is that Canada has seen an uptick of car thefts from organized crime. Rather than meaningfully dealing with this problem, the Canadian government went looking for scapegoats, and found the Flipper Zero.
Well now, Flipper has responded, and put simply, the message is “stop the madness”. There has never been a confirmed case of using a flipper to steal a car, and it’s very unlikely it’s ever happened. On a modern car with proper rolling-code security, it’s not meaningfully possible to use the Flipper Zero for the theft. The two primary ways criminals actually steal cars are with dedicated keyfob repeaters and CAN bus hackers.
There is a petition to sign, and for Canadians, Flipper suggests contacting your local member of parliament. Continue reading “This Week In Security: Loop DOS, Flipper Responds, And More!” →