Two things we love are economical solutions to problems, and clever ways to use things for other than their intended purpose. [CelGenStudios] hits both bases with a simple illuminated and spinning sign made from a lamp and a couple economical pieces of hardware: an LED bulb, and a solar-powered product spinner. Both are readily and cheaply available from your favorite overseas source.
The first step in making a cheap illuminated sign is to not buy one, but instead make do with a standing lamp. Plug a bright LED bulb into the socket, decorate the lampshade with whatever logos or signs one wishes to display, and one has an economical illuminated sign suitable for jazzing up a table at an event. But what really kicks it up a notch is making it rotate, and to do that is where the clever bit comes in.
The first attempt used a BBQ rotisserie motor to turn the whole lamp, but it was too loud and not especially stable. The second attempt used a “disco ball effect” LED bulb with a motorized top; it worked but turned too quickly and projected light upward instead of into the lampshade.
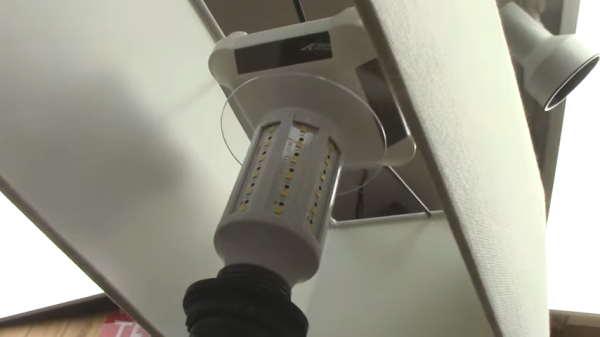
The winning combination is LED bulb plus a little solar-powered turntable onto which the lampshade mounts. As a result, the lampshade spins slowly when the lamp is turned on. It might not be the most durable thing to ever come out of a workshop, but as [CelGenStudios] says, it only needs to last for a weekend.
The basic concept is far more simple than it might sound, so check it out in the video (embedded below) to see it in action. Curious about what’s inside those little solar spinners? Skip to 5:55 in the video to see how they work. And if you’re intrigued by the idea of using solar power for motive force but want to get more hands-on with the electrical part, we have just the resource for turning tiny motors with tiny solar cells.
Thanks to [Bike Forever] for the tip!
Continue reading “Lamp Becomes Rotating, Illuminated Sign For Festival Table”