Back in the “good old days” movie theaters ran serials. Every week you’d pay some pocket change and see what happened to Buck Rogers, Superman, or Tex Granger that week. Each episode would, of course, end in a cliffhanger. [Keith Hayes] has started his own serial about restoring a DEC 340 monitor found in a scrap yard in Australia. The 340 — not a VT340 — looks like it could appear in one of those serials, with its huge cabinets and round radar-like display. [Keith] describes the restoration as “his big project of the year” and we are anxious to see how the cliffhangers resolve.
He’s been lucky, and he’s been unlucky. The lucky part is that he has the cabinet with the CRT and the deflection yoke. Those would be very difficult to replace. The unlucky part is that one entire cabinet of electronics is missing.
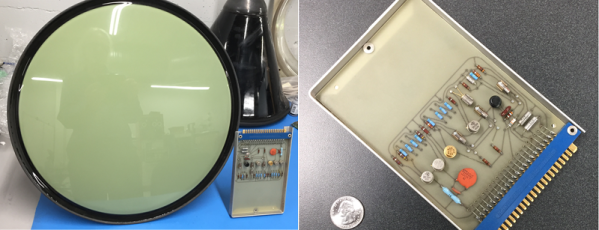
There are many ways of storing data in a computer’s memory, and not all of them allow the computer to write to it. For older equipment, this was often a physical limitation to the hardware itself. It’s easier and cheaper for some memory to be read-only, but if you go back really far you reach a time before even ROMs were widespread. One fascinating memory scheme is this example using a vacuum tube that stores the characters needed for a display.
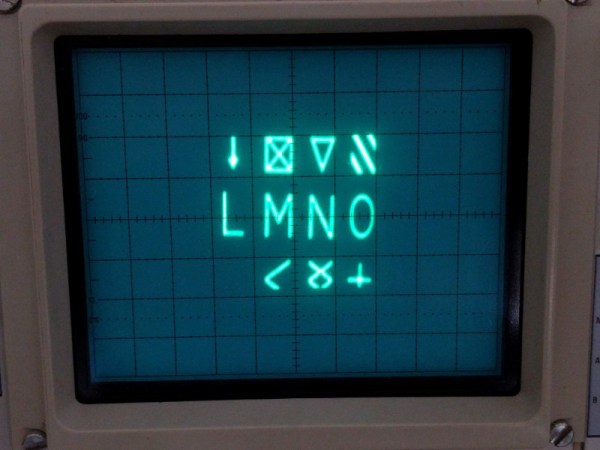
[eric] over at TubeTime recently came across a Raytheon monoscope from days of yore and started figuring out how it works. The device is essentially a character display in an oscilloscope-like CRT package, but the way that it displays the characters is an interesting walk through history. The monoscope has two circuits, one which selects the character and the other determines the position on the screen. Each circuit is fed a delightfully analog sine wave, which allows the device to create essentially a scanning pattern on the screen for refreshing the display.
[eric] goes into a lot of detail on how this c.1967 device works, and it’s interesting to see how engineers were able to get working memory with their relatively limited toolset. One of the nice things about working in the analog world, though, is that it’s relatively easy to figure out how things work and start using them for all kinds of other purposes, like old analog UHF TV tuners.
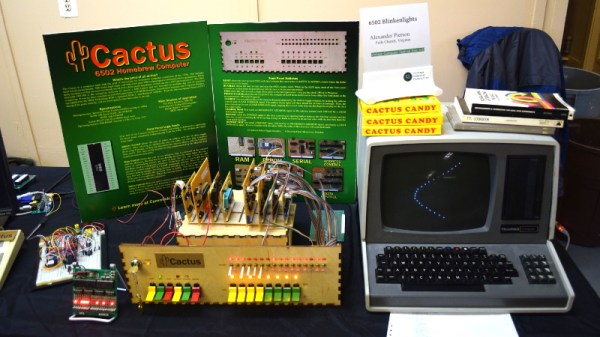
Among the rows of digital dinosaurs, one blinking front panel stood out. It certainly looked the part of a retro computer; with banks of blinking LEDs and multicolored paddle switches. But upon closer inspection, the laser cut wooden front panel betrays the fact that this machine is an impostor. It may have the appearance of a machine from the heady days where home computers looked like they could have doubled as a prop on the bridge of Kirk’s Enterprise, but it’s actually a product of much more modern provenance.
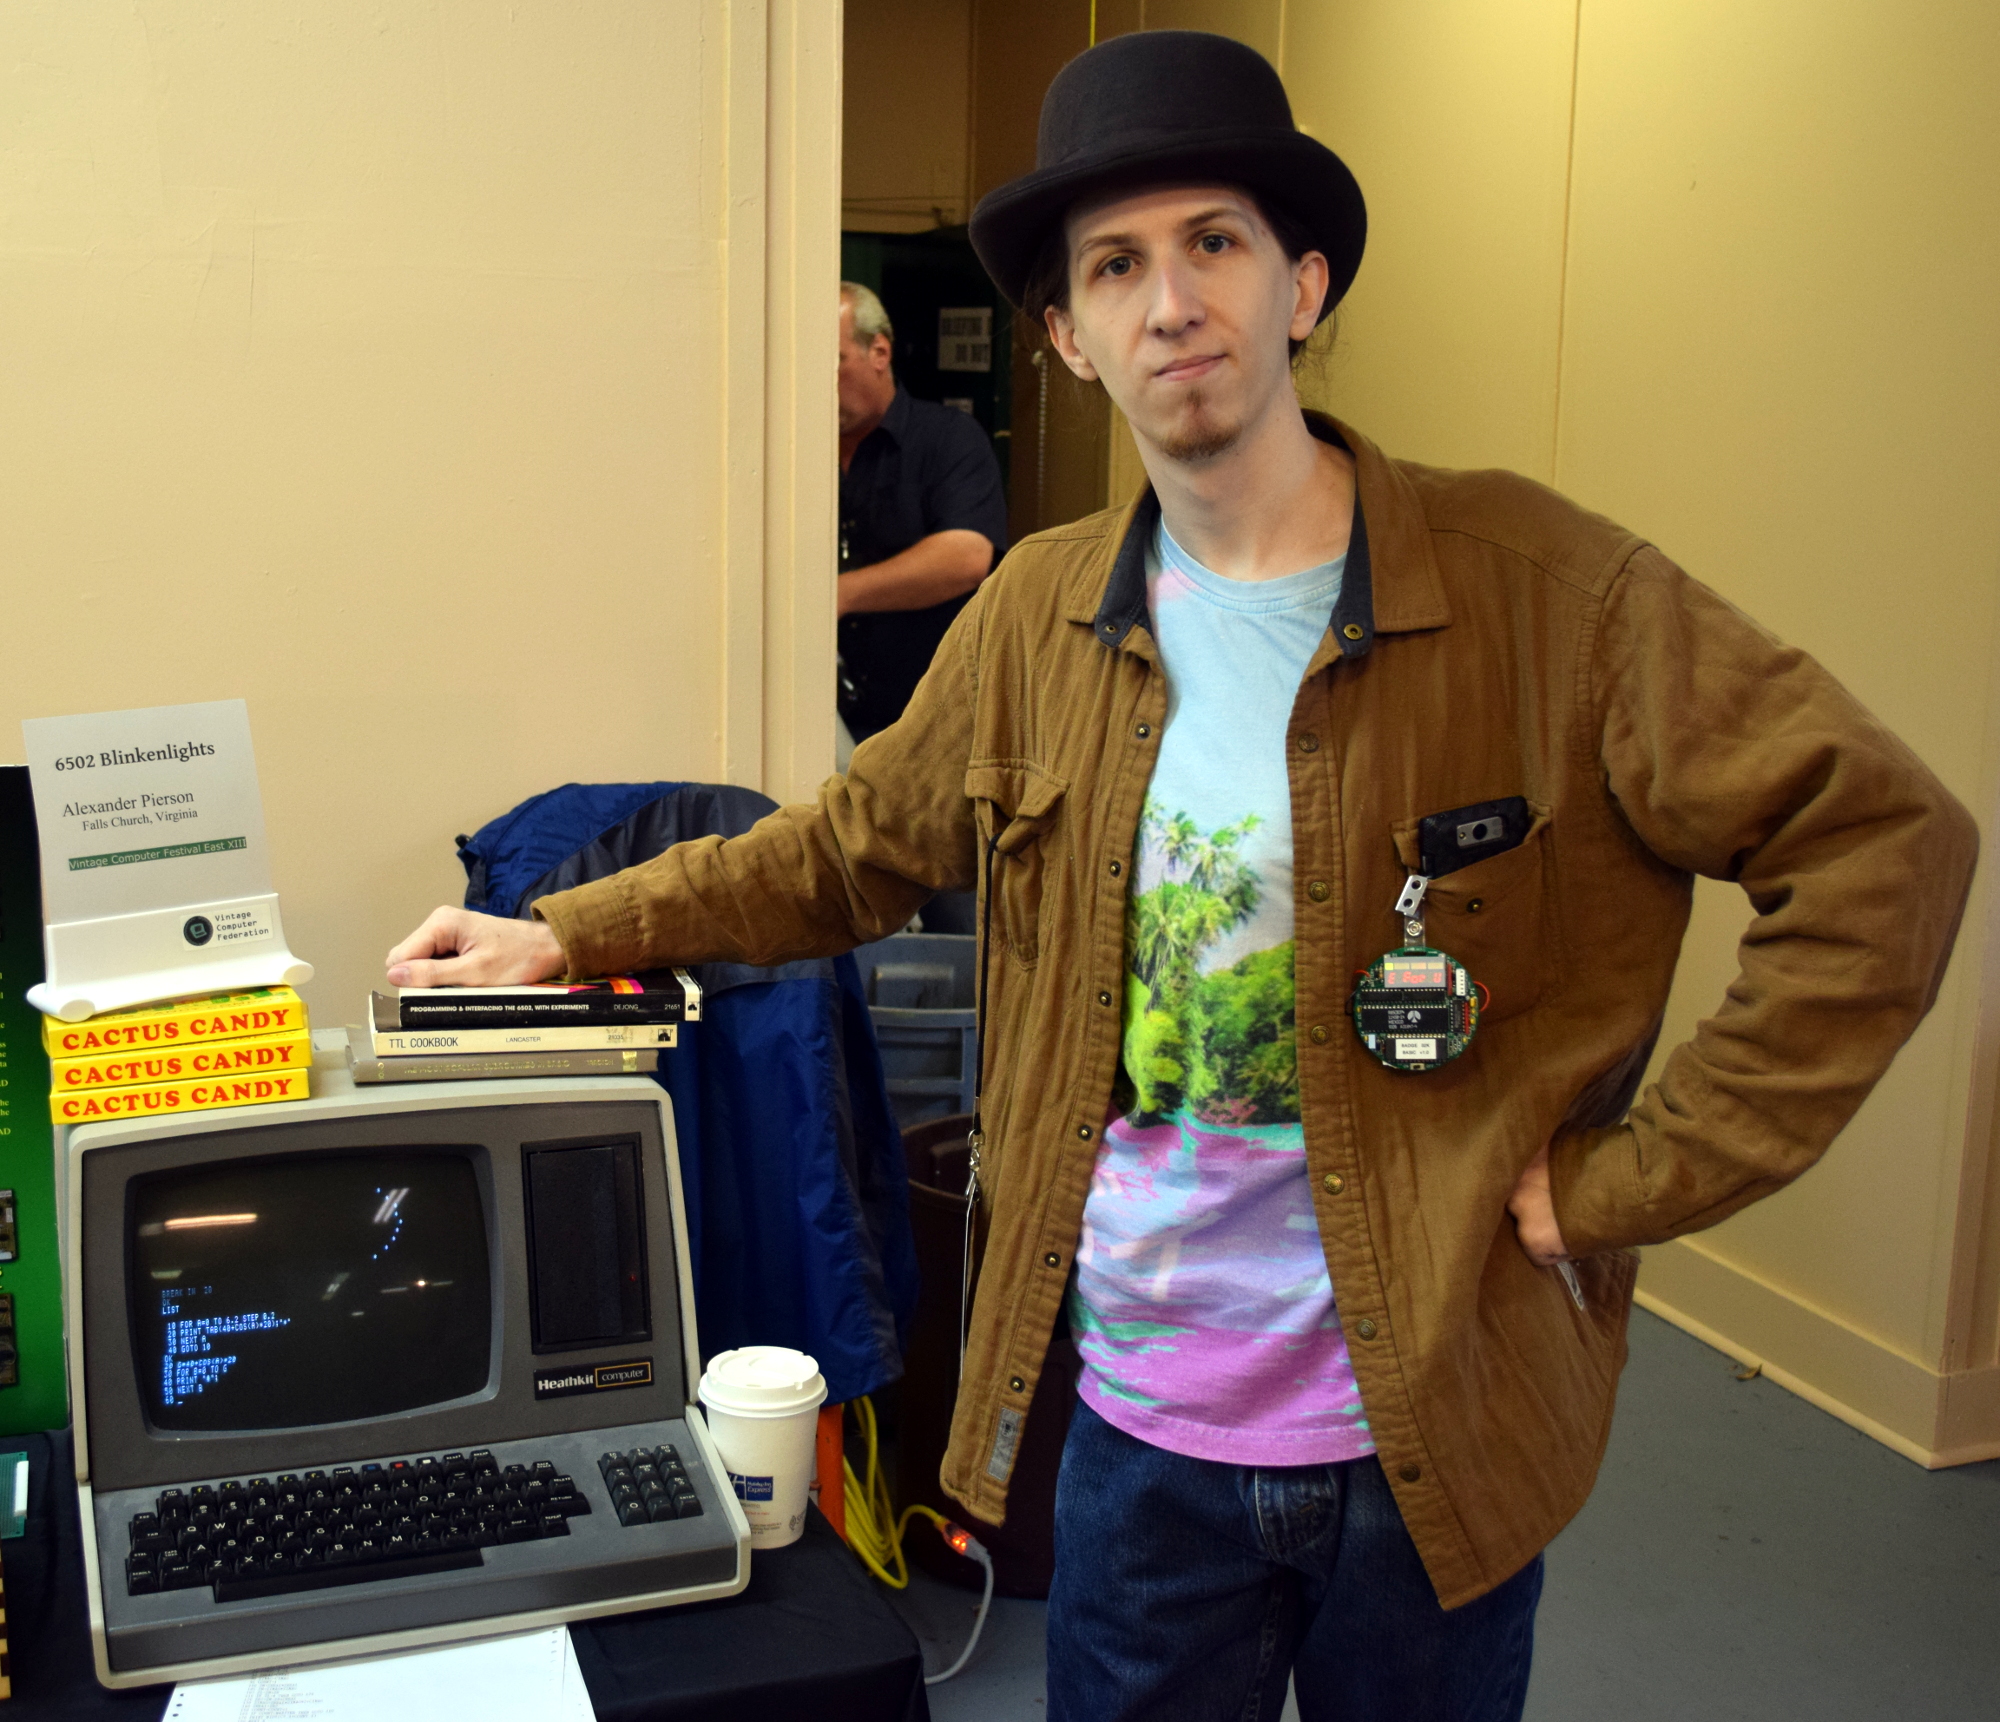
It’s called the Cactus, a love letter to the homebrew microcomputers of the 1970’s, designed and built by somebody at least 20 years too young to have experienced them the first time around. Alexander Pierson created the Cactus not because he had fond memories of putting together an Altair 8800 in 1975, but because he’s fascinated with the retro computer experience: the look of the front panel, the satisfying clunk of era-appropriate switches, and the idea that the computer’s inner workings aren’t an abstract black box but rather something you can interact with and study. Judging by all the attention the Cactus got at VCF East XIII, he’s not the only one.
Let’s take a look at everything Alexander poured into this retrocomputer build.
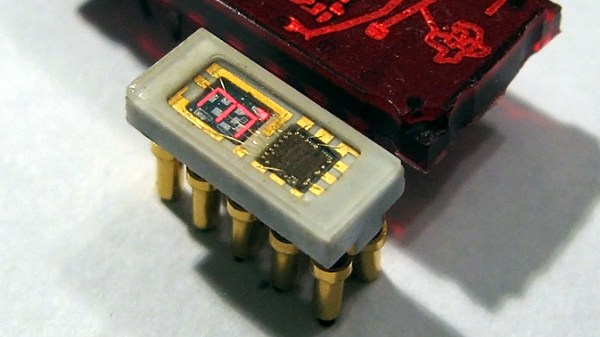
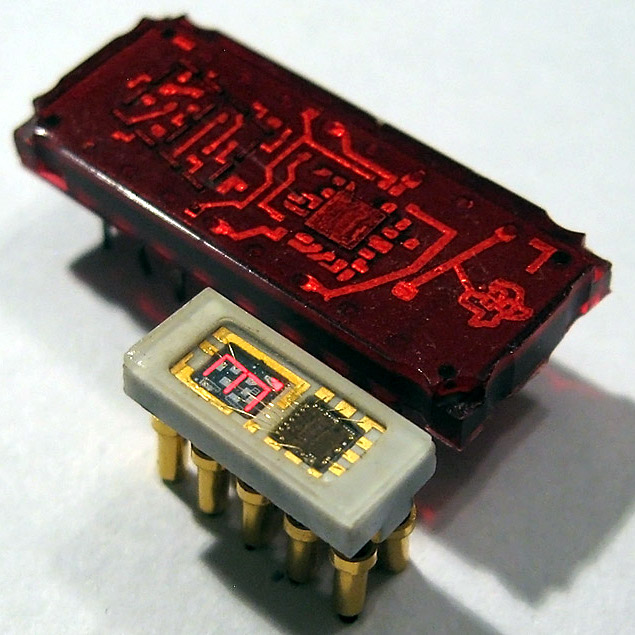
The Soviet-era 490IP1 LED. The digit is a mere 2.5 mm in height. Pictured with the Texas Instruments TIL306. [image: industrialalchemy.org]It’s easy to assume that older components will be less integrated and bulkier than we might otherwise expect. Then something seems ahead of its time, like the teeny-tiny 490IP1 LED which was produced in the former Soviet Union. [AnubisTTP] obtained and shared images of this tiny integrated single digit LED display in which the number measures a scant 2.5 mm tall; in production it was made easier to read with an external bubble lens magnifier clipped to the outside. The red brick the 490IP1 is pictured with is the Texas Instruments TIL306, a relatively normal sized DIP component with similar functionality.
The 490IP1 is called an intelligent LED display because the package contains a decade counter and driver circuitry for the integrated seven-segment LED digit, complete with a carry signal that meant multiple displays could be chained together. It is notable not just due to its size, but because the glass cover makes it easy to see the die inside, as well as the wire-bonded pads.
It’s always fascinating to see glimpses of the development path that display technologies took. It’s easy to take a lot of it for granted today, but back before technology was where it is now, all sorts of things were tried. Examples we’ve seen in the past include the fantastic (and enormous) Eidophor projector which worked by drawing images onto a rotating disk of oil with an electron gun. On the smaller end of things, the Sphericular display used optics and image masks to wring a compact 0-9 numerical display out of only a few lamps at the back of a box.
Sometimes the best way to get a hacker to do something is to tell them that they shouldn’t, or even better can’t, do it. Nothing inspires the inquisitive mind quite like the idea that they are heading down the road less traveled, if for nothing else to say that they did it. A thrown gauntlet and caffeine is often all that stands between the possible and the impossible.
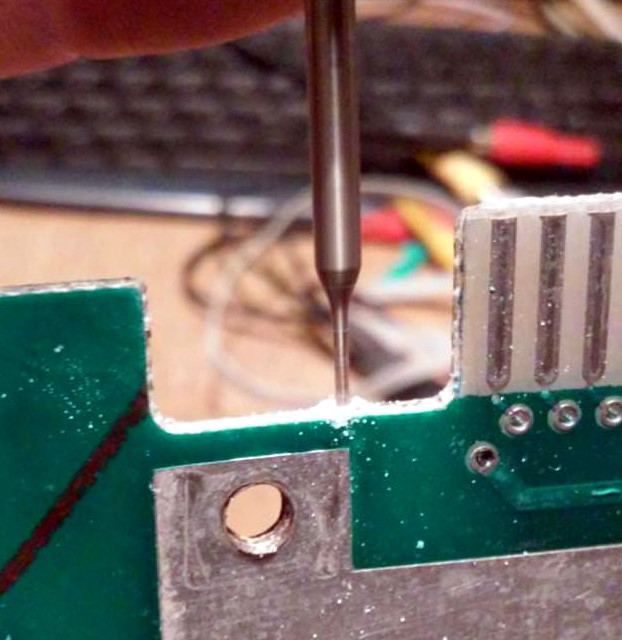
Preparing the PCB for epoxy injection
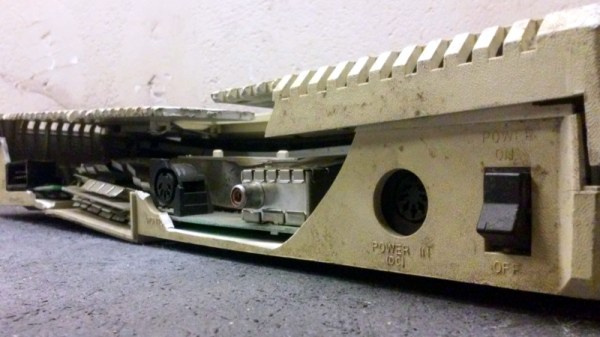
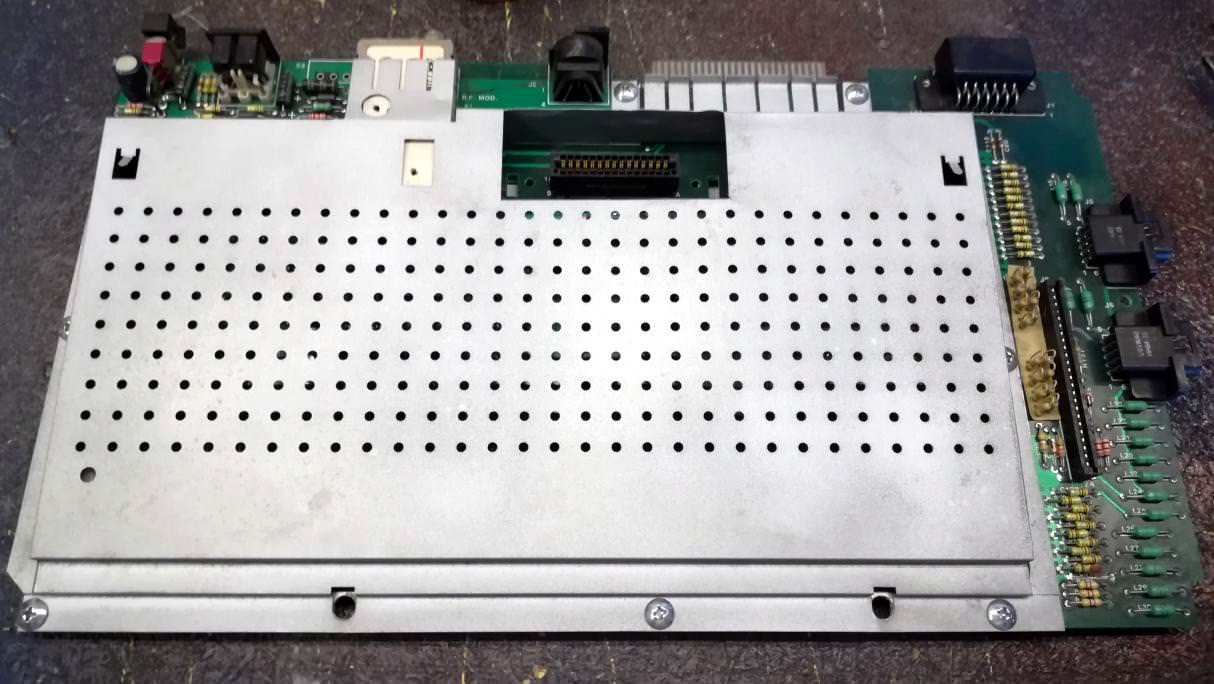
So when [Drygol] heard a friend comment he had an old Atari 800 XL that was such poor shape it couldn’t be repaired, he took on the challenge of restoring the machine sight unseen. Luckily for us, his pride kept him from backing down when he saw the twisted and dirty mess of a computer in person. He’s started documenting the process on his blog, and while this is only the first phase of the restoration, the work he’s done already is impressive enough that we think you’ll want to follow him along on his quest.
There’s no word on what happened to this miserable looking Atari, but we wouldn’t be surprised if it was run over by a truck. The board was cracked and twisted, with some components missing entirely. The first step in this impossible restoration was straightening the PCB, which [Drygol] did by clamping it to some aluminum bar stock and heating the whole board up to 40C (104F) for a few days. Once the got most of the bend out, he used a small drill bit to put holes in the PCB laminate and inject epoxy to add some strength. It’s an interesting technique, and the results seem to speak for themselves.
Once the board was straight, he went through replacing blown passive components and broken chip sockets. All the ICs were pulled and treated to an isopropyl alcohol and acetone bath in an ultrasonic cleaner to get them looking like new again. The CPU was cooked and needed to get swapped out, but otherwise it was smooth sailing, and before long he had the machine booted up. While most would have been satisfied to just get this far, [Drygol] considers this to be the easy part.
He next straightened out the metal shielding with a mallet, sanded it down, and sprayed it with a new zinc coating. The plastic around the keyboard and the metal trim pieces were also removed, cleaned, and refinished where necessary. Rather than going for perfection, [Drygol] intentionally left some issues so the machine didn’t look 100% pristine. It’s supposed to be a functional computer, not a museum piece behind glass.
We’ll have to wait until the next entry in this series to see how he repairs the absolutely devastated case. Any rational person would just use a case from a donor machine, but we’ve got a feeling [Drygol] might have something a little more impressive in mind.
You’d be forgiven if you thought software defined radio (SDR) was a relatively recent discovery. After all, few outside of the hardcore amateur radio circles were even familiar with the concept until it was discovered that cheap USB TV tuners could be used as fairly decent receivers from a few hundred MHz all the way up into the GHz range. The advent of the RTL-SDR project in 2012 brought the cost of entry level SDR hardware from hundreds of dollars to tens of dollars effectively overnight. Today there’s more hackers cruising the airwaves via software trickery than there’s ever been before.
It has been an exciting time to be a retro computer enthusiast in recent years, and the availability of affordable single board computers, systems-on-chip, and FPGAs have meant that retro hardware could be accurately reproduced or emulated. A host of classic micros have been reborn, to delight both the veterans who had the originals, and a new crop of devotees.
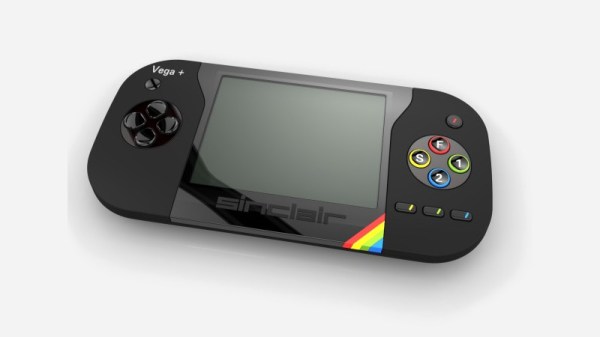
Today we have news of the impending demise of one of the higher-profile projects. The ZX Vega+ is a handheld Sinclair Spectrum console bearing the Sinclair name that came with an impeccable pedigree in that it had the support of the man himself. It seemed like a good proposition on the crowdfunding site Indiegogo, and when it made its debut there in early 2016 it attracted over half a million pounds worth of backing in short order. Things soon went sour though, with reports of a falling-out within Retro Computers, followed by multiple missed deadlines and promises undelivered over the last couple of years. With little sign of either the money or the console itself, it seems Indiegogo have now lost patience and will be sending in the debt collectors to recover what they can. Whether the backers will see any of their money is unclear.
It’s fair to say that the ZX Vega saga has been a tortuous and rather sordid one, out of which few players emerge smelling of roses. In a way though it is entirely in keeping with the spirit of the 8-bit era, as the period from the late 1970s onwards was littered with the financially bare corpses of dubiously run companies in the home computer industry. Meanwhile if you are hankering for a Vega it should be easy enough to create one for yourself, as Retro Computers Ltd admitted that under its skin was a copy of the FUSE software emulator. We suspect that most Hackaday readers could take a Raspberry Pi and a suitable LCD, pair them with a 3D-printed case and an 18650 cell, and be playing Manic Miner in no time. Far simpler than this convoluted Spectrum project!