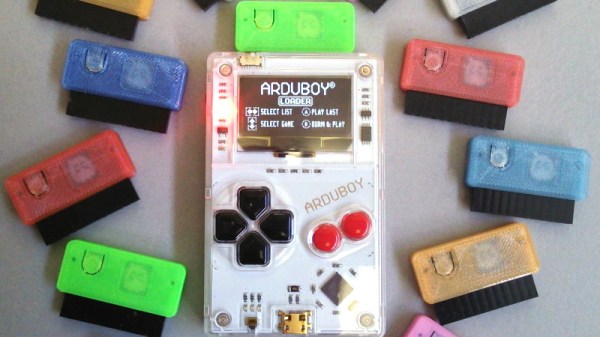
The Arduboy, as you might have guessed from the name, was designed as a love letter to the Nintendo Game Boy that many a hacker spent their formative years squinting at. While the open source handheld is far smaller than the classic DMG-01, it retains the same general form factor, monochromatic display, and even the iconic red LED to the left of the screen. But one thing it didn’t inherit from the original was the concept of removable game cartridges. That is, until now.
Over the last year, [Mr.Blinky] and a group of dedicated Arduboy owners have been working on adding a removable cartridge to the diminutive handheld. On paper it seemed easy enough, just hang an external SPI flash chip off of the test pads that were already present on the Arduboy PCB, but to turn that idea into a practical cartridge required an immense amount of work and discussion. The thread on the Arduboy community forums covers everything from the ergonomics of the physical cartridge design to the development of a new bootloader that could handle loading multiple games.
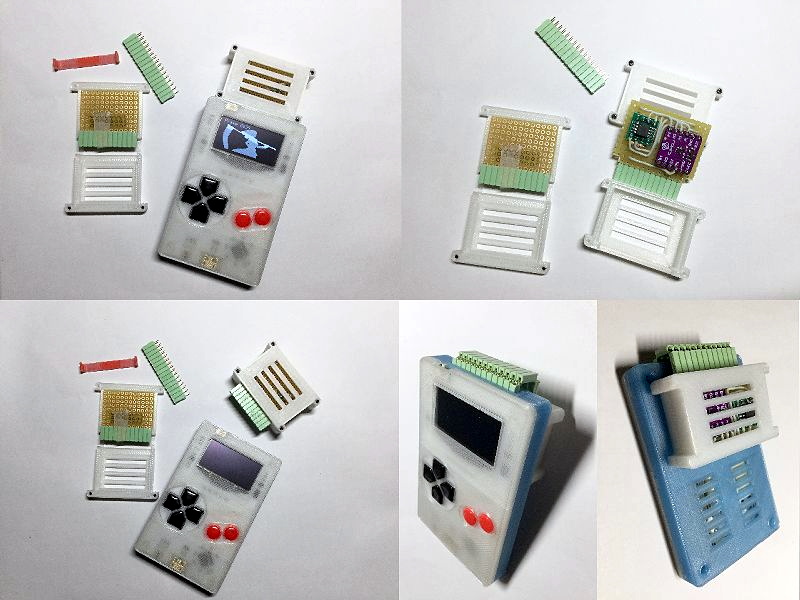
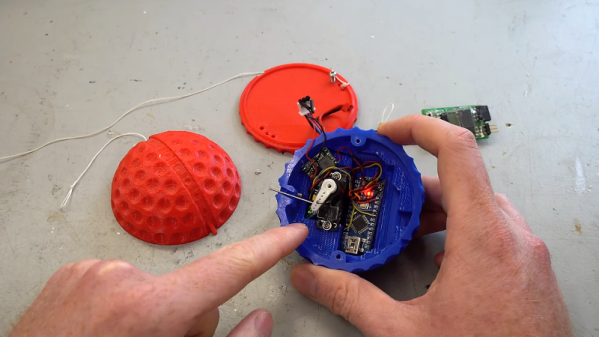
The first problem the group had to address was how small the Arduboy is: there’s simply no room in the back to add in a cartridge slot. So a large amount of time is spent proposing different ways of actually getting the theoretical cartridge attached to the system. There was some talk of entirely redesigning the case so it could take the cartridge internally (like the real Game Boy), but this eventually lost out for a less invasive approach that simply replaced the rear of the Arduboy with a 3D printed plate that gave the modders enough room to add a male header along the top edge of the system.
As an added bonus, the cartridge connector doubles as an expansion port for the Arduboy. While perfecting the design, various forum users have chimed in with different gadgets that make use of the new port, from WS2812B LEDs to additional input devices like joysticks or a full QWERTY keyboard. Even if you aren’t interested in expanding the storage space on your Arduboy, being able to plug in new hardware modules certainly opens up some interesting possibilities.
In fact, the project so impressed Arduboy creator [Kevin Bates] that he chimed in on the topic last month to announce he would start looking into integrating the community’s cartridge modification into the production hardware. If all goes well, pretty soon there might be an official upgrade path for those who want to expand what this tiny nostalgia machine is capable of.
Continue reading “The ArduBoy Community Rolled Their Own Cartridge”