Sometimes, traveling the internet feels a little like exploring an endless cave system looking for treasure. Lots of dark passageways without light or life, some occasional glimmers as you find a stray gold doubloon or emerald scattered in a corner. If we take the metaphor too far, then finding [Paul]’s “Little Arduino Projects” repository is like turning an unremarkable corner only to discover a dragon’s hoard.
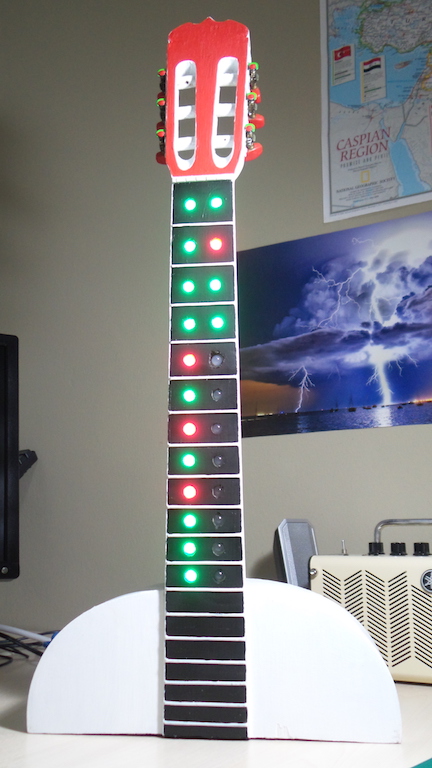
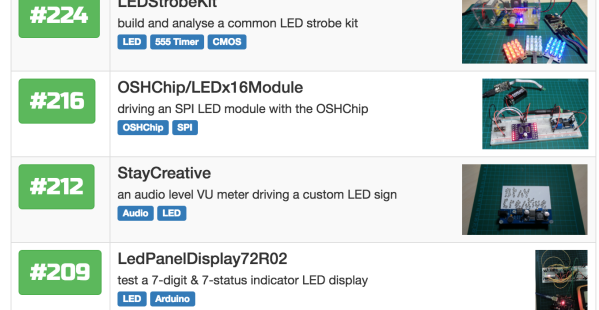
LEAP (as [Paul] also refers to the collection) is a numbered collection of what looks like more or less every electronics project he has completed over the last few years. At the time of writing there are 434 projects in the GitHub repository and tagged and indexed in a handy blog-style interface. Some are familiar, like a modification to a Boldport project. Others are one-off tests of a specific concept like driving a seven segment display (there are actually 16 similar projects if you search the index for “7-Segment”). On the other end are project builds with more detailed logs and documentation, like the LED signboard for monitoring the status of 24 in-progress projects, mounted in a guitar fret board.
LEAP reminds us of the good old days on the internet, before it felt like 50% trolling and 50% tracking cookies. Spend a few minutes checking out [Paul]’s project archive and see if you find anything interesting! We’ve just scratched the surface. And of course, send a tip if you discover something that needs a write-up!