Self Balancing Robot Needs A Little Work

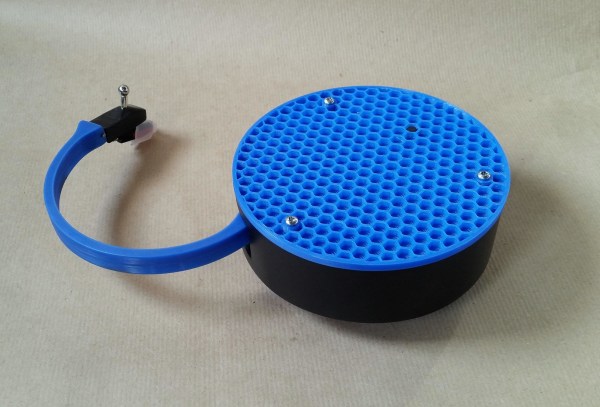
A self-balancing robot isn’t a new idea, but we liked the aesthetics of [Maker ATOM’s] build. The use of a breadboard and a printed bracket looks good, as you can see in the video, below.

Like most first-time projects, though, there were some lessons learned. The power supply needs a little work and the range of balance compliance didn’t meet expectations. But those problems are soluble and, as usual, you often learn more from working through issues like these.

Continue reading “Self Balancing Robot Needs A Little Work”

Optical Theremin Makes Eerie Audio With Few Parts

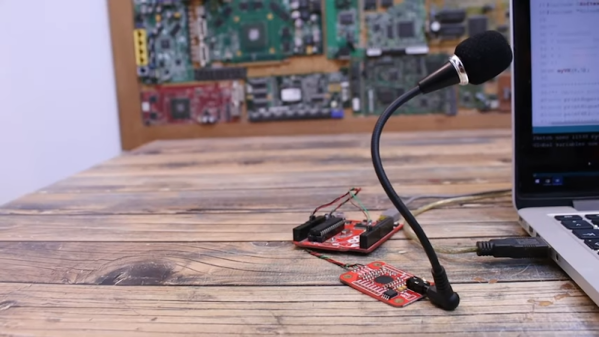
[Fearless Night]’s optical theremin project takes advantage of the kind of highly-integrated parts that are available to the modern hacker and hobbyist in all the right ways. The result is a compact instrument with software that can be modified using the Arduino IDE to take it places the original Theremin design could never go.

The design is based on a ‘Blue Pill’ STM32 MCU development board and two Avago APDS-9960 gesture sensor breakout boards, along with a few other supporting components. Where the original Theremin sensed hand proximity using two antenna-like capacitive sensors to control note frequency and volume, this design relies on two optical sensors to do the same job.

[Fearless Night] provides downloads for the schematic, code, parts list, and even 3D models for the enclosure. PCB files are also included for a convenient assembly, but since the component count is fairly low, a patient hacker should be able to get away with soldering it up by hand without much trouble.

This project creates the audio using the STM32’s Direct Digital Synthesis (DDS) capability and a simple low-pass filter, and has several ways to fine-tune the output. What’s DDS? Our own Elliot Williams explains it in terms of audio output for microcontrollers, and if you’d like a more comprehensive overview, Bil Herd will happily tell you all about it.

Line Following Robot Uses PID For Speed

While a line-following robot may not be the newest project idea in the book, this one from [Edison Science] is a clean build using modern components and gets a good speed thanks to PID control feedback instead of the more traditional bang-bang control you see in low-end robots.

Of course, PIDs need tuning and that seems to be the weak link — you’ll have to experiment with the settings. The sensors also require calibration, but we bet both of those issues could be fixed pretty easily.

Continue reading “Line Following Robot Uses PID For Speed”

RoboTray Is A Secret Tea Butler

How far would you go for your cup of tea? [samsungite]’s missus doesn’t like clutter on her countertops, so away the one-cup kettle would go back into the cupboard for next time while the tea steeped. As long as there’s room for it in there, why not install it there permanently? That’s the idea behind RoboTray, which would only be cooler if it could be plumbed somehow.

RoboTray went through a few iterations, most importantly the switch from 6mm MDF to 4 mm aluminum plate. A transformer acts as a current sensor, and when the kettle is powered on, the tray first advances forward 7 cm using a 12 VDC motor and an Arduino. Then it pivots 90° on a lazy Susan driven by another 12 VDC motor. The kettle is smart enough to turn itself off when finished, and the Arduino senses this and reverses all the steps after a ten-second warning period. Check it out in action after the break.

If [samsungite] has any more Arduinos lying around, he might appreciate this tea inventory tracker.

Continue reading “RoboTray Is A Secret Tea Butler”

Harp Uses Frikin’ Lasers

We aren’t sure if you really need lasers to build [HoPE’s] laser harp. It is little more than some photocells and has an Arduino generate tones based on the signals. Still, you need to excite the photocells somehow, and lasers are cheap enough these days.

Mechanically, the device is a pretty large wooden structure. There are six lasers aligned to six light sensors. Each sensor is read by an analog input pin on an Arduino armed with a music-generation shield. We’ve seen plenty of these in the past, but the simplicity of this one is engaging.

Continue reading “Harp Uses Frikin’ Lasers”

Robert Dunn holds a button in his hand for controlling a spot welder

Gorgeous Battery Welder Hits The Spot

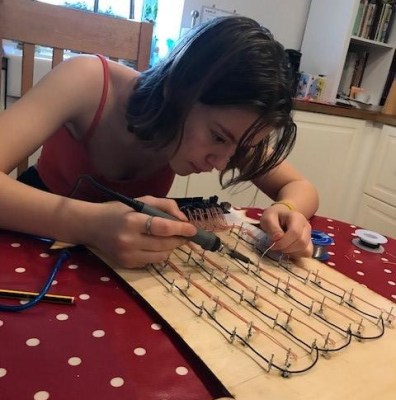
Raise you’re hand if you’ve ever soldered directly to a battery even though you know better. We’ve all been there. Sometimes we get away with it when we have a small pack and don’t care about longevity. But when [Robert Dunn] needed to build a battery pack out of about 120 Lithium Ion cells, he knew that he had to do it The Right Way and use a battery spot welder. Of course, buying one is too simple for a hacker like [Robert]. And so it was that he decided to Build a Spot Welder from an old Microwave Oven and way too much mahogany, which you can view below the break.

A Battery Cell with a spot welding tab attached
Spot Welding leaves two familiar divots in the attached tab, which can be soldered or welded as need.

For the unfamiliar, a battery spot welder is the magical device that attaches tabs to rechargeable batteries. You’ll notice that all battery packs with cylindrical cells have a tab with two small dimples. These dimples are where high amperage electricity quickly heats the battery terminal and the tab until they’re red hot, welding them together. The operation is done and over in less than a second, well before any heat damage can be done. The tab can then be soldered to or spot welded to another cell.

One of the most critical parts of spot welding batteries is timing. While [Robert Dunn] admits that a 555 timer or even just a manual switch and relay could have done the job, he opted for an Arduino Uno with a 4 character 7 segment LED display that shows the welding time in milliseconds. A 3d printed trigger and welder handle wrap up the hardware nicely.

The build is topped off by a custom mahogany enclosure that is quite a bit overdone. But if one has the wood, the time, the tools and skills (and a YouTube channel perhaps?) there’s no reason not to put in the extra effort! [Robert]’s resulting build is almost too nice, but it’ll certainly get the job done.

Of course, spot welders are almost standard fare here at Hackaday, and we’ve covered The Good, The Bad, and The Solar. Do you have a battery welder project that deserves a spot in Hackaday’s rotation? By all means, send it over to the Tip Line!

Continue reading “Gorgeous Battery Welder Hits The Spot”

A couple of joysticks wired up to a Teensy for prototyping.

Custom Joystick Build Guide Should Point You In The Right Direction

Over the last two years, [benkster] has been perfecting their ideal flight controller. Like many people, they started out with a keyboard and mouse and eventually moved on to a joystick. While a HOTAS (hands on throttle-and-stick — e.g. a yoke controller with inputs right there on the sides) might have been the next logical step, those things cost too much. Naturally, the answer is to build one, ideally for less money. Hey, it could happen.

The design went from just an idea to a cardboard prototype, and then to a wooden enclosure and later, a 3D-printed case. Since [benkster] learned a great deal along the way, they want to give back to the community with a comprehensive joystick design/build guide so that others don’t have to start from zero, overwhelmed with information.

[benkster] wanted three joysticks, a bunch of big buttons, a throttle, a display to show component status (as in, is joystick #3 a joystick right now or a WASD keyboard?), and immersive details everywhere — you know, a million buttons and switches to give it that cockpit feel. [benkster] is using a Teensy 4 to control two 3-axis joysticks and one 2-axis stick. Since this adds up to too many axes for Windows/DirectX to read in, the 2-axis stick is used as a WASD keyboard.

This guide is a great place to start, especially for folks who may be newer to electronics. There are nice introductions to many types of components and tidbits that are relevant outside the world of joysticks.

You want immersive flight simulation away from the PC? Here’s a printable flexure-based ‘stick that snaps right on your Xbox controller and pushes the buttons.