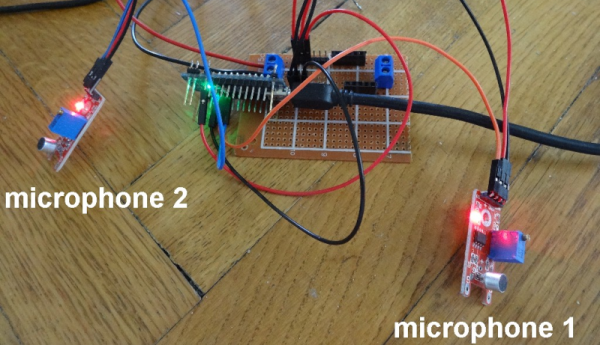
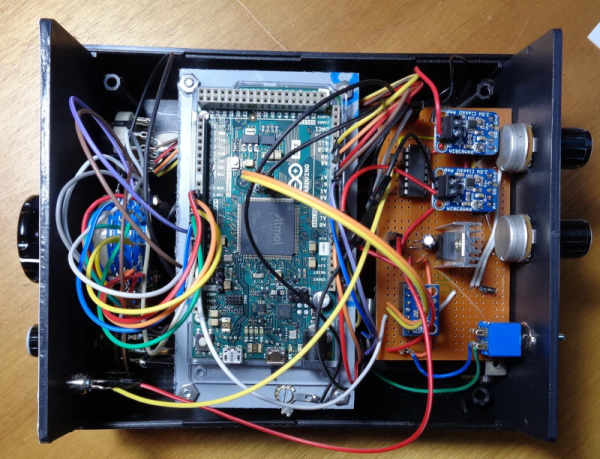
Making a small number of things with an embedded application is pretty straightforward, you usually simply plug in a programmer or debugger dongle (such as an AVRISP2) into your board with an appropriate adaptor cable, load your code into whatever IDE tool is appropriate for the device and hit the program button. But when you scale up a bit to hundreds or thousands of units, this way of working just won’t cut it. Add in any functional or defect-oriented testing you need, and you’re going to need a custom programming rig.
Adafruit have a fair bit of experience with building embedded boards and dealing with the appropriate testing and programming, and now they’ve updated their AVR Programming library to support the latest devices which have moved to the UPDI (Unified Programming and Debug Interface) programming interface. UPDI is a single-wire bidirectional asynchronous serial interface which enables programming and debugging of embedded applications on slew of the new AVR branded devices from Microchip. An example would be the AVR128DAxx which this scribe has been tinkering with lately because it is cheap, has excellent capacitive touch support, and is available in a prototype-friendly 28-pin SOIC package, making it easy peasy to solder.
The library is intended for use with the Arduino platform, so it should run on a vast array of hardware, without any special requirements, so making a custom programming jig out of hardware lots of us have lying around is not a huge hassle.
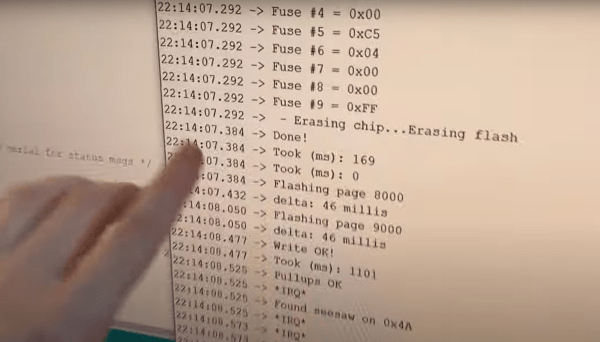
Adafruit provide a few application examples in the project GitHub to get you going, such as this ATTiny817 example that wipes the flash memory, sets appropriate fuses and drops in a bootloader.
The UPDI code was taken from the [brandanlane’s] portaprog which is hosted on the TTGO T-Display ESP32 board from Chinese outfit LilyGo, which is also worth checking out.
A little while ago we saw how the AVR Multitool, the AVRGPP learned to speak UPDI, and since we’re on programming interfaces, its possible to get the cheap-as-chips USBasp to speak TPI as well.
Continue reading “Adafruit AVRProg Grows UPDI Interface Support” →