3D Print Your Way To A Modular MIDI Playset

Have you ever wanted to experiment with MIDI, but didn’t know where to start? Or perhaps you didn’t think you could afford to properly outfit your digital beat laboratory, especially given the average hacker’s penchant for blinkenlights? Well worry no more, as [Johan von Konow] has unveiled a collection of DIY MIDI devices that anyone with a 3D printer can build on the cheap.

The LEET modular synthesizer is made up of a keyboard, drum pad, chord keyboard, arpeggiator and a step sequencer that plug into your computer and interface with industry standard digital audio workstation (DAW) programs. The down side is that they don’t do anything on their own, but this simplification allowed [Johan] to really streamline the design and bring the cost of the build down to the bare minimum.

Integrated wire channels mean no PCB is required.

You don’t need to build all the components either, especially if you’re just testing the waters. The keyboard is a great starting point, and even if you have to buy all the components new from eBay, [Johan] says it shouldn’t cost you more than $10 USD to build. You just need an Arduino Pro Micro, some tact switches, and a section of WS2812 RGB LED strip. There’s an excellent chance you’ve already got some of that in the parts bin, which will make it even cheaper.

There is one missing element though: the PCB. But not because you have to source it yourself. Like his clever Arduboy clone we covered earlier in the year, the 3D printed bodies for all of the LEET devices have integrated wiring channels that serve as a stand-in for a traditional circuit board. Simply place all your components, push some stiff 0.3 mm diameter wire down into the channels, and solder the ends. It’s a very neat approach, and something we could see becoming more popular as desktop 3D printers become an increasingly common sight in the home workshop.

Continue reading “3D Print Your Way To A Modular MIDI Playset”

Gyroscope Level Is Digital

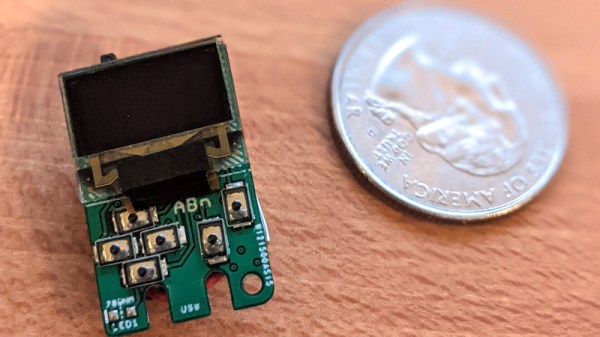
A spirit level, you know the kind of level with a little bubble in a tube of fluid, is a basic construction tool. [DesignBuildDestroy] took an Arduino, a gyroscope chip, and an OLED, and made a 3D printed level with no bubble, but it does have a nice digital display.

It is funny when you realize that at one time a gyroscope was a high tech item reserved for missiles and aircraft. Now you can grab a six-axis sensor for pennies. Even, better, the code used in the project can offload the Arduino for a lot of processing.

Continue reading “Gyroscope Level Is Digital”

Dad Scores Big With DIY Indoor Hockey Game

We suppose it’s a bit early to call it just yet, but we definitely have a solid contender for Father of the Year. [DIY_Maxwell] made a light-up hockey game for his young son that looks like fun for all ages. Whenever the puck is hit with the accompanying DIY hockey stick (or anything else), it lights up and produces different sounds based on its acceleration.

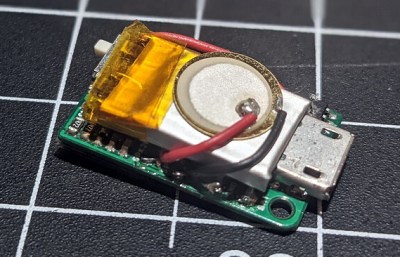
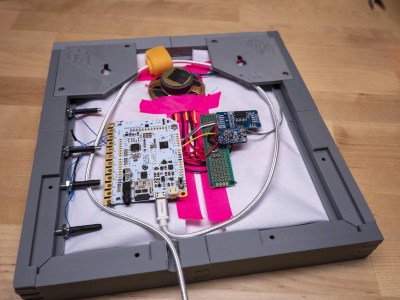
Inside the printed puck is an Arduino Nano running an MPU6050 accelerometer, a 12-NeoPixel ring, and a piezo buzzer. [DIY_Maxell] reused a power bank charging circuit to charge up the small LiPo battery.

The original circuit used a pair of coin cells, but the Arduino was randomly freezing up, probably because of the LEDs’ current draw. Be sure to check out the video after the break, which begins with a little stop motion and features a solder stand in the shape of a 3D printer.

Got a house full of carpet or breakables? You could always build an air hockey table instead.

Continue reading “Dad Scores Big With DIY Indoor Hockey Game”

Mix It Up With A Multi-Volume Controller

What’s the use of waiting around for something to break in order to hack into something else? As long as it’s just sitting around not being used, who cares? [OmniSaiRen] had a  Behringer MIDI controller just taking up space. Instead of selling it, they decided to build it into something they would definitely use — a multi-volume controller with mute keys and other useful macros.

After gutting the case, [OmniSaiRen] gave it a couple coats of glossy white paint that looks really nice with the black keycaps and knobs. The plan was to use the original encoders, but [OmniSaiRen] replaced them with potentiometers when they couldn’t get the encoders working with the Arduino Nano. We are sad to report that Cherry Blues only made it to the build because they have all black housings and were also lying around taking up space, but maybe [OmniSaiRen] will grow to love them.

If you’re tired of all the mousing and clicking it takes to turn down this or that volume, you need to build one of these things. It runs on deej, an open source volume mixer that works with Linux and Windows, so what are you waiting for? If you only want a single hardware volume knob, you can’t go wrong dialing it in rotary style.

Via r/duino

Minimalist Low Power Supercapacitor Sensor Node

One of the biggest challenges for wireless sensor networks is that of power. Solar panels usually produce less power than you hoped, especially small ones, and designing super low power circuits is tricky. [Strange.rand] has dropped into the low-power rabbit hole, and is designing a low-cost wireless sensor node that runs on solar power and a supercapacitor.

The main components of the sensor node is an ATMega 328P microcontroller running at 4Mhz, RFM69 radio transceiver, I2C temperature/humidity sensor, 1F supercapacitor, and a small solar panel. The radio, MCU, and sensor all run on 1.5-3.6V, but the supercap and solar panel combination can go up to 5.5V. To regulate the power to lower voltage components a low-drop voltage regulator might seem like the simplest solution, but [strange.rand] found that the 3.3V regulator was consuming an additional 20uA or more when the voltage dropped below 3.3V. Instead, he opted to eliminate the LDO, and limit the charging voltage of the capacitor to 3.6V with a comparator-based overvoltage protection circuit. Using this configuration, the circuit was able to run for 42 hours on a single charge, transmitting data once per minute while above 2.7V, and once every three minutes below that.

Another challenge was undervoltage protection. [strange.rand] discovered that the ATmega consumes an undocumented 3-5 mA when it goes into brown-out below 1.8V. The small solar panel only produces 1 mA, so the MCU would prevent the supercapacitor from charging again. He solved this with another comparator circuit to cut power to the other components.

We see challenges like these a lot with environmental sensors and weather stations with smaller solar panels. For communication, low power consumption of a sub-Ghz radio is probably your best bet, but if you want to use WiFi, you can get the power usage down with a few tricks.

Quick And Simple Milliohmmeter

User [mircemk] presents his “MiliOhm Meter” project which you can build with an Arduino, a handful of common parts from your lab, and a cigar box.  It doesn’t get much simpler than this, folks.  While this is something you won’t be getting calibrated with NIST traceability, it looks like a fun and quick project that’s more than suited for hobbyist measurements.  It’s not only easy to build, the Arduino sketch is less than thirty lines of code.  This is a great learning project, plus you get something useful for your lab when its finished.

We like the creative use of colored tape instead of paint on the project’s box.  If this style suits you, [mircemk] has published several other similar lab instrument projects on his Hackaday.io page, including a frequency meter, an audio spectrum analyzer, and an auto-ranging capacitance meter to name a few.  You might recognize him from some other projects we’ve featured, such as the crazy kinematic arms that set a clock’s hands every minute.

Continue reading “Quick And Simple Milliohmmeter”

Useless Box With Attitude Isn’t Entirely Useless

What is it about useless machines that makes them so attractive to build? After all, they’re meant to be low-key enraging. At this point, the name of the game is more about giving that faceless enemy inside the machine a personality more than anything else. How about making it more of a bully with laughter and teasing? That’s the idea behind [alexpikkert]’s useless machine with attitude — every time you flip a switch, the creature of uselessness inside gets a little more annoyed.

In this case the creature is Arduino-based and features two sound boards that hold the giggles and other sounds. There are three servos total: one for each of the two switch-flipping fingers, and a third that flaps the box lid at you. This build is wide open, and [alexpikkert] even explains how to repurpose a key holder box for the enclosure. Check out the demo after the break.

We love a good useless machine around here, especially when they take a new tack. This one looks like any other useless machine, but what’s happening inside may surprise you.

Continue reading “Useless Box With Attitude Isn’t Entirely Useless”