Building a robot arm is fun, but no longer the challenge it once was. You can find lots of plans and kits, and driving the motors is a solved problem. However, there is always one decision you have to make that can be a challenge: what effector to put on the end of it. If you are [MertArduino] the answer is to put suction at the end. If you need to grab the right things, this could be just the ticket for reliably lifting and letting go. You can see a video of the arm in action, below.
The arm itself is steel with four servo motors and comes in a kit. The video shows the arm making a sandwich under manual control. We suspect he might have put it under Arduino control but there’s no sudo for making sandwiches.
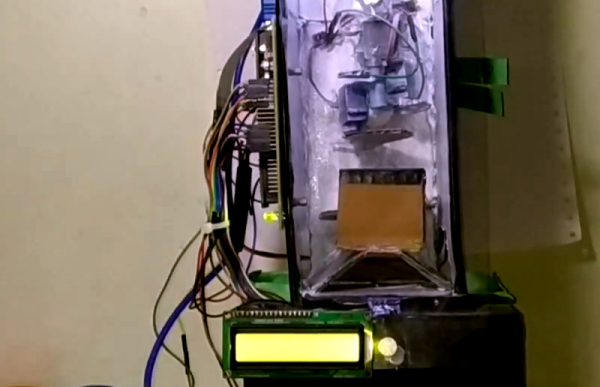
Inside the boxy blue base is an Arduino Nano, a DS3231 real-time clock module, and a perfboard full of transistors for switching the LED strips inside the segments. There’s an LED on the front that blinks the seconds, and honestly, we’re kind of on the fence about this part. It would be nice if it faded in and out, or was otherwise a little less distracting, but it did grow on us as we watched the demo.
We love the way this clock celebrates the seven-segment display, and only wish it were much bigger. The STLs and code are available if you want to make one, though they only cover the 7-segment part — the base is made of foam board. Check out the demo and build video after the break.
If you’re going outside (only for essential grocery runs, we hope) and you’re having trouble measuring the whole six feet apart from other people deal by eye, then [Guido Bonelli] has a solution for you. With a standard old HC-SR04 ultrasonic sensor, an audio module and a servo to drive a custom gauge needle he’s made a device which can warn people around you if they’re too close for comfort.
As simple as this project may sound like for anyone who has a bunch of these little Arduino-compatible modules lying around and has probably made something similar to this in their spare time, there’s one key component that gives it an extra bit of polish. [Guido] found out how intermittent the reliability of the ultrasonic sensor was and came up with a clever way to smooth out its output in order to get more accurate readings from it, using a bubble sort algorithm with a twist. Thirteen data points are collected from the sensor, then they are sorted in order to find a temporal middle point, and the three data points at the center of that sort get averaged into the final output. Maybe not necessarily something with scientific accuracy, but exactly the kind of workaround we expect around these parts!
Projects like these to help us enforce measures to slow the spread of the virus are probably a good bet to keep ourselves busy tinkering in our labs, like these sunglasses which help you remember not to touch your face. Make sure to check out this one in action after the break!
It isn’t hard to imagine a scenario where you are stuck at home all day with nothing to do and certain items are in short supply. Sure, bathroom tissue gets all the press, but try buying some flour or a freezer and see how far you get. Plus online shopping has given up on next day delivery for the duration. Not hard to imagine at all. Now suppose your latest self-quarantine project needs a rotary shaft encoder. Not having one, what do you do? If you are [Tech Build] you go all MacGyver on an old printer and pull out a stepper motor.
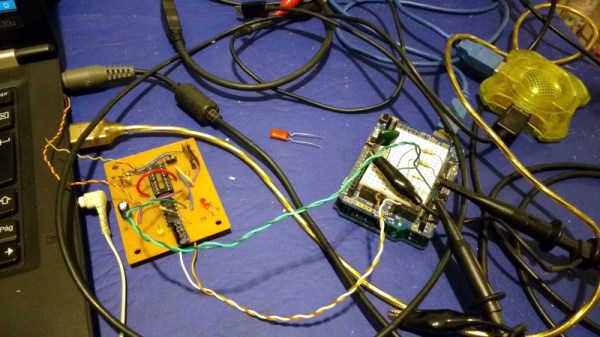
How does a stepper motor turn into an encoder? Well, that’s the MacGyver part. We are not big fans of the physical circuit diagrams, but it looks like [Tech Build] borrowed (with credit) from an earlier post and that one has a proper schematic.
How much easier would life be if you could just grab hold of whatever mechanism you wanted to manipulate, move it like you want, and then have it imitate your movements exactly? What if you could give a servo MIDI-like commands that tell it to move to a certain location for a specific duration? Wonder no more, because [peterbiglab] has big-brained the idea into fruition.
With just one wire, an Arduino, and some really neat code, [peter] can get this servo to do whatever he wants. First he tells the Arduino the desired duration in frames per second. Then he grabs the horn and moves it around however he wants — it can even handle different speeds. The servo records and then mimics the movements just as they were made.
The whole operation is way simpler than you might think. As [peterbiglab] demonstrates in the video after the break, the servo knows its position thanks to an internal potentiometer on the motor’s rotor. If you locate the pot output pin on the control board and run a wire from there into an Arduino, you can use that information to calibrate and control the servo’s position pretty easily. There are a ton of possibilities for this kind of control. What would you do with it? Let us know in the comments.
The Samsung PS-WTX500 subwoofer is designed to be used as part of a 5.1 channel home theater system, but not justĀ any system. It contains the amplifiers for all the channels, but they’ll only function when the subwoofer is connected to the matching receiver. [Alejandro Zarate] figured there must be some way to unlock the system’s full functionality without being limited to the original receiver, he just needed to reverse engineer how the subwoofer worked.
The result is a fantastically well documented write-up that covers the whole process, starting with how [Alejandro] identified and researched the Pulsus PS9829B Digital Audio Processor (DAP). Documentation for this particular chip seems hard to come by, but he was able to find a similar chip from the same manufacturer that was close enough to put him on the right track. From there, he started studying the SPI communications between the DAP and the subwoofer’s S3P70F4 microcontroller.
After analyzing the communication between the two chips, [Alejandro] pulled the S3P70F4 off the board and wired an Arduino Pro Mini 328 in its place. The Arduino was quite a bit larger than the original microcontroller, but with some careful wiring, he manged a very professional looking installation. Short of coming up with a custom PCB adapter, we don’t think it could look much better.
With some relatively straightforward code and a listing of the captured byte sequences, the Arduino was able to power up the PS-WTX500’s amplifiers and handle the incoming audio signal as a stand-alone device.
It’s great to see people are out there trying to find fun ways to exercise amid the current crisis. Although jumping up and down isn’t great for the knees, it does give decent cardio. But if you don’t have a rope or a puddle, we admit that jumping can lose its bounce pretty fast.
Here’s how it works: [fridaay] holds a transmit circuit that consists of an Arduino UNO, an accelerometer module, and an nRF24L01 transceiver, all running on a 9 V battery. Whenever [fridaay] jumps, the accelerometer reads the change in Z and sends it to the receiving circuit, which is just another UNO and nRF. The receiving UNO is connected to a laptop and configured to press the space bar so the dinosaur canters over the cacti.
We’ve never been able to stay alive long enough in the game to see this happen, but apparently you need to crouch at some point in the game. [fridaay] has yet to implement a control for that, but we’re sure he’ll think of something. Jump past the break to see the video, and hit him up if you need the code.