Using I²C Sensors With Any Linux Via USB And IIO

Hooking up I2C sensors is something which is generally associated with microcontrollers and SBCs, yet it’s very easy to use such I2C sensors from basically any system that runs Linux. After all, I2C (that is, SMBus) is one of the interfaces that is highly likely to be used on your PC’s mainboard as well as peripherals. This means that running our own devices like the well-known BME280 temperature, pressure and humidity sensor, or Si1145 light sensor should be a piece of cake.

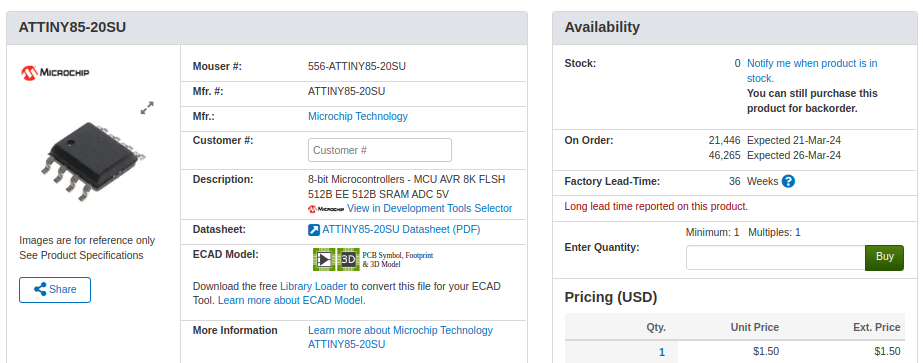
In a blog post from a few years ago, [Peter Molnar] explains in detail how to wire up a physical adapter to add a USB-connected I2C interface to a system. At its core is the ATtiny85 AVR-based MCU, which provides a built-in USB interface, running the I2C-Tiny-USB firmware.

The essential part here is that the MCU shows up to the Linux kernel as an i2c device, requiring the i2c-dev driver to be loaded. After this the I2C device that is connected to the adapter MCU’s I2C bus can be used via the Linux module’s API calls, either directly or via existing drivers. [Peter] found that the BMP280 driver came with Debian Sid, for example.

Showing a new generation ATTiny on an SMD breakout plugged into a breadboard, being programmed

Come Learn About New ATtiny Generations

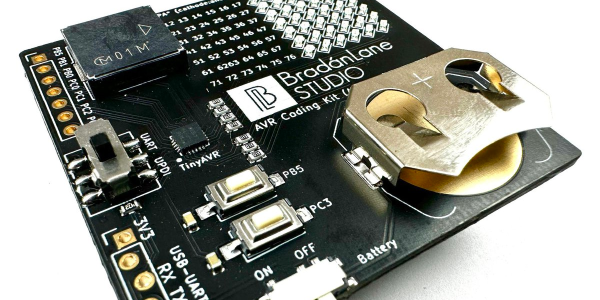
As the chip shortage hit, a lot of the familiar ATtiny chips have become unavailable and overpriced, and it mostly stayed the same since then. If you ever searched for “ATtiny” on your favourite electronics component retailer website, however, you’d notice that there’s quite a few ATtiny chips in stock most of the time – just that they’re from a much newer generation than we commonly see, with incompatible pinouts, slightly different architecture and longer model numbers like 412 and 3227. [David Johnson-Davies] from [technoblogy] is here to clarify things, and provide a summary of what the new ATtiny generations have to offer.

In 2019, he posted about 0- and 1-series ATtiny chips, comparing them to the ATtiny series we knew, decyphering the part numbering scheme for us, and providing a comparison table. Now, he’s returned to tell us about the 2- series ATtiny chips, merging the comparison tables together so that you can quickly evaluate available parts by their ROM/RAM size and the SMD package used. He also describes which peripherals are available on which series, as well as nuances in peripheral operation between the three generations. In the end, he reminds us of a simple way to program all these new parts – as it stands, you only need a USB-UART adapter and a 4.7K resistor.

Over the last decades, we’ve seen plenty of inspiring ATtiny projects – squeezing out everything we could out of 5 GPIOs, or slightly more for larger-package ATtiny chips. [David] has been setting an example for us, bringing projects like this function generator, this continuity tester, or an IR receiver with an OLED screen for diagnostics – all with an ATtiny85. It’s not the just pin count that’s a constraint, but the RAM and flash amounts as well – nevertheless, people have fit machine learning and an entire graphics stack into these chips before. If you’re stuck at home unable to do anything, like many of us were during lockdowns, you can always breadboard an ATtiny and see just how much you can get done with it.

$1 POV Display Goes Round And Round

You don’t need much to do a persistence of vision display. A few LEDs and a processor is all it really takes. [B45i] made a simple PC board with five LEDs and an ATtiny CPU. There’s a battery and it connects to a fan to spin around.

While the project is pretty simple, we liked two aspects of it. First, he provides very detailed explanations about how to use an Arduino to program the Tiny using the Arduino IDE.

Continue reading “$1 POV Display Goes Round And Round”

Mini Ultrasonic Levitation Kit Is An Exercise In Sound Minimalist Design

For those that haven’t heard, ultrasonic levitation is a process by which two or more ultrasonic transducers are set opposite to each other and excited in such a way as to create a standing wave between them. The sound is, as the name implies, ultrasonic — so outside the range of human hearing — but strong enough so that the small, light objects can be positioned and held fixed in mid-air where there’s a pressure minimum in the standing wave. [Olimex] has created a small ultrasonic levitation kit that exemplifies this phenomena.

The kit itself is made using through-hole components, with an ATTiny85 as the core microcontroller to drive two TCT40-16T ultrasonic speakers, and a MAX232 to provide a USB interface drives the transducers (thanks to the folks in the comments for the correction). Two slotted rectangular PCB pieces that solder connect to the main board, provide a base so that the device stands upright when assembled. The whole device is powered through the USB connection, and the ultrasonic speakers output in the 40KHz range providing enough power to levitate small Styrofoam balls.

The project is, by design, an exercise in minimalism, providing a kit that can be easily assembled, and providing code that can be easily flashed onto the device, examined and modified. All the design files, including the bill of materials, KiCAD schematics, and source code are provided under an open source hardware license to allow for anyone wanting to know how such a project works, or to extend it themselves, ample opportunity. [Olimex] also has the kit for sale for those not wanting to source boards and parts themselves.

We’ve featured ultrasonic levitation devices before, from bare bones system driven by a NE555 to massive phased arrays.

Neodriver Ornament Brightens Up Christmas

Stores will sell you all kinds of gaudy holiday ornaments, but there’s nothing like the style and class achieved by building your own. [w3arycod3r] did just that, whipping up the fun and festive Neodriver Ornament.

It’s a battery-powered build, and runs off an rechargeable 18650 cell which provides several days of operation at a low duty cycle. An ATtiny85 is charged with sending out commands to various NeoPixel devices, from rings to rectangular arrays. [w3arycod3r] then designed various PCBs that could carry the hardware and battery in a well-balanced package that would hang nicely when suspended from a ribbon on a Christmas tree.

As is always the fun part with addressable LEDs, [w3arycod3r] whipped up some fun animations to suit. The 5×5 rectangular arrays of NeoPixels are able to deliver scrolling text, while another animation blips out the RNA sequence of everyone’s least favorite coronavirus, SARS-CoV-2. Getting everything to fit into a ATtiny85’s 8 KB of code space and 512 byte EEPROM was a challenge, but slimming down the Adafruit NeoPixel library and using direct AVR register manipulation in place of regular Arduino functions helped.

Overall, it’s a fun holiday build that looks great on the tree. Alternatively, consider making yourself some rheoscopic ornaments this holiday season. And, if you’ve whipped up your own fun holiday build, throw it on the tipsline!

To Turn An ATtiny817 Into A 150MHz Counter, First Throw Out The Spec Sheet

One generally reads a data sheet in one of two ways. The first is to take every spec at face value, figuring that the engineers have taken everything into account and presented each number as the absolute limit that will prevent the Magic Smoke from escaping. The other way is to throw out the data sheet and just try whatever you want, figuring that the engineers played it as safely as possible.

The latter case seems to have been the motivation behind pushing an ATtiny way, WAY beyond what the spec sheet says is possible. According to [SM6VFZ], the specs on the ATtiny817 show that the 12-bit timer/counter D (TCD) should be limited to a measly 32 MHz maximum frequency, above which one is supposed to employ the counter’s internal prescaler. But by using a 10-MHz precision frequency generator as an external clock, [SM6VFZ] found that inputs up to slightly above 151 MHz were countable with 1-Hz precision. Above that point, things started to drift, but that’s still pretty great performance from something cobbled together on an eval board in a decidedly suboptimal way.

We’d imagine this result could lead to some interesting projects, since the undocumented limit for this timer puts it well within range of multiple amateur radio allocations. Even if it doesn’t prove useful, that’s OK — just seeing how far things can be pushed is cool too. And it’s not like this is the first time we’ve caught [SM6VFZ] persuading an ATtiny to do unusual things, either.

A 3d printed ghost next to the base of an LED tea light that has 4 LEDs poking out and the IR receiver port and micro-USB connector showing.

A Cold Light To Warm Your Heart

Halloween is coming fast and what better way to add to your Halloween ornamentation than [Wagiminator]’s cute NeoCandle tea light simulator.

[Wagiminator] has modified a 3D printed ghost along with extending [Mark Sherman]’s light simulation code to create a cute light that’s perfect for the holiday season. The NeoCandle uses an ATtiny85 chip to power four WS2812 NeoPixel jelly bean LEDs. The device has an infrared (IR) receiver to be able to control it from a remote that speaks the NEC protocol. There is a light sensor that allows the unit to dim when it detects ambient light and the whole unit is powered off of a micro-USB connection.

The ATtiny85 have limited program flash and [Wagiminator] packs in a lot of functionality in such a small package, squeezing in a bit-banging NeoPixel driver in only 18 bytes of flash that can push out a transfer rate 762 kpbs to update the LEDs. The pseudo-random number uses a Galois linear feedback shift register and comes in at 86 bytes of flash, with the IR receiver implementation code being the largest using 234 bytes of flash. The ATtiny85 itself has 8 KB of flash memory so maybe it’s possible to push [Waginminator]’s code to even more restrictive Atmel devices in the ATtiny family.

With microcontrollers and LEDs becoming so cheap and ubiquitous, making realistic flames with them is becoming accessible, as we’ve seen with previous projects on electronic candles.

Continue reading “A Cold Light To Warm Your Heart”