It’s easy to get jaded by gadgets like the Chromecast or Sonos, which let the user control AV equipment remotely from a mobile device or computer. You can pick something to play from your phone and send it off to your speakers via the magic of Wi-Fi. But it’s still nice to have a display to look at for music visualizations and that sort of thing, at least occasionally.
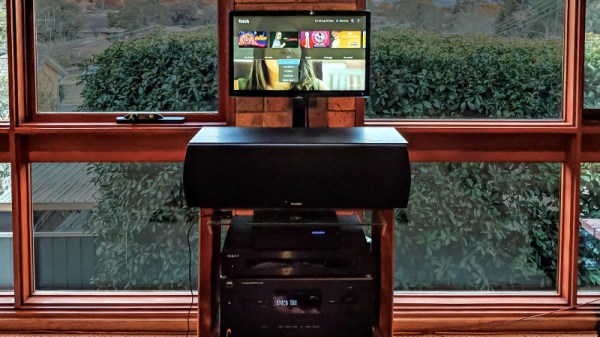
 To address this only occasional desire to have a display on your media setup, you could follow in the footsteps of [Steven Elliott] and create a DIY motorized display which only pops up when needed. Inspired by seeing videos of TVs rising out of cabinets and other such trickery, he decided to create his own version using an old computer monitor he had lying around.
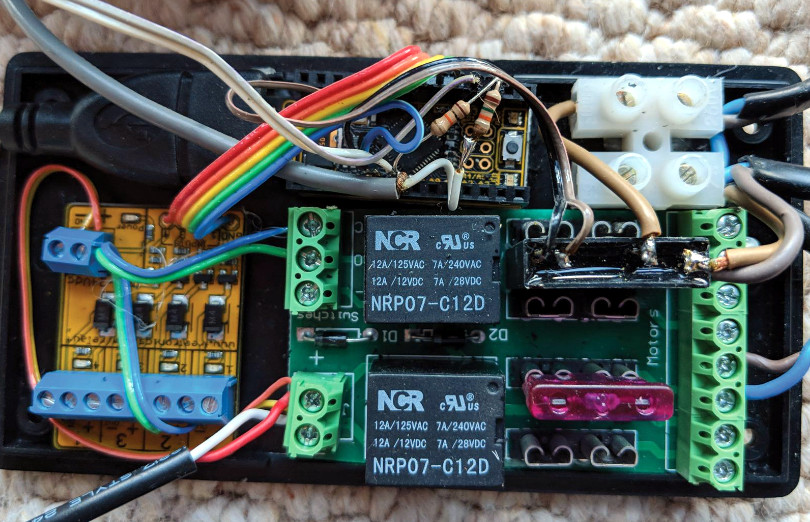
The monitor is lifted with a beefy linear actuator, which has been placed inside of a square metal fence post to keep from rotating. It already had a power supply and control board with relays for extending and retracting, so [Steven] just needed to find a convenient way of firing them off.
The answer came from a somewhat unconventional source: his amplifier. [Steven] explains that many amplifiers feature a “Trigger Output”, which uses a standard stereo 3.5mm connector and sends a 12V pulse to connected device. This is generally used to turn on downstream devices when the amplifier switches to the respective input. It’s too short and not nearly powerful enough to close the actuators relays, but it’s easy enough to detect.
[Steven] uses a LeoStick microcontroller to wait for the pulse from the amplifier, and then use that to raise or lower the display depending on the selected input. There’s also a SPST momentary switch which can be used to trigger the actuator manually. Beyond the fact the linear actuator is a bit loud, he says the setup works very well and prevents him from having to start up his projector if he just wants to take a quick glance at what’s playing or program his DVR.
We don’t see many motorized display lifts like this anymore, not since wall mounted LCDs became popular anyway. But it’s still a cool effect, and today made quite a bit easier thanks to the fact that TVs and monitors no longer weigh as much as a small car.
[Thanks to Baldpower for the tip.]


![EDSAC I, 1948, W.Renwick with 5 hole tape reader and Creed teleprinter. Copyright Computer Laboratory, University of Cambridge. Reproduced by permission. [CC BY 2.0 UK]](https://hackaday.com/wp-content/uploads/2018/09/edsac99-34.jpg)