The ENIAC, or Electronic Numerical Integrator and Computer, is essentially the Great Great Grandfather of whatever device you’re currently reading these words on. Developed during World War II for what would be about $7 million USD today, it was designed to calculate artillery firing tables. Once word got out about its capabilities, it was also put to work on such heady tasks as assisting with John von Neumann’s research into the hydrogen bomb. The success of ENIAC lead directly into the development of EDVAC, which adopted some of the now standard computing concepts such as binary arithmetic and the idea of stored programs. The rest, as they say, is history.
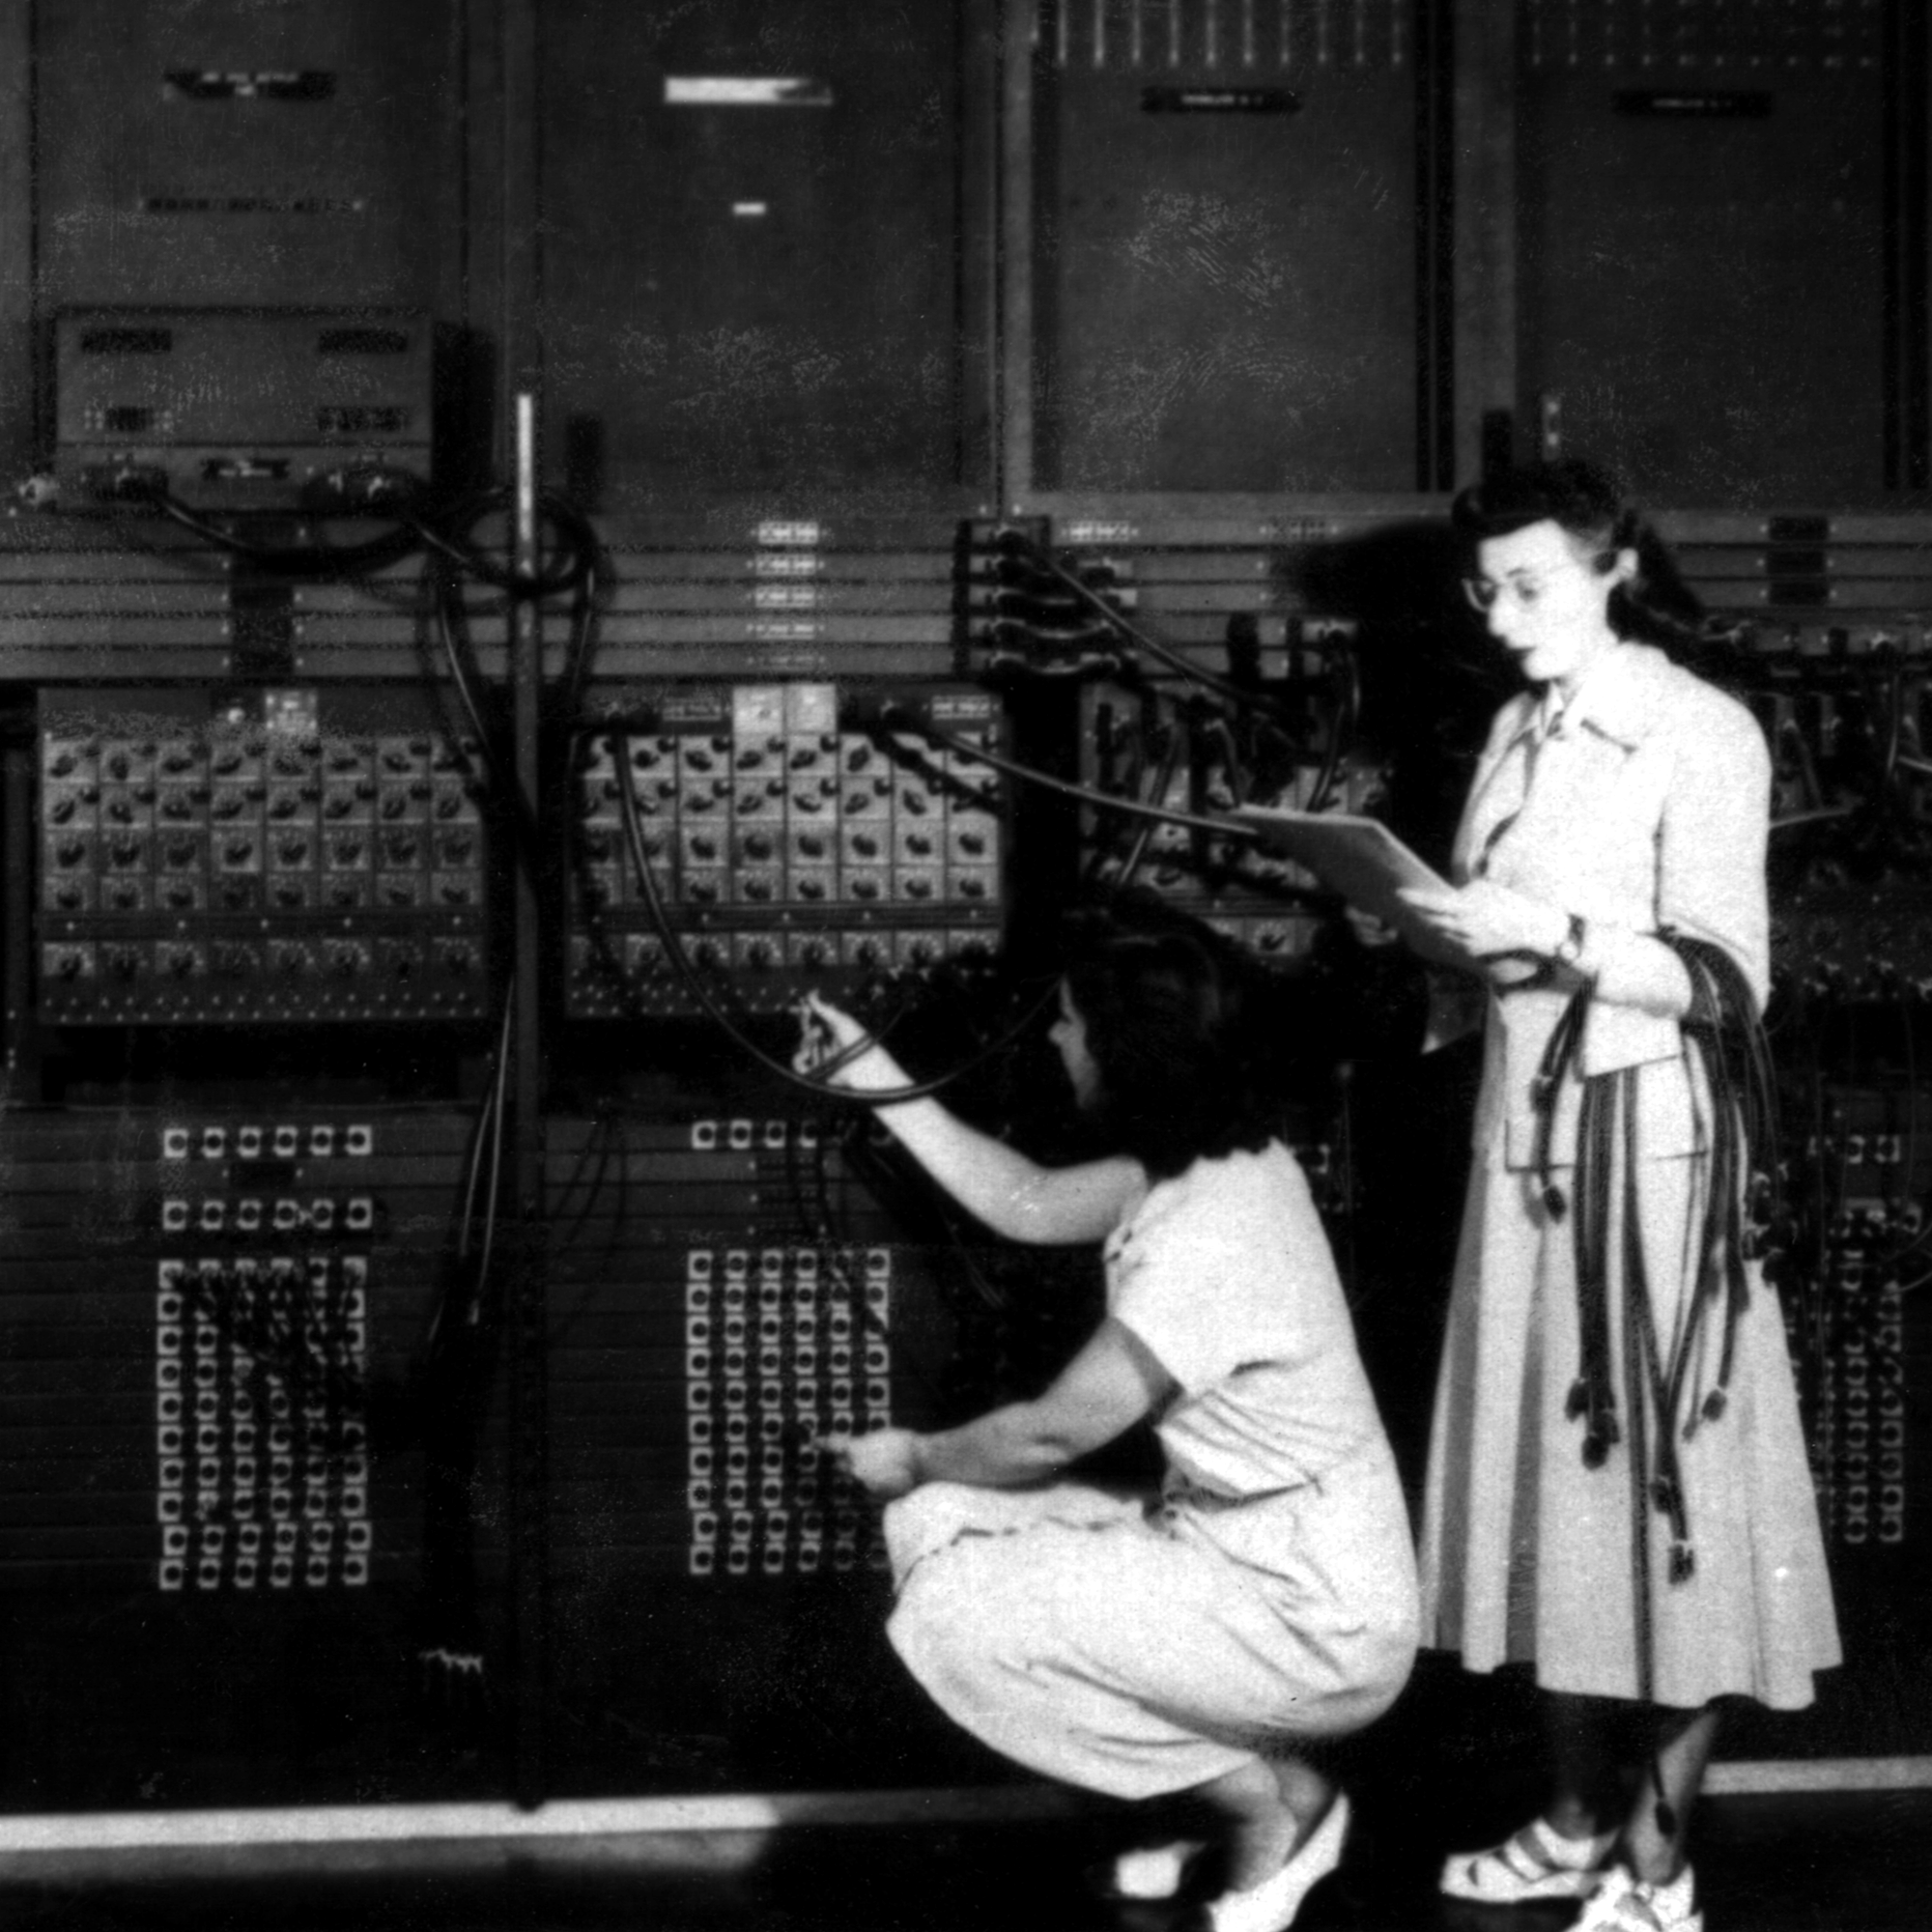 But ENIAC wasn’t just hugely expensive and successful, it was also just plain huge. While it’s somewhat difficult for the modern mind to comprehend, ENIAC was approximately 100 feet long and weighed in at a whopping 27 tons. In its final configuration in 1956, it contained about 18,000 vacuum tubes, 7,000 diodes, 70,000 resistors, 10,000 capacitors, and 6,000 switches. All that hardware comes with a mighty thirst for power: the ENIAC could easily suck down 150 kW of electricity. At the time this all seemed perfectly reasonable for a machine that could perform 5,000 instructions per second, but today an Arduino would run circles around it.
This vast discrepancy between the power and size of modern hardware versus such primordial computers was on full display at the Vintage Computer Festival East, where Brian Stuart demonstrated his very impressive ENIAC emulator. Like any good vintage hardware emulator, his project not only accurately recreates the capabilities of the original hardware, but attempts to give the modern operator a taste of the unique experience of operating a machine that had its heyday when “computers” were still people with slide rules. Continue reading “VCF East 2018: The Desktop ENIAC”


 [Jake Bickhard] is a confirmed Porta Pro disciple, owning enough pairs of them that he’s cagey about confirming how many are actually kicking around his home. The only thing he doesn’t like about them is the fact that they’re wired. As it happens, Koss just recently came out with a Bluetooth version of the venerable headphones. But he thought he could do just as well