Generally when we consider the many plants around us, we imagine them efficiently using the electromagnetic radiation from the Sun via photosynthesis in their leaves — pulling carbon-dioxide from the air, as well as water from the soil via their roots, and grow as quickly as they reasonably can. In reality, the efficiency of this process is less than 10% of the input energy, and the different types of plant metabolisms that have formed over the course of evolution aren’t all the same.
Among the plant metabolisms in use today, some use significantly more efficient carbon fixation pathways, while others end up wasting a lot of the energy they obtained from photosynthesis with unnecessarily complicated processes, especially to deal with waste. How fast plants can grow if they had all evolved the most efficient carbon fixation pathway has been the subject of a number of studies these past decades, involving everything from crop plants to trees.
As these studies are showing us, more than a scientific and evolutionary biological curiosity, these genetically engineered plants offer real opportunities in everything from food production to reforestation.
Where has the year gone? It’s already summer in the Northern Hemisphere, and the second Challenge of the 2022 Hackaday Prize ends this weekend, along with your chance at one of ten $500 prizes. If you thrive on last-minute challenges, consider the eleventh hour upon you. But don’t panic; there’s still a decent amount of time left to start a new project over on Hackaday.io and get it entered into the contest.
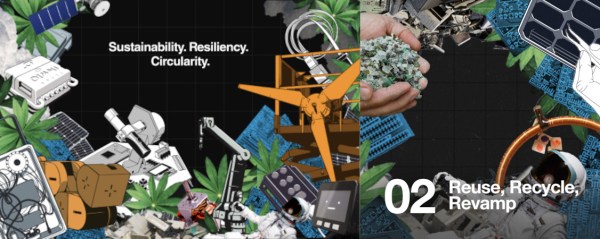
The second Challenge focuses on creating new ways of recycling materials. What does this look like? That’s a pretty broad topic, but it could be anything from a better method of chip harvesting to an inexpensive and/or low-energy process for shredding used plastic and forming it into millable blocks.
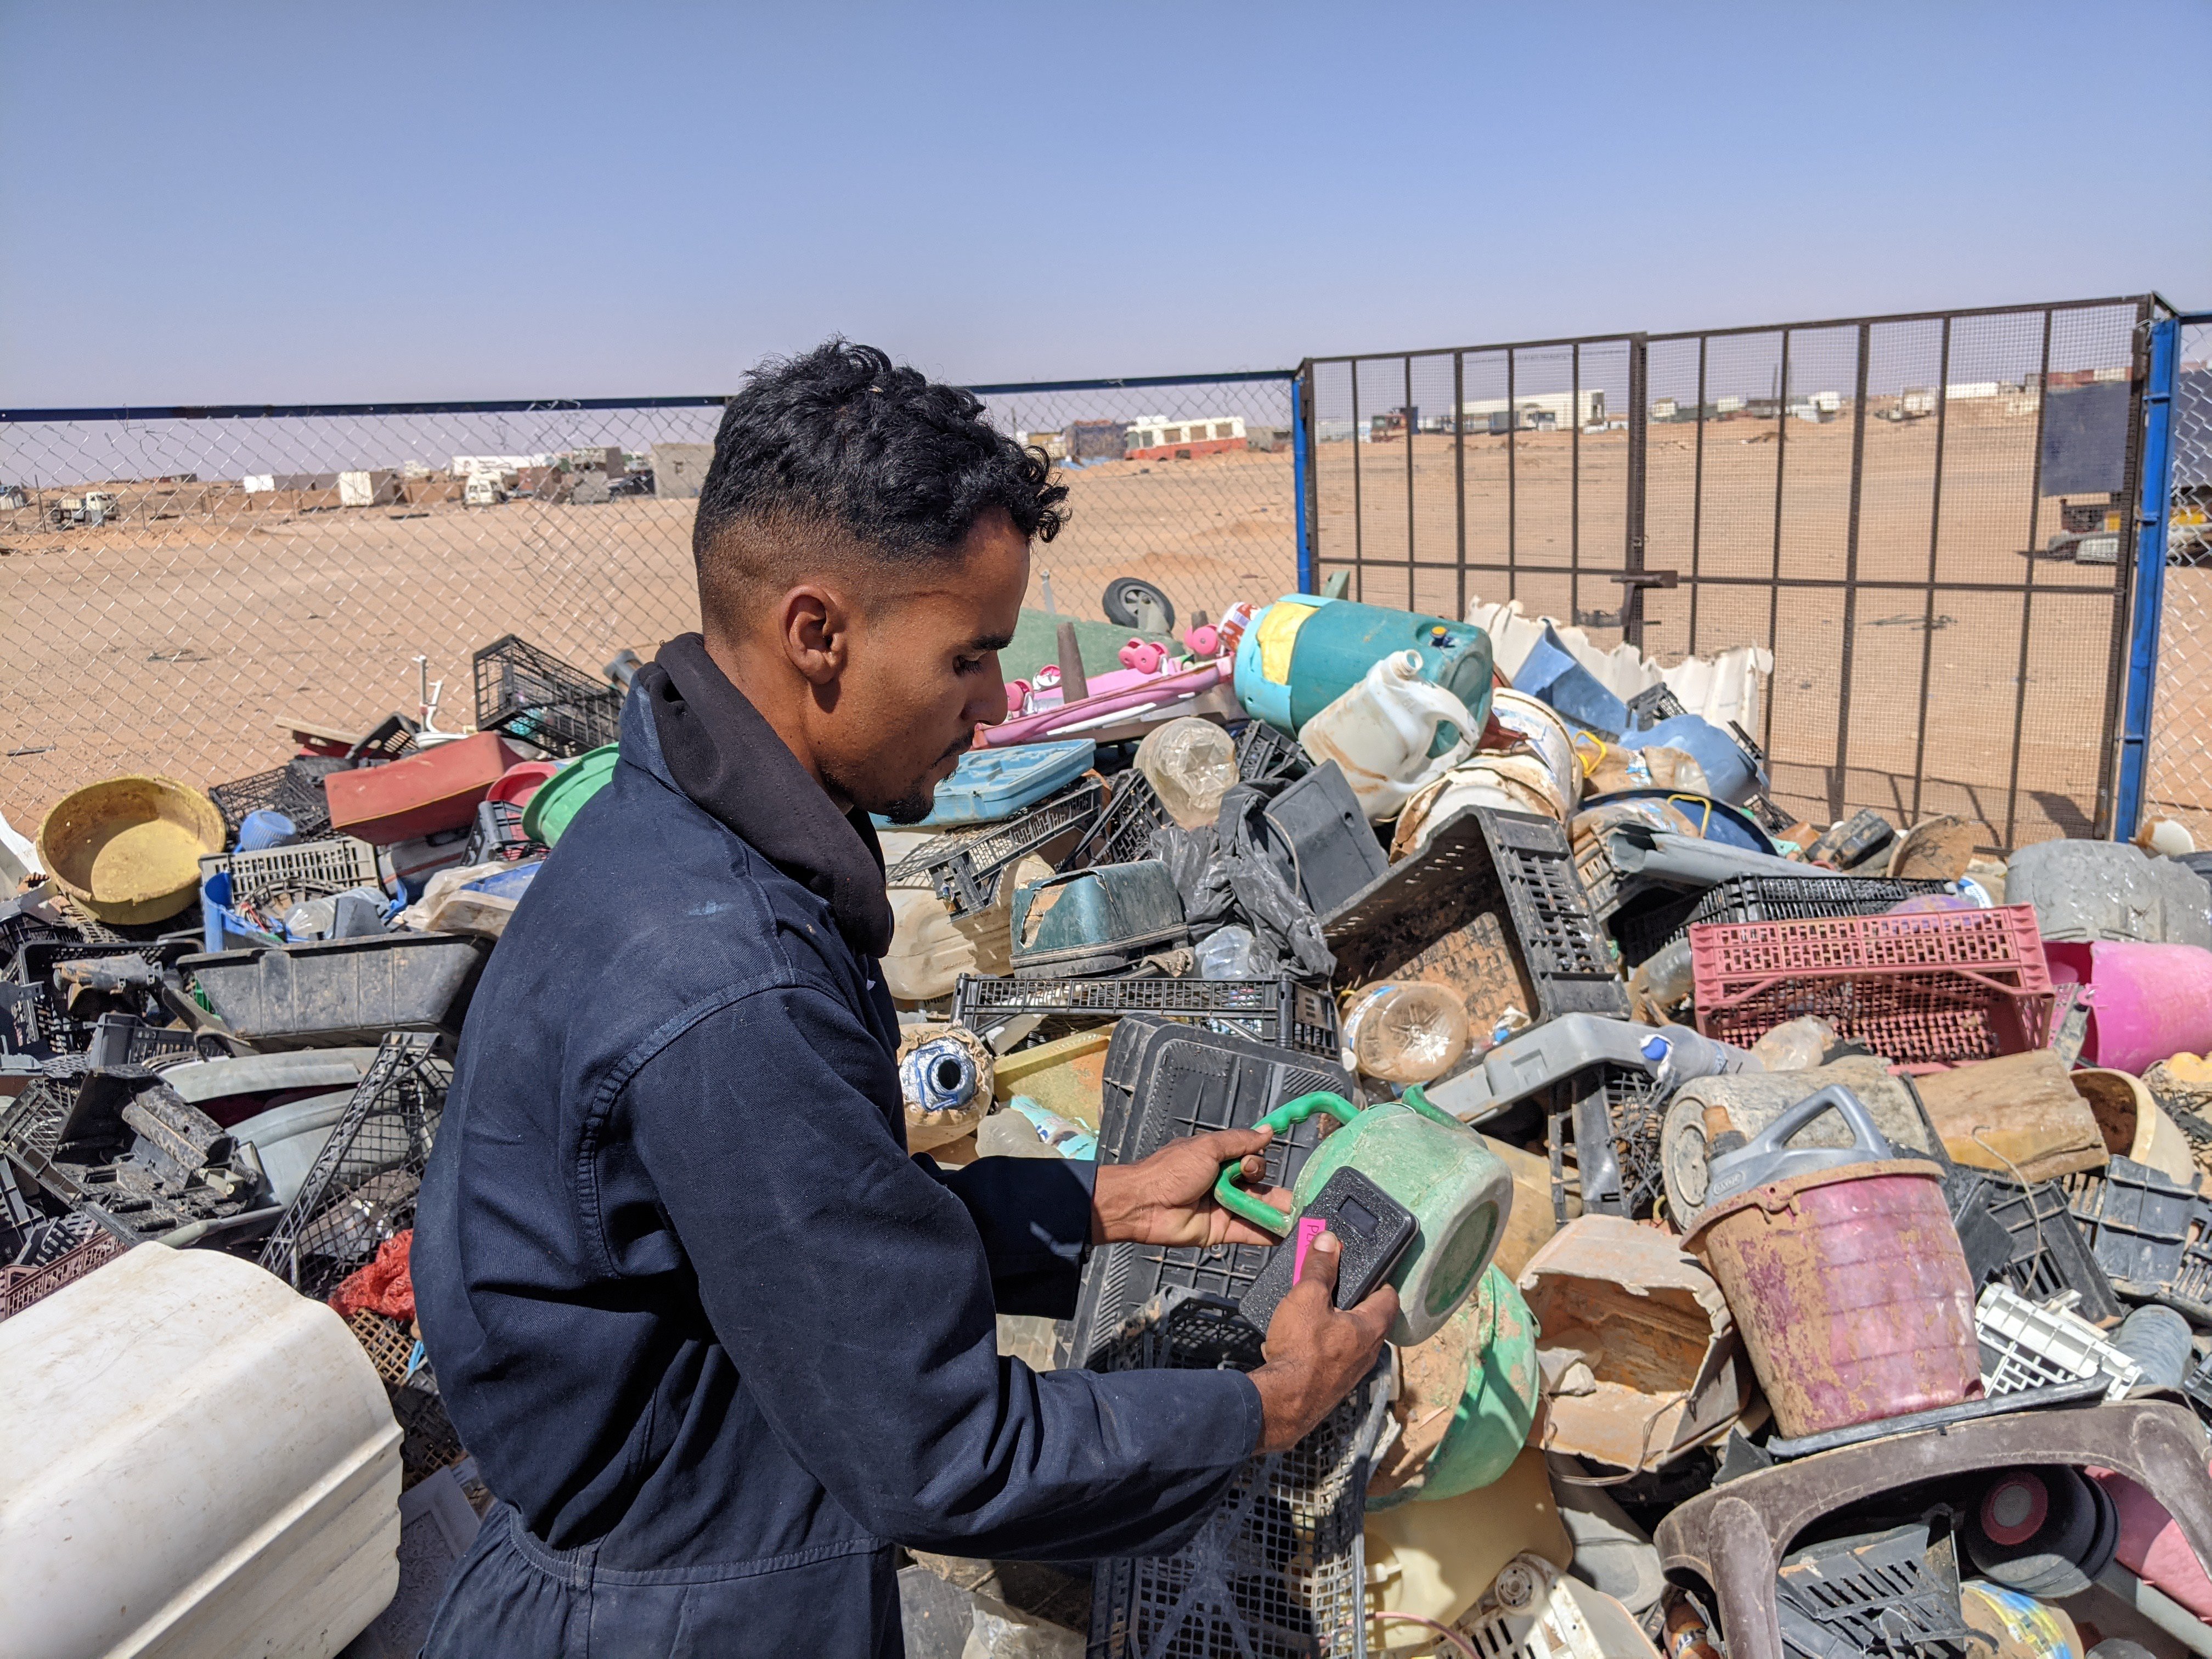
Don’t just think big on a commercial scale — imagine what people can do at home with the stuff in their recycle bin or their neighbor’s trash. If everyone had access to one of [Jerzeek]’s plastic scanners for identifying the type of plastic that mystery bucket or old watering can was made of, just think what could be done. As long as your project focuses on reusing, recycling, or revamping, we want to see it!
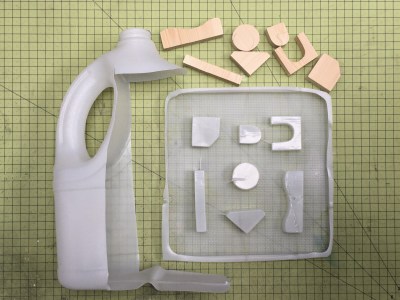
[jude_pullen] is vacu-forming plastic milk jugs ’til the cows come home.
[Guillermo Perez Guillen]’s cornstarch mini pottery machine spins us right round.
So basically, we have a bunch of awesome entries right now, but we don’t have yours! Remember: it doesn’t have to be a new project, just a new project page. Did you revolutionize recycling during lockdown? Make a new project and tell us about it! Just don’t forget to actually enter the thing by using the drop-down on the left before 7AM PDT on Sunday, June 12th. Need a time converting countdown thingy? We’ve got you.
After the recycle bin is empty, we’ll be moving on immediately to the Hack It Back challenge. This time, we’ll be asking you to teach old tech new tricks, or to bring a piece of gear back from the dead. Turn a blender into a Dremel-like tool, or give an old ‘scope a screen upgrade. You know what to do!
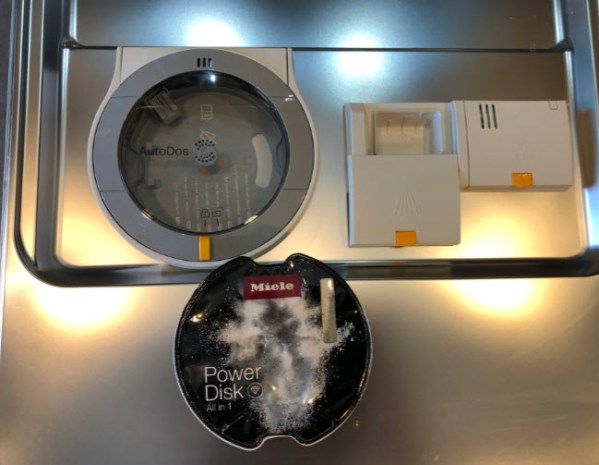
As part of [Erich Styger]’s recent kitchen overhaul with more power-efficient machines, he came across the ‘AutoDos’ feature of the new Miele G 27695-60 dishwasher. These are essentially overpriced containers of dishwashing powder that go into a special compartment of the machine, from which the dishwasher can then dispense the powder as needed. The high price tag and purported single-use of these containers led to the obvious question of whether they can be refilled.
With a cost of over $10 per PowerDisk container, each containing 400 grams of powder that suffice for ~20 cycles, it should be obvious that this is not a cheap system. Fortunately, each PowerDisk is just a foil-covered plastic container with no real special components. This meant that one hole and some funnel action later, [Erich] had refilled an empty PowerDisk with fresh powder, with the Miele dishwasher happily purring away and none the wiser that it wasn’t using Genuine Miele PowerDisk Dishwasher Powder™.
How well this system holds up long-term is uncertain, as the containers were not designed for constant reuse, but it offers the perspective of some creative 3D printing to create an (ABS-based?) container alternative. Having a automatic powder or liquid dosing system in a dishwasher is a pretty useful feature, but when it gets tied to what is clearly a cash grab, it rather ruins the deal.
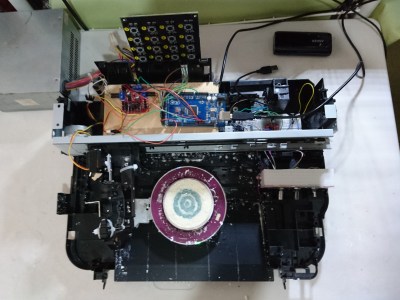
Living and working in a remote rain forest may sound idyllic to those currently stuck in bland suburbia, and to be sure it does have plenty of perks. One of the downsides, though, is getting new materials and equipment to that remote location. For that reason, [Digital Naturalism Laboratories], also known as [Dinalab], has to reuse or recycle as much as they can, including their scraps of acrylic leftover from their laser cutter.
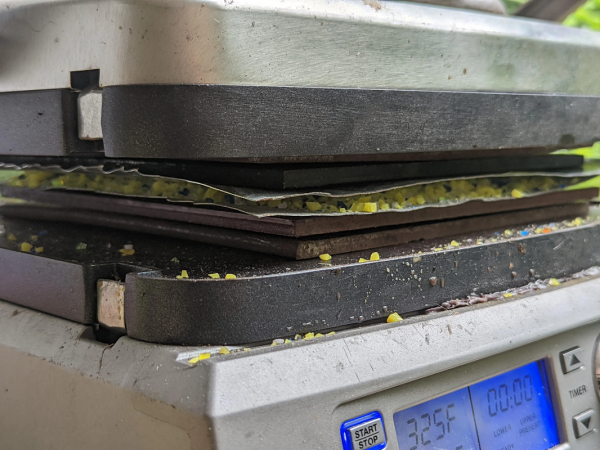
The process might seem straightforward, but getting it to actually work and not burn the acrylic took more than a few tries. Acrylic isn’t as thermoplastic as other plastics so it is much harder to work with, and it took some refining of the process. But once the details were ironed out, essentially the acrylic scraps are gently heated between two steel plates (they use a sandwich press) and then squeezed with a jack until they stick back together in one cohesive sheet. The key to this process is to heat it and press it for a long time, typically a half hour or more.
With this process finally sorted, [Dinalab] can make much more use of their available resources thanks to recycling a material that most of us would end up tossing out. It also helps to keep waste out of the landfill that would otherwise exist in the environment indefinitely. And, if this seems familiar to you, it’s because this same lab has already perfected methods to recycle other types of plastic as well.
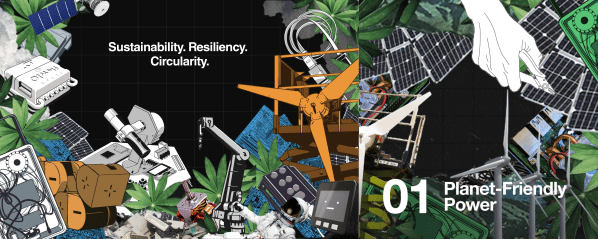
The 2022 Hackaday Prize is focused on lightening our load on the planet, and one obvious way to do so is to get and store renewable power locally — the theme of our first challenge round: Planet-Friendly Power. Our judges have studied all the entries and their votes are in. All of these ten projects will receive $500 right now and are eligible for the Grand Prize of $50,000, to be announced in November.
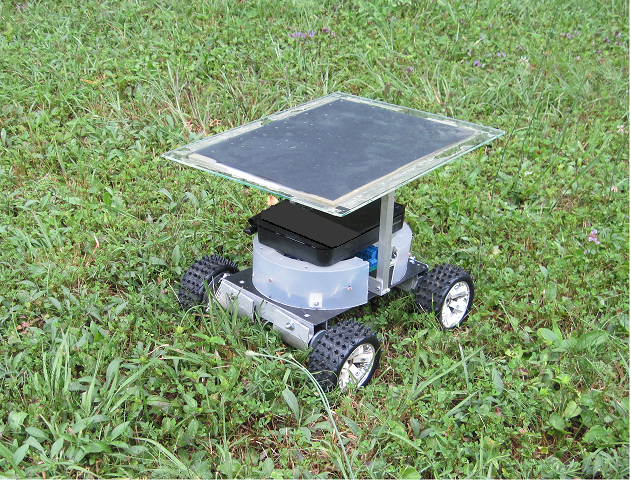
Most of the alternative energy sources you’d expect to see were represented: solar, wind, and water. But everyone brought their own twists to the topic. For instance, the Low Cost Solar Panel Solution demonstrates that there’s a lot more to a DIY solar project than just the panel. You need to support it, protect it, turn it to face the sun, and convert and store the power harvested. And [JP Gleyzes] even goes so far as to use recycled water bottles to make the 3D-printed parts. Sun Chaser 2 puts the panel on wheels, driving it out of the shade to collect maximum energy in a real-world backyard situation. Cute!
Finally, we had two great kite projects to harvest wind with minimal setups on the go: Kite Propulsion and Energy Independence While Travelling. Both are still in the experimental stages, but both have great documentation of where the research projects stand.
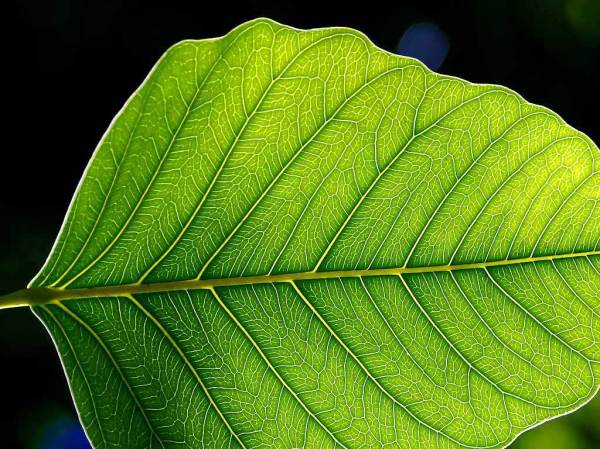
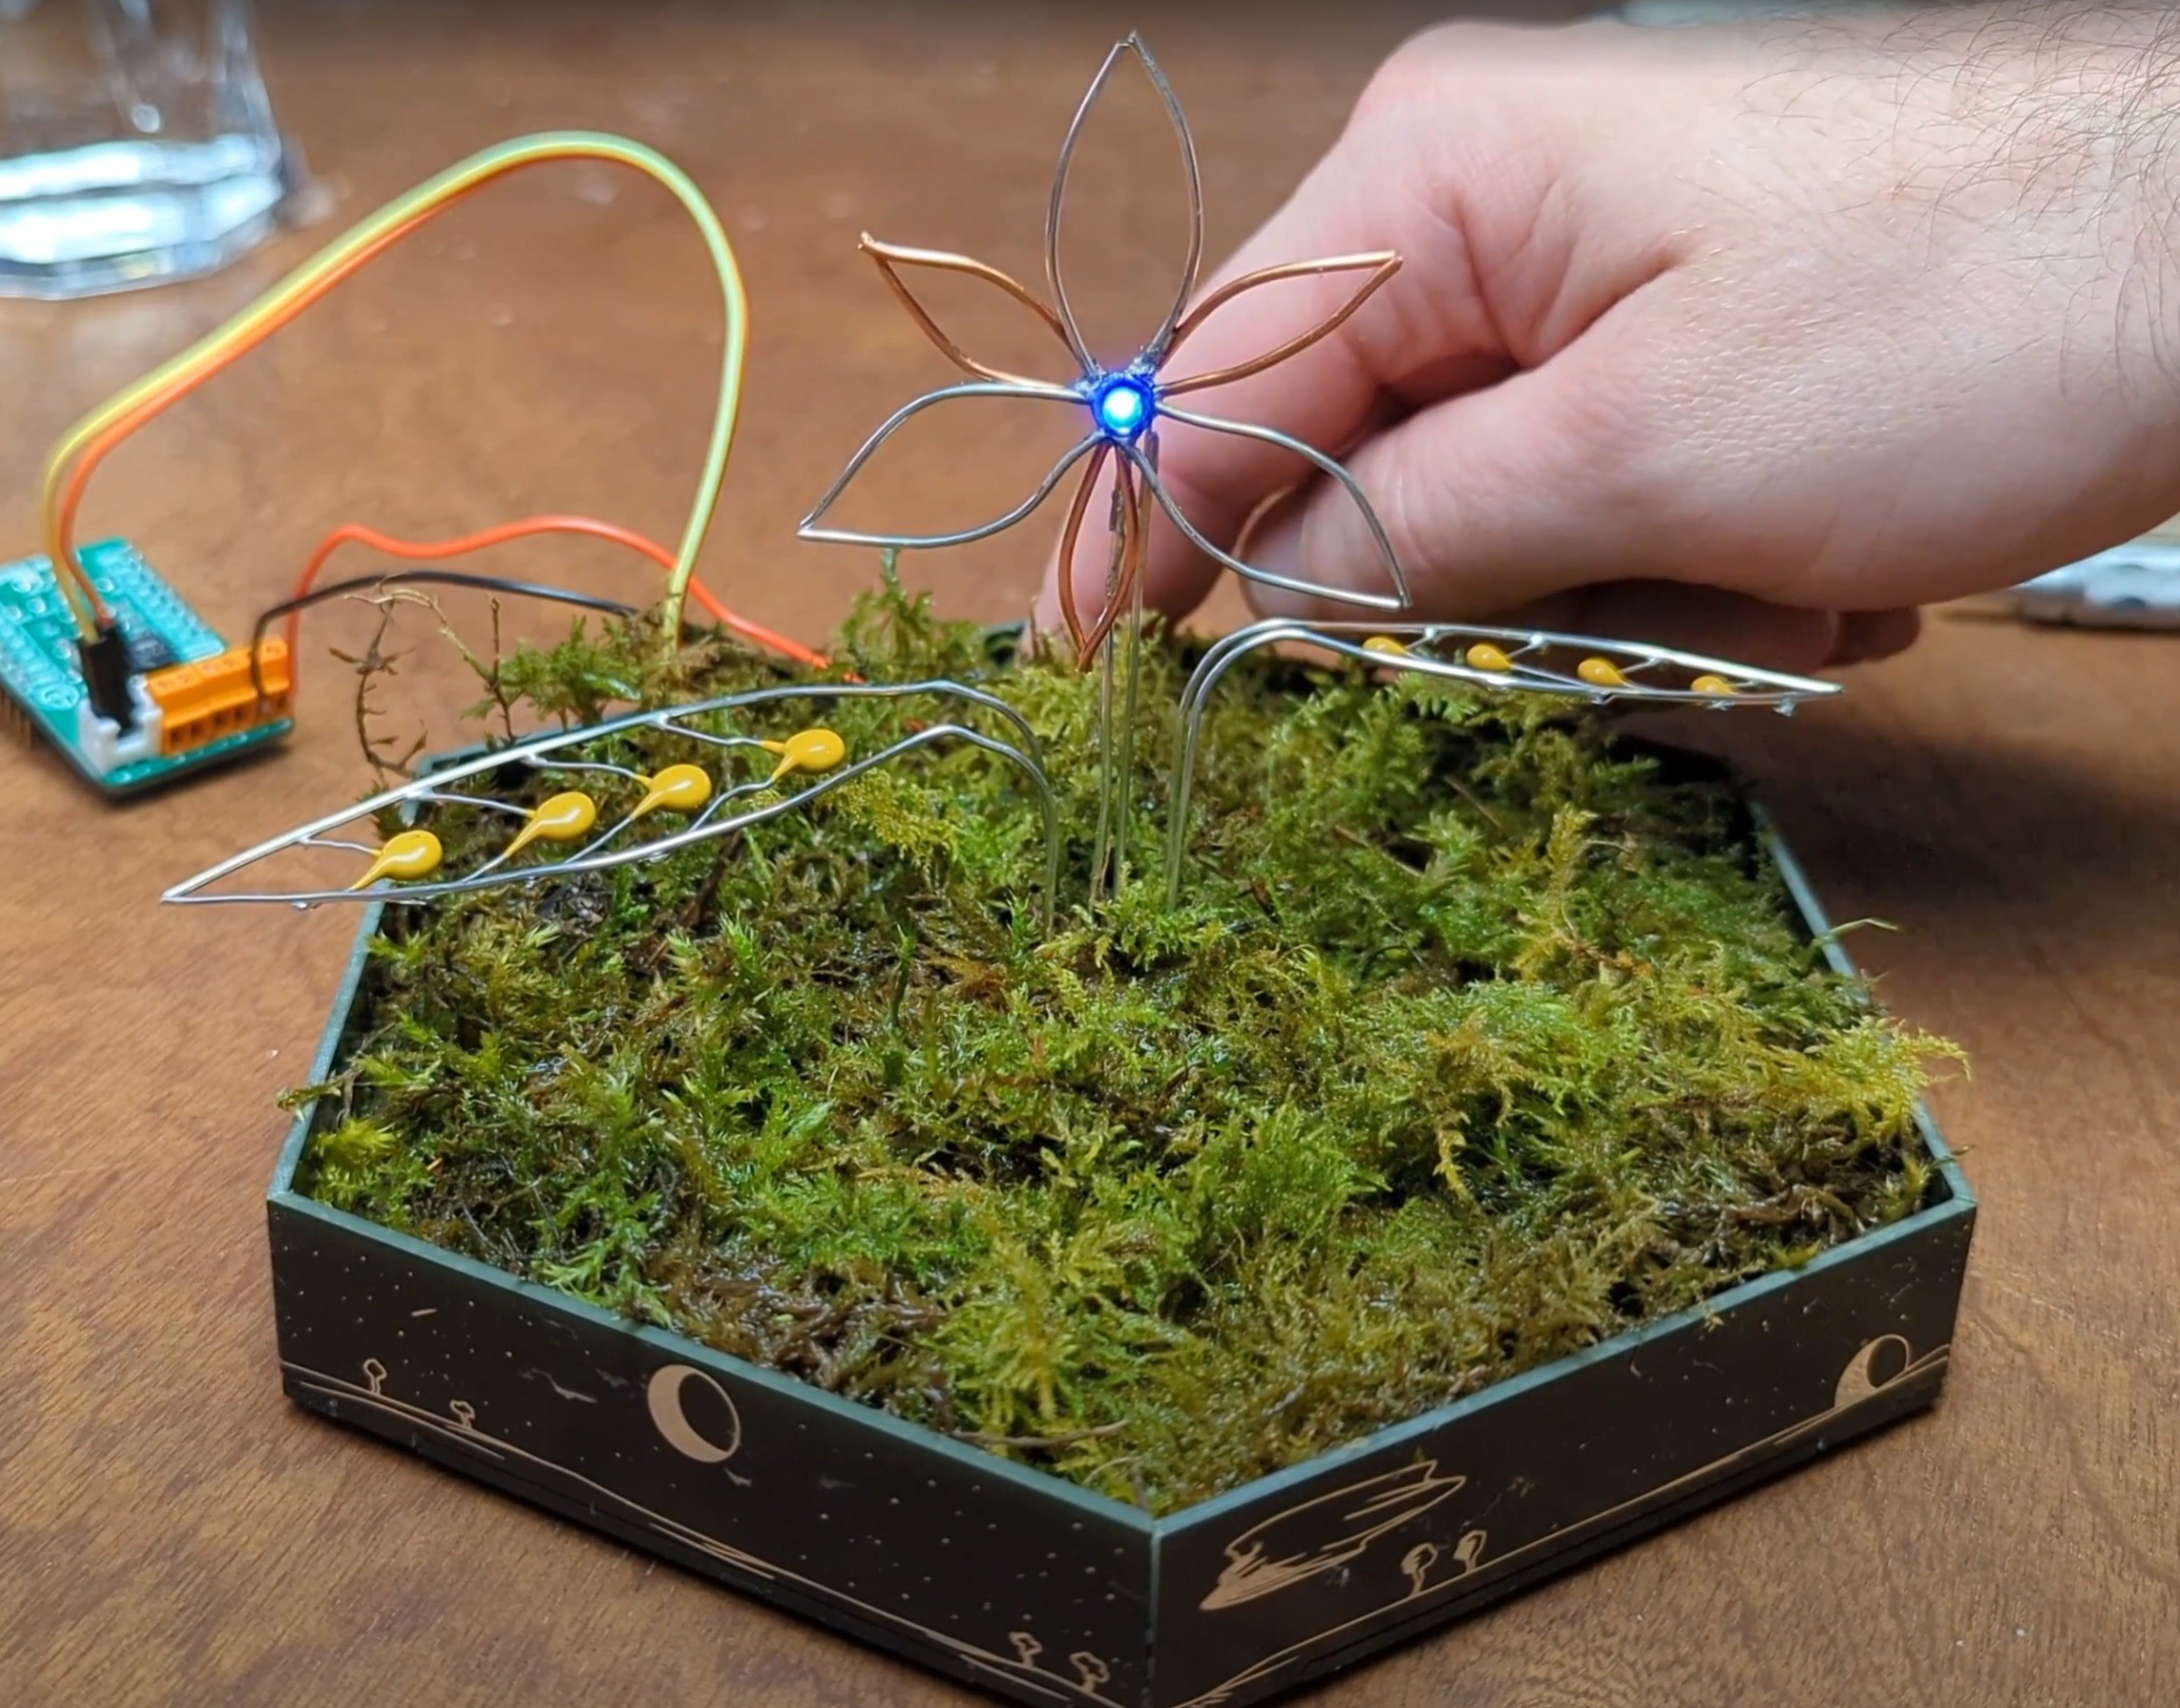
Finally, Moss Microbial Fuel Cell is really out there on the edge of current research. Combining the reasonably well established microbial fuel cell with the photosynthetic power of moss, [Guru-san] is able to light an LED for a few seconds at a time. It’s not much, but it’s also a desktop-scale project. And who can say no to leaf-shaped capacitor circuit sculptures to store the energy?
Hacker Power!
Those are just a few of the ten finalists, listed here in no particular order. Congratulations to all of you! We’re excited to follow your projects along their journey, and wish you all the best.
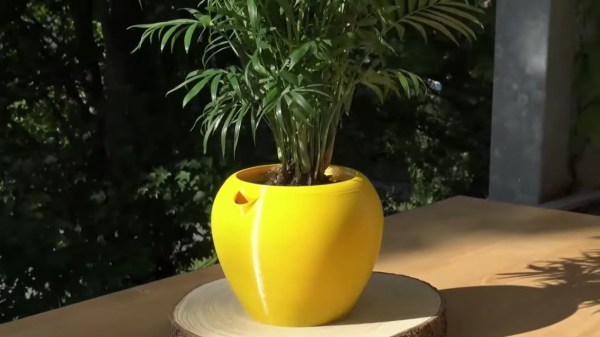
While it’s true that some plants thrive on neglect, many of them do just fine with a few ounces of water once a week, as long as the light level is right. But even that is plenty to remember and actually do in our unprecedented times, so why bother trying? [Martin] has solved this problem for us, having given every aspect of automatic plant care a lot of thought. The result of his efforts is Flaura, a self-watering open-source plant pot, and a YouTube channel to go with it.
The 3D-printed pot can easily be scaled up or down to suit the size of the plant, and contains a water reservoir that holds about 0.7 L of water at the default size. Just pour it in through the little spout, and you’re good for about three months, depending on the plant, the light it’s in, and how much current water it draws. You can track the dryness level in the companion app.
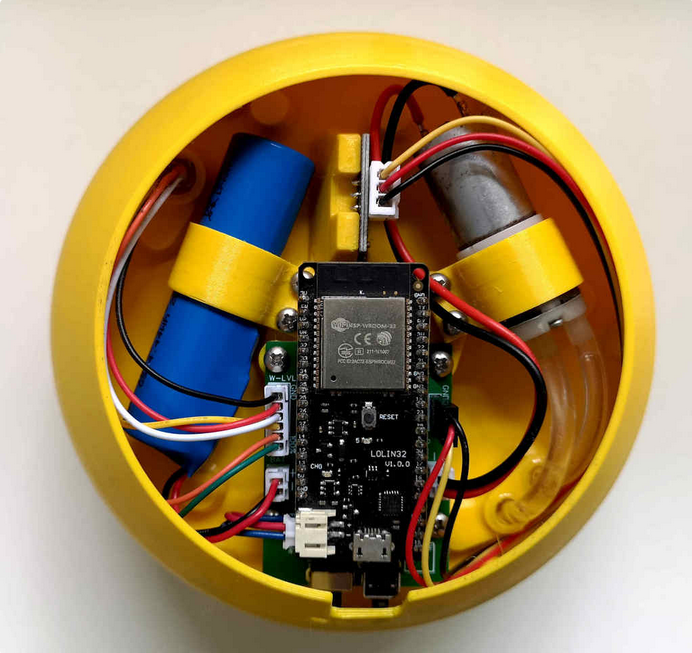
Whenever the capacitive soil moisture sensor hidden in the bottom of the dirt detects drought conditions, it sends a signal through the Wemos LOLIN32 and a MOSFET to a small pump, which sends up water from the reservoir.
The soil is watered uniformly by a small hose riddled with dozens of tiny holes that create little low-pressure water jets. This is definitely our favorite part of the project — not just because it’s cool looking, but also because a lot of these types of builds tend to release the water in the same spot all the time, which is. . . not how we water our plants. Be sure to check out the project overview video after the break.
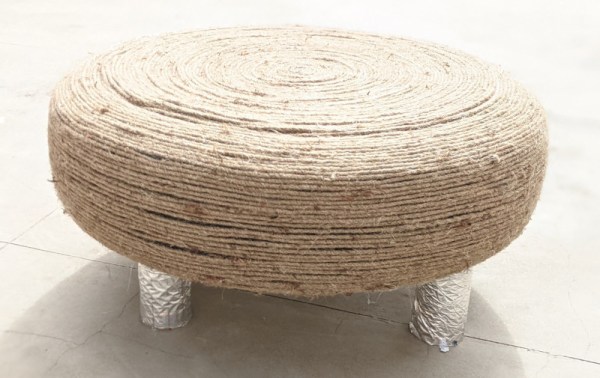
The problem with good inventions is that we usually end up with way too many of that particular widget lying around, which can cause all kinds of problems. Take the car tire, for instance. They were a great invention that helped spell the end of buggy whips and broken wagon wheels. But there are so many used-up tires about today that some people end up burning them in large piles, of all possible things.
Not [Vaibhav], who prefers to turn trash into utilitarian treasures. With little more than an old tire, some jute rope, and four plastic drink bottles, they made a sturdy, low-slung piece of furniture that could be used as a coffee table, a foot stool, or whatever life calls for.
Construction was fairly simple and involved stabilizing the hollow core with a round piece of cardboard glued to either side of the tire. Then came the jute rope and glue artistry, which hides any trace of the foundational materials. Finally, [Vaibhav] glued four plastic bottles to the bottom to act as legs. We think that steel cans would last longer and support more weight, but if plastic bottles are the only option, you could always fill them with dirt or sand.