Hackaday Links: Leap Eve, 2016

The current Mac Pro is a masterpiece of design that looks like a trash can. We’ve been waiting for someone to take one of these computers and stuff a MiniITX board in there, but seeing as how the Mac Pro costs $3000, that probably won’t happen anytime soon. Here’s the solution. It’s a trash can computer case that is also too expensive for what it is. Now all we need is someone to put a big fan inside one and turn this computer into a wacky waving inflatable arm flailing tube man.

[Mike Harrison] recently got his hands on a $20,000 SPARC CPU module. This is an enormously thick board that must be dozens of layers thick. How many layers was an open question until he put the board in a CNC milling machine. The setup is pretty much what you would expect with a few lines of g-code repeated over and over. The real trick comes from using one of the outputs for lubricant to trigger the shutter release on a camera. How many layers were in the CPU module? About 30, or something like that.

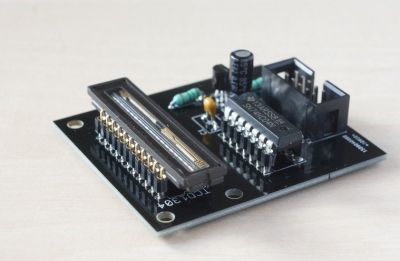
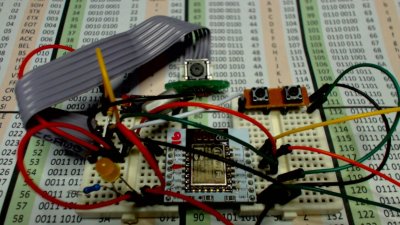
Almost a year ago, we saw the latest advances in perfboard. It was a perfboard with each hole connected to rows and columns on a selectively solderable orthogonal busses. Something like that. Actually, we still can’t wrap our head around it. Now, it’s a crowdfunding campaign with a few new and useful features. There’s also a layout tool that will show you where to place your components and where to make solder bridges.

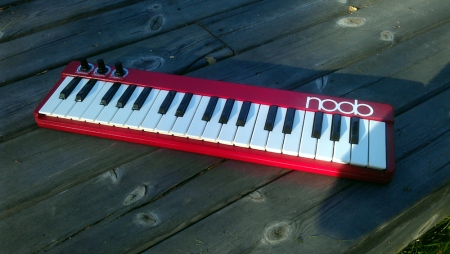
[Ray Wilson] started Music From Outer Spacethe place to learn about DIY analog synthesizers. Ray now has cancer, and as you can imagine, being a self-employed engineer specializing in analog synthesizers doesn’t provide great health coverage. [Ray]’s family set up a GoFundMe page to pay for the medical expenses.

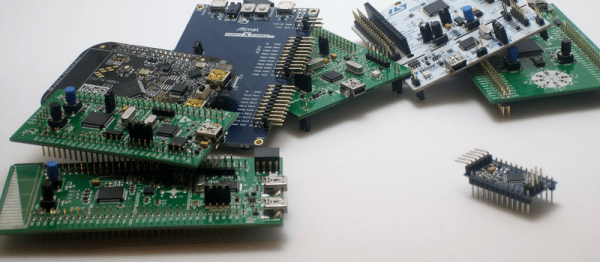
We haven’t seen much in the land of 3D scanners, and we’re betting most of that is because they’re so expensive. The guys from CowTech have a kickstarter up for a 3D scanner that’s just $99. It’s based on the Ciclop scanner but designed around a custom Arduino shield and remains fully open source.

Remember the screen printed electroluminescent displays that were printed directly onto t-shirts from a few months ago? Now that company is working on a much cooler design: the Hackaday Jolly Wrencher. It works, but there are still a few problems: they’re setting the shirt on fire a little. Don’t worry, if these are ever reasonably safe and somewhat affordable, an EL Jolly Wrencher shirt will be in the Hackaday Store.

Need a rechargeable multimeter? It’s actually pretty easy. With an 18650 Lithium Ion cell and a 9V boost converter, this circuit will fit in most devices that need a 9V battery. To do this right, you’ll also need a USB charging port, to be used once every couple of years when the battery needs charging.

Hacklet 97 – Camera Projects

We last covered camera projects way back in Hacklet #11. A ton of camera projects have been added to Hackaday.io since then. While the rest of the world is taking selfies, hackers, makers, and engineers have been coming up with new ways to hack their image capture devices. This week on the Hacklet, we’re taking a look at some of the best camera projects on Hackaday.io!

pixelzFirst up is [aleksey.grishchenko] with PiXel camera. PiXel is a camera and a live video display all in one, We wouldn’t exactly call it high-definition though! A Raspberry Pi uses its camera module to capture images of the world. [Aleksey] then processes those images and displays them on a 32 x 32 RGB LED matrix. This matrix is the same kind of tile used in large outdoor LED signs. The result is a surreal low resolution view of the world. Since the Pi, batteries, and camera all hide behind the LED matrix, there is an unobstructed view of the world around you. [Aleksey] used  [Henner Zeller’s] matrix library to make this hack happen.

imagerNext up is [Esben Rossel] with Linear CCD module. [Esben] is building a Raman spectrometer, much like 2014 Hackaday Prize finalist [fl@C@] with his own ramanPi. The heart of a spectrometer is the linear image capture device. Both of these projects use the same TCD1304 linear CCD. Linear Charge Coupled Devices (CCDs) are the same type of device used in flatbed document scanners. The output of the CCD is analog, so an ADC must be used to capture the data. [Esben] is using an STM32F401RE on a Nucleo board as the control logic. The ST’s internal ADC converts the analog signal to digital. From there, it’s time to process all the spectra.

wiimote-cam[Chiprobot] brings the classic Wii remote camera to the internet of things with
ESP8266 meets Wii Mote Camera. The Wii remote uses a camera which doesn’t output images, instead it plots the location of up to four IR LEDs. Normally these LEDs are located in the poorly named sensor bar that is sold with the Wii. Hackers have been using these cameras in projects for years now. [Chiprobot] paired his camera with the modern classic ESP8266 WiFi module. The ‘8266 is programmed to read data from the camera’s I2C bus. It then sends the data as an SVG request to the W3C website. W3C returns a formatted image based on those coordinates. The resulting image is a picture of the IR LEDs seen by the camera. Kind of like sending your negatives out to be developed.

photoboothFinally, we have [GuyisIT] with Raspberry Pi Photobooth. Photo booths are all the rage these days. First it was weddings, but now it seems like every kids party has one. [GuyisIT] didn’t rent a booth for his daughter’s birthday, he built one using his Raspberry Pi and Pi camera. The project is written in python, based upon [John Croucher’s] code. When the kids press a button, the Pi Snaps a series of pictures. The tiny Linux computer then joins and rotates the images while adding in some superhero themed graphics. Finally the Pi prints the image on to a photo printer. The biggest problem with this hack is re-triggering. The kids loved it so much, they kept pressing the big red button!

If you want to see more camera projects, check out our updated camera projects list! If I missed your project, don’t be shy! Just drop me a message on Hackaday.io. That’s it for this week’s Hacklet. As always, see you next week. Same hack time, same hack channel, bringing you the best of Hackaday.io!

Adding Spice To Your Workbench

Most of us didn’t fight in World War II, drive a race car, or fly the Space Shuttle. But with simulation, you can experience at least some of what it would be like to do those things. Granted, playing Call of Duty isn’t really the same as going to war. No matter what you are simulating, it only goes so far. However, you can get a lot of value from a simulation. I’d bet the average kid who has played Call of Duty knows more about WWII locales and weapons than my high school history teacher.

When it comes to electronics, simulation is an excellent way to get insight into a circuit’s operation. After all, most circuits operate in the abstract–you can’t look at an audio amplifier and see how it works without a tool like a scope. So simulation, when done well, can be very satisfying. You just have to be careful to remember that it isn’t always as good as the real thing.

That’s Spicy

One of the best-known electronics simulators is Spice, which Berkeley created in 1973. In its original form, you had to punch cards that described your circuit and the analysis you wanted to perform. Modern PC versions sometimes replace the deck of cards with a text file. The best modern versions, though, give you a GUI that allows you to draw a schematic and then probe it to see the results.

There are several paid and free versions of Spice (and other simulators) that include a GUI. One of the best for a casual user is the free offering from Linear Technology called LTSpice.

Linear makes LTSpice available and populates it with models for their devices in the hopes you’ll buy components from them. However, the software is entirely usable for anything, and it has a powerful set of features. Linear produces the software for Windows, but I can attest that it runs just fine under Wine on Linux. The Web site will invite you to register, but you don’t have to if you don’t want to.

Continue reading “Adding Spice To Your Workbench”

The Challenges Of A Laundry Folding Robot

rosie
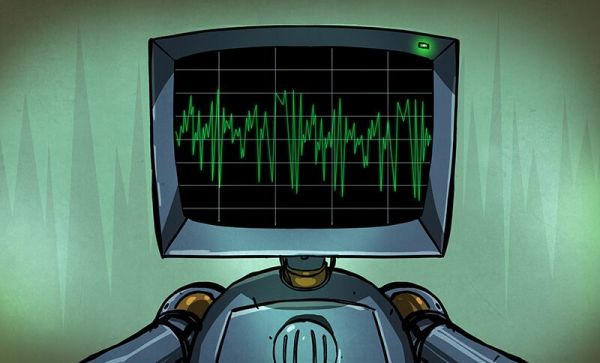
“This is the year of the general purpose home robot!” “2016 is going to be for robots like 1976 was for the home computer!” The problem with statements like those is the fact that we’ve been hearing them since the 1970’s. General purpose home robots still have a long way to go. Sure, we’ve got Roomba, we’ve even got self-driving cars. But we don’t have Rosie from the Jetsons. And while I don’t think we’re going to get to Rosie for a while, there are some simple challenges that can spur development in that direction. One need look no further than one’s own laundry room.

maytag
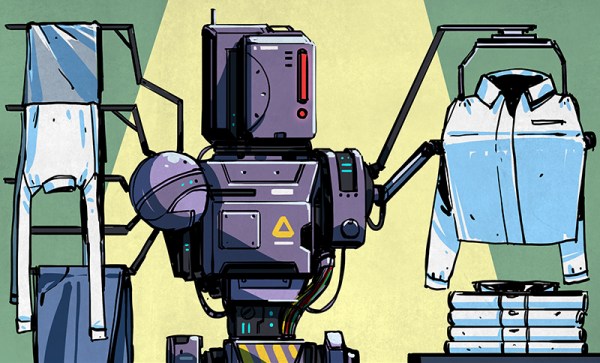
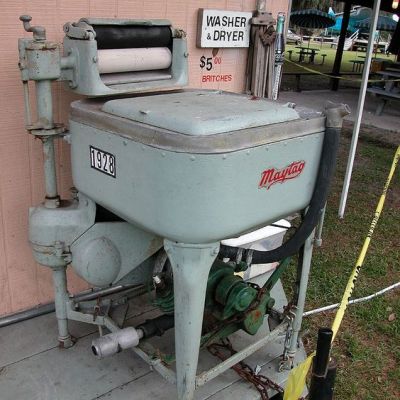
Using machines to wash and dry laundry isn’t a new concept. Washers and dryers have become commonplace enough that we don’t think of them as robots. Hamilton Smith patented the rotary washing machine in 1858. Maytag has had home machines available for nearly 100 years. Many of the early machines were powered by gasoline engines, as electricity wasn’t common in rural farmhouses. Things have improved quite a bit since then! From the dryer we transfer our laundry to a basket, where it has to be folded. It is this final step that cries out for a homemaking automaton to take this chore out of Everyman’s hands.

As one can imagine, folding laundry is one of those tasks that is easy for humans, but hard for robots. However, it’s not impossible. The idea of this article is to show what has been done, and get people talking. A project like this would take a person or group of people with skills in mechanics, electronics, machine vision, and software. It would also be sure to place well in the 2016 Hackaday Prize.

Continue reading “The Challenges Of A Laundry Folding Robot”

When Are 8 Bits More Than 32?

Whenever we write up a feature on a microcontroller or microcontroller project here on Hackaday, we inevitably get two diametrically opposed opinions in the comments. If the article featured an 8-bit microcontroller, an army of ARMies post that they would do it better, faster, stronger, and using less power on a 32-bit platform. They’re usually right. On the other hand, if the article involved a 32-bit processor or a single-board computer, the 8-bitters come out of the woodwork telling you that they could get the job done with an overclocked ATtiny85 running cycle-counted assembly. And some of you probably can. (We love you all!)

redblue_pillWhen beginners walk into this briar-patch by asking where to get started, it can be a little bewildering. The Arduino recommendation is pretty easy to make, because there’s a tremendous amount of newbie-friendly material available. And Arduino doesn’t necessarily mean AVR, but when it does, that’s not a bad choice due to the relatively flexible current sourcing and sinking of the part. You’re not going to lose your job by recommending Arduino, and it’s pretty hard to get the smoke out of one.

But these days when someone new to microcontrollers asks what path they should take, I’ve started to answer back with a question: how interested are you in learning about microcontrollers themselves versus learning about making projects that happen to use them? It’s like “blue pill or red pill”: the answer to this question sets a path, and I wouldn’t recommend the same thing to people who answered differently.

For people who just want to get stuff done, a library of easy-to-use firmware and a bunch of examples to crib learn from are paramount. My guess is that people who answer “get stuff done” are the 90%. And for these folks, I wouldn’t hesitate at all to recommend an Arduino variant — because the community support is excellent, and someone has written an add-on library for nearly every gizmo you’d want to attach. This is well-trodden ground, and it’s very often plug-and-play.

Continue reading “When Are 8 Bits More Than 32?”

ARM Unveils New, High Efficency CPU

ARM has announced their latest IP core the Cortex A32. This 32-bit chip brings the benefits of the ARMv8-A architecture to low-power devices, ostensibly ones that will be the backbone of the Internet of Things.

For the last few years, the state of ARM CPUs has been firmly planted in the world of ARMv7 instructions. These chips, the Cortex A5, A7, A9, A15, and A17 are divided into ‘good, better, best’ segments, with the A7 pulling its weight as the processor in the Raspberry Pi 2, and a dual-core A15 finding its way into the latest BeagleBoard. While these CPUs are very capable, they don’t support the latest ARM architecture, ARMv8. For the last few years, the only ARM processors with the v8 architecture fell into the ‘better’ and ‘best’ segments. Although the A53, A57, and A72 chips are very capable, there hasn’t been a low power ARMv8 chip until this announcement.

So what does this announcement mean for the next generation of the Internet of Things, single board computers, and the wearable electronics of tomorrow? Absolutely nothing. Only the processor IP was released, and it will take at least a year for this core to make it into a chip. It will be 18 to 24 months until you can find this core in a consumer device. On the other hand, when these devices do appear, they will be significantly faster than current devices with a Cortex A5 and A7.

A Slew Of Open-Source Synthesizers

Hackaday reader [Jan Ostman] has been making microcontroller-based DIY synthesizers for quite a while now. Recently, he’s opened up the source for a lot of them so that you can play along at home. All of these virtual-analog synths and soundmakers can be realized on an Arduino or AVR ATmega328 if you happen to have one lying around.

Extra parts like a keyboard, some pushbuttons, or some potentiometer knobs to twiddle won’t hurt if you’d like to make something more permanent or more obviously playable, like [Jan] does. On the other hand, if you’d just like to get your feet wet, I’ve tweaked his code to be more immediately plug-and-play. The code is straightforward enough that it’s a good learning platform. So let’s take a quick tour through three drum machines and a string synth, each of which you can build on a breadboard in just a few minutes.

To install on an Arduino UNO, fetch the zip file from this GitHub repository, and move each subfolder to your Arduino sketch directory. You’re ready to play along.

Continue reading “A Slew Of Open-Source Synthesizers”