In most places around the world, electricity is getting ever more expensive. Cutting back on your usage is one of the easier ways to escape this pain. This smart powermeter from [JGAguagdo] may prove a useful tool to achieve that goal.
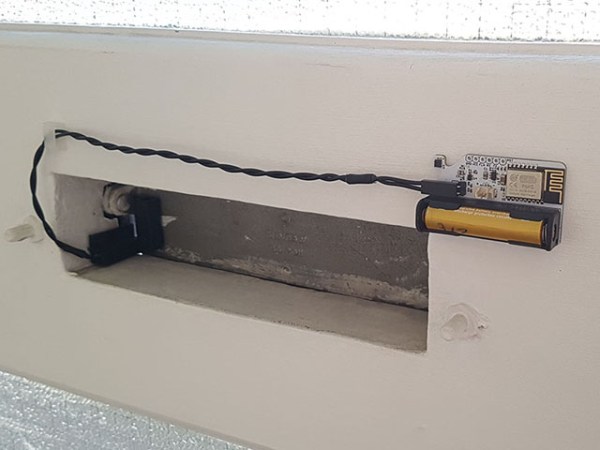
The project uses an ESP32-S2 as the brains of the operation. It’s capable of reading up to six current-transformer clamps for measuring current draw in AC devices. It also features an embedded BMP280 temperature and air pressure sensor. Live data is displayed on a 2.9-inch e-Paper display, making it clear and easy to read under normal lighting conditions. By default, it’s set up to display graphs of power usage both over the last 24 hours, and the last ten days. It can even be set up with the prevailing energy rates in your area to display a realistic figure for what you’ll pay for your daily usage.
It can even be set up to work with Home Assistant for more logging and control options. We can imagine that, with a little work, you could even do some fancy plotting of energy use versus temperature to determine the performance and cost of your home HVAC setup.
If you want one with a minimum of fuss, you can score one on Tindie. Alternatively, design files are available on GitHub, too. We’ve featured some other great power meters over the years, and if you’re cooking up your own smart designs, don’t hesitate to let us know!