Senior college projects are the culmination of years of theoretical learning finally put into practice. For many students they are their first experience of doing some proper, real world engineering. [Melangeaddict] chose to take on a persistence of vision display for his final project, and learned plenty along the way.
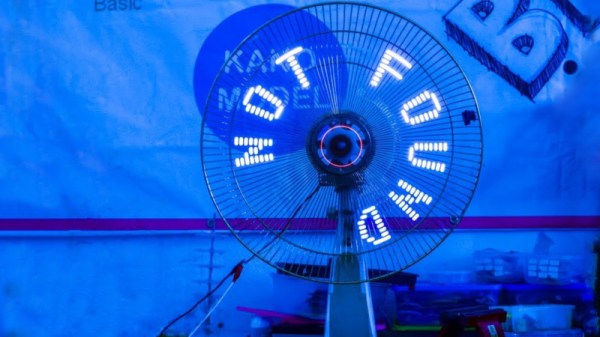
The display consists of a row of 48 RGB LEDs mounted on an arm capable of rotating a full 360 degrees, with a simple paper diffuser. This arm is spun up by a belt drive from an electric motor at significant rotational speed, so getting close to this machine is quite inadvisable. Thanks to quality bearings and a careful build, rotating resistance is minimal. An infrared LED is mounted on the frame, and the light picked up by a photodiode on the rotating arm, allowing the images to remain fixed in space without drifting over time. Images can be loaded to the display wirelessly over a Bluetooth interface, which was quite advanced for a DIY project in 2011.
We’re a fan of the 360 degree approach to POV displays, and with the right rotational speed and fast data rates, it would be possible to get some seriously high resolution out of the device. Just be careful not to stick your hands in the mechanism.
There’s a deep well to explore when it comes to POV displays, from three-dimensional builds to vibrating flexible setups. Video after the break.
Continue reading “College Project Nets 360 Degree POV Display”