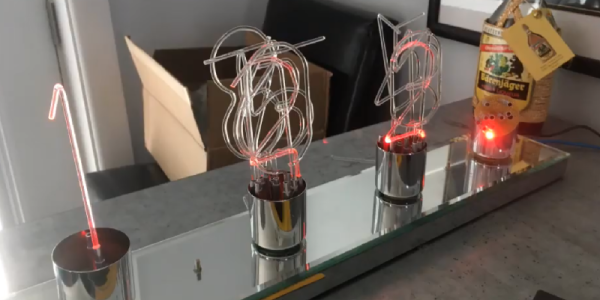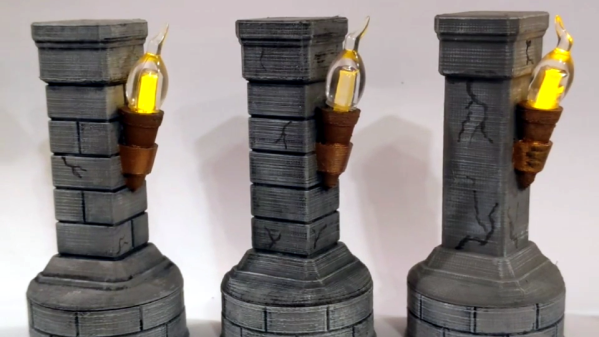
[ROBAGON] makes miniature, 3D-printable gaming terrain and features like these stone pillars with flickering torch. His model isn’t free to download (though it’s under $2 at the time of writing), but the part that impressed us was his clever way of using electric tea lights to create a flickering torch effect without needing any soldering or wiring whatsoever.
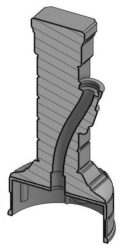
His solution was to make the base of the pillar large enough to fit an electric tea light, which uses a flickering LED to simulate a candle flame. The molded plastic “flame” is removed from the tea light and placed in the torch sconce, while the tea light itself goes into the base. A short segment of clear acrylic rod is used as a light pipe, running from the tea light’s LED to the base of the torch.
It’s a simple, effective, and economical solution that doesn’t require running or soldering a single wire and you can see it work in the brief video embedded below. Now all that’s missing for those Dungeons & Dragons sessions is this custom calculator.
Continue reading “Mini Flickering Torch Effect Uses Neither Wires Nor Solder”