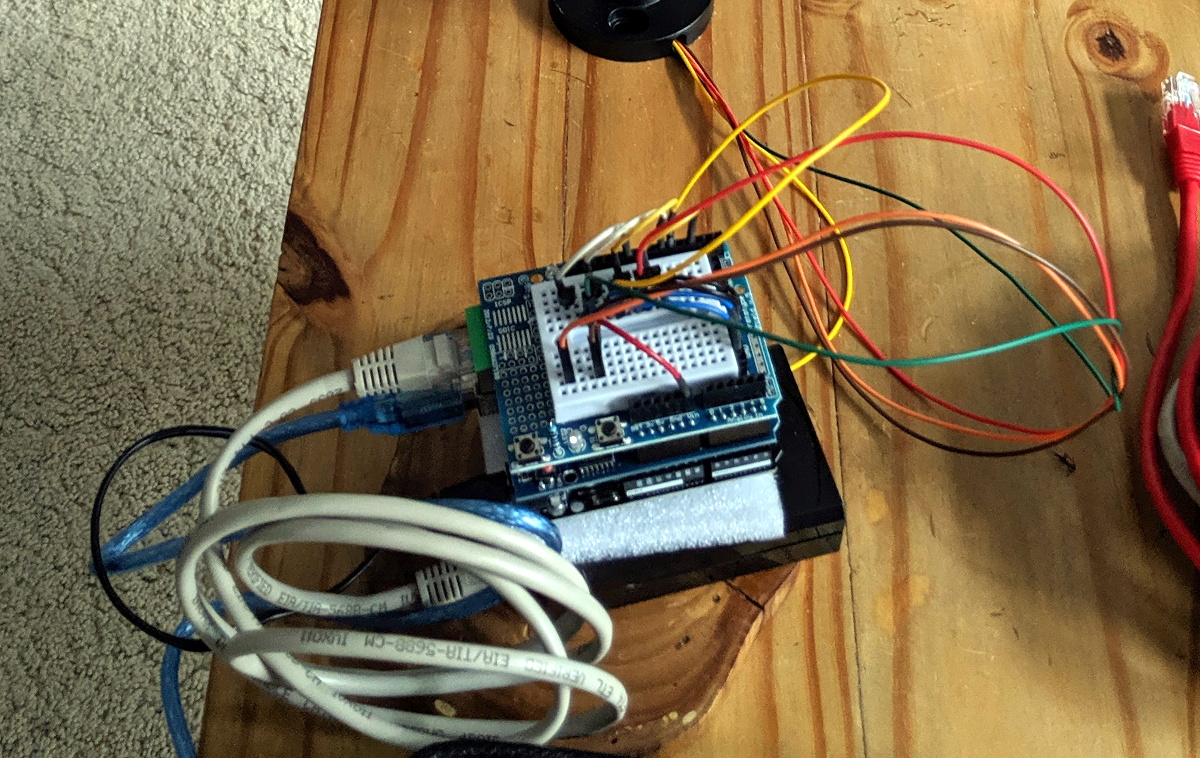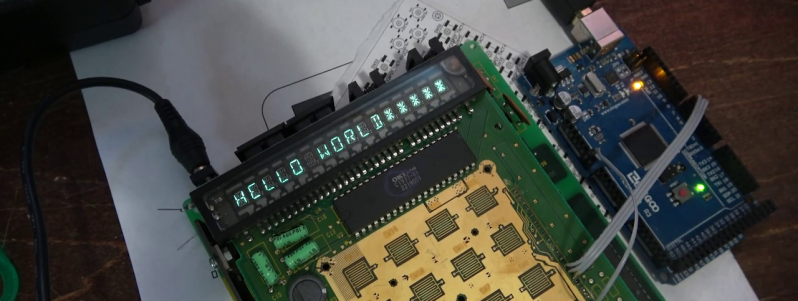
In theory, you really don’t need much to work with electronics. A scope ought to do everything. However, for special purposes, it is handy to have meters, logic analyzers, and other special-purpose instruments. If you work on motion systems like 3D printers and CNC machines, you ought to have a way to look at stepper motors. You don’t? [Zapta] has a great Simple Stepper Motor Analyzer and [Teaching Tech] has a great video (see below) that shows some of the great things it can do.
What can it do? It analyzes the motor in place and can visualize what’s happening during stepping, microstepping, and other operating modes. Connecting the instrument is easy since you just use a four-pin pass-through connector.
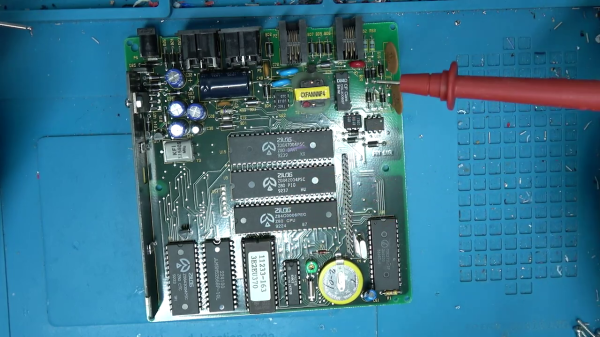
There is a gotcha lurking in wait for hackers who look at a piece of equipment, see a port labeled “Serial / RS-232”, and start to get ideas. The issue is the fact that the older the equipment, the more likely it is to be a bit old-fashioned about how it expects to speak RS-232. Vintage electronics may expect the serial data to be at bipolar voltage levels that are higher than what the typical microcontroller is used to slinging, and that was the situation [g3gg0] faced with some vintage benchtop equipment. Rather than deal with cables and wired adapters, [g3gg0] decided to design a wireless adapter with WiFi and Bluetooth on one end, and true RS-232 on the other.
The adapter features an ESP32 and is attached to a DB-9 plug, so it’s nice and small. It uses the ST3232 chip to communicate at 3 V logic levels on the microcontroller side, supports bipolar logic up to +/-13 V on the vintage hardware side, and a rudimentary web interface allows setting hardware parameters like baud rate. The nice thing about the ST3232 transceiver is that it is not only small, but can work from a 3 V supply with only four 0.1 uF capacitors needed for the internal charge pumps.
As for actually using the adapter, [g3gg0] says that the adapter’s serial port is exposed over TCP on port 23 (Telnet) which is supported by some programs and hardware. Alternately, one can connect an ESP32 to one’s computer over USB, and run firmware that bridges any serial data directly to the adapter on the other end.
Design files including schematic, bill of materials, and PCB design are shared online, and you can see a brief tour of the adapter in the video, embedded below.
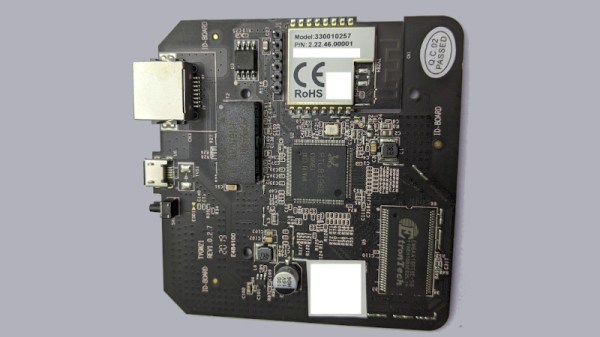
The first time [konbaasiang] ordered some ceiling LED lights from Tuya, he was pleased to find they contained an ESP-12F that could easily be flashed with a different firmware. So when he ordered 30 more of them at a cost of nearly $900 USD, you can understand his frustration to find that the popular WiFi-enabled microcontroller had been swapped out for a pin-compatible clone that Tuya developed called the WB3L.
Some people would have just chalked this one up to bad luck and used the Tuya-supplied software to control their new lights, but not [konbaasiang]. Since the new chip was outwardly identical to the ESP8266, he decided to take the nuclear option and replace them with the genuine article. With a comfortable spot to work from and a nice microscope, he started on his desoldering journey.
Now it would have been nice if he could have just dropped in a real ESP-12F and called it a day, but naturally, it ended up being a bit more complex than that. The WB3L apparently doesn’t need external pull up and pull down resistors, but [konbaasiang] needed them for the swap to work. He could have come up with some kind of custom adapter PCB, but to keep things simple he decided to run a pair of through hole resistors across the top of the ESP-12F for GPIO 1/2, and use a gingerly placed SMD resistor to hold down GPIO 15.
Looking for a hands-free way to page through sheet music on an iPad, [The_Larch] came up with this simple Bluetooth input device based on the ESP32. The microcontroller just needed to have two switches wired into the GPIO pins, in this case the same heavy-duty plungers you’d find on a guitar pedal, and a USB bulkhead pass-through to provide power. Thanks to the excellent ESP32-BLE-Keyboard library, it only took a few lines of code to fire off the appropriate key strokes when the left or right button was pressed.
While undeniably a simple project from an electronics standpoint, the wooden enclosure [The_Larch] built is an interesting change of pace from the 3D printed fare we normally see around these parts. It started life as strips of oak reclaimed from an old kitchen table, which were laminated together to make a solid block. A large spade bit was then used to bore into the block to make a void for the electronics, and a second flat piece of oak was fashioned into a front panel.
Machine learning (ML) typically conjures up ideas of fancy code requiring oodles of storage and tons of processing power. However, there are some ML models that, once trained, can readily be run on much more spartan hardware – even a microcontroller! The RP2040, star of the Raspberry Pi Pico, is one such chip up to the task, and [Arducam] have announced a board aiming to employ it to those ends – the Pico4ML.
The board goes heavy on the hardware, equipping the RP2040 with plenty of tools useful for machine learning tasks. There’s a QVGA camera on board, as well as a tiny 0.96″ TFT display. The camera feed can even be streamed live to the screen if so desired. There’s also a microphone to capture audio and an IMU, already baked into the board. This puts object, speech, and gesture recognition well within the purview of the Pico4ML.
Running ML models on a board like the Pico4ML isn’t about robust high performance situations. Instead, it’s intended for applications where low power and portability are key. If you’ve got some ideas on what the Pico4ML could do and do well, sound off in the comments. We’d probably hook it up to a network so we could have it automatically place an order when we yell out for pizza. We’ve covered machine learning on microcontrollers before, too – with a great Remoticon talk on how to get started!
There’s plenty to love about antiques, from cars, furniture, to art. While it might be a little bit of survivorship bias, it’s easy to appreciate these older things for superior quality materials, craftsmanship, or even simplicity. They are missing out on all of our modern technology, though, so performing “restomods” on classics is a popular activity nowadays. This antique map of Paris, for example, is made of a beautiful hardwood but has been enhanced by some modern amenities as well.
At first the creator of this project, [Marc], just wanted to give it some ambient lighting, but it eventually progressed over the course of two years to have a series of Neopixels hidden behind it that illuminate according to the current sun and moon positions. The Neopixels get their instructions from an ESP8266 which calculates these positions using code [Marc] wrote himself based on the current date. Due to the limitations of the ESP8266 it’s not particularly precise, but it gets the job done to great effect.
To improve on the accuracy, [Marc] notes that an ESP32 could be used instead, but we can give the ESP8266 a pass for now since the whole project is an excellent art installation even if it is slightly off on its calculations. If you need higher accuracy for tracking celestial objects, you can always grab a Raspberry Pi too.
We’ve seen a number of open source smart watches over the years, and while they’ve certainly been impressive from a technical standpoint, they often leave something to be desired in terms of fit and finish. Exposed PCBs and monochromatic OLED displays might be fine for a trip to the hackerspace, but it wouldn’t be our first choice for date night attire.
Enter the Open-SmartWatch from [pauls_3d_things]. This ESP32 powered watch packs a gorgeous circular 240×240 TFT display, DS323M RTC, BMA400 three-axis accelerometer, and a 450 mAh battery inside of a 3D printed enclosure that can be produced on your average desktop machine. WiFi and Bluetooth connectivity are a given with the ESP32, but there’s also an enhanced edition of the PCB that adds another 4 MB of RAM, a micro SD slot, and a Quectel L96 GPS receiver.
The GPS edition of the PCB
As it’s an open source project you’re free to download the PCB design files and get the board produced on your own, but [pauls_3d_things] has actually partnered with LILYGO to do a run of the Open-SmartWatch electronics which you can pick up on AliExpress right now for just $24 USD. You’ll still need to order the battery separately and 3D print your own case, but it still seems like a pretty sweet deal to us.
On the software front, things are pretty basic right now. The watch can update the time from NTP using a pre-configured WiFi network, and there’s a Bluetooth media controller and stopwatch included. Of course, as more people get the hardware in their hands (or on their wrists, as the case may be), we’ll likely start seeing more capabilities added to the core OS.
While getting our own code running on commercially produced smartwatches holds a lot of promise, the Open-SmartWatch is arguably the best of both worlds. The partnership with LILYGO brings professional fabrication to the open hardware project, and the GPLv3 licensed firmware is ripe for hacking. We’re very excited to see where the community takes this project, and fully expect to start seeing these watches out in the wild once we can have proper cons again.