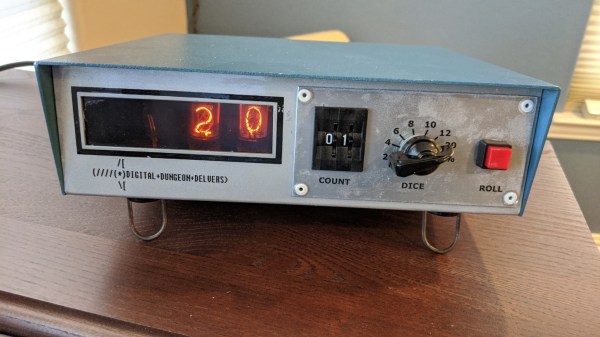
For the casual Monopoly or Risk player, using plain six-sided dice is probably fine. For other games you may need dice with much more than six sides, and if you really want to go overboard you can do what [John] did and build electronic dice with a random number generator if you really need to remove the pesky practice of rolling physical dice during your games of chance.
The “digital dice” he built are based on a multimeter from 1975 which has some hardware in it that was worth preserving, including a high quality set of nixie tubes. Nixies can be a little hard to come by these days, but are interesting pieces of hardware in their own right. [John] added some modern hardware to it as well, including an AVR microcontroller that handles the (pseudo) random number generation. A hardware switch tells the microcontroller how many sides the “die” to be emulated will need, and then a button generates the result of the roll.
This is a pretty great use for an old piece of hardware which would otherwise be obsolete by now. [John] considers this a “Resto-Mod” and the finish and quality of the build almost makes it look all original. It’s certainly a conversation piece at the D&D sessions he frequents.
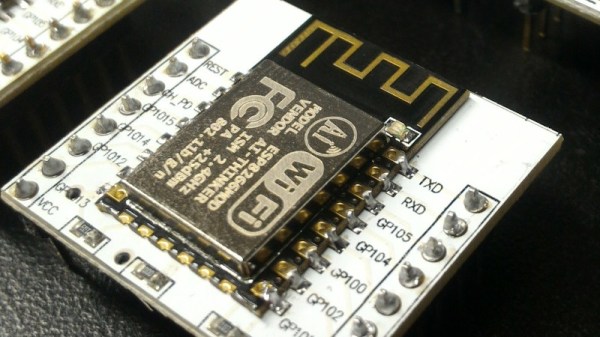
There are times when a sensor is required that does its job without the need for human attention over a long period, and for those applications a minimal power drain is a must. [Dave Davenport] had an EPS8266-based moisture sensor, and became disappointed in having to replace its AA batteries every few months. With an 18650 Li-ion cell and a bunch of power-saving tricks that time has been extended so far to over a year and still going, so he’s written a blog post detailing how he did it.
Some of his techniques such as turning off the sensor or using a better LDO regulator than the stock Wemos one are straightforward. Others though are unexpected, such as using the memory associated with the on-board RTC to store the WiFi connection info and channel number during sleep. The normal ESP8266 connection sequence involves a network scan, by hanging onto what it found last time the extra time and thus power expended by it can be avoided. Similarly switching from a DHCP lease to a fixed IP address cuts the time the device waits for a lease and thus the time it has to stay awake.
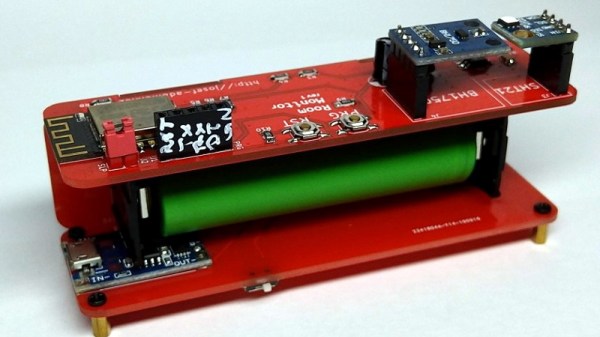
The ability to get professionally manufactured PCBs, at least small ones, for dirt cheap has had a huge impact on the sort of projects we see around these parts. It’s getting to the point where experimenting with PCB enclosures is not only a way to make your next project stand out, but an economical choice.
Which is how this ESP8266 sensor gadget from [Josef Adamčík] got its unique “folded over” look. The top panel is where the microcontroller and headers for various sensors live, the bottom panel is home to the TP4056 USB charging module, and the center panel provides mechanical support as well as holds the single 18650 cell. Rather than close the whole thing up with a fourth panel, he decided to leave it open so the battery can easily be removed. Plus, of course, it looks cooler this way.
Could [Josef] have fit all his electronics on a single 100 x 100 PCB and then put the whole thing into a 3D printed enclosure? Well, sure. But that’s been done to death at this point, and besides, he was looking for an excuse to get more comfortable doing PCB design. We think it also makes for a considerably more visual appealing final product than simply taking the “normal” way out.
Currently [Josef] has an SHT21 humidity/temperature sensor and a BH1750 light sensor slotted into the headers on the top side of the device, but they could just as easily be swapped out with something else if you wanted to do something a bit more exciting. We notice that homebrew air quality monitors are becoming increasingly popular.
Remember the WOPR from WarGames? The fictional supercomputer that went toe-to-toe with Matthew Broderick and his acoustic coupler was like a love letter to the blinkenlight mainframes of yesteryear, and every hacker of a certain age has secretly yearned for their own scaled down model of it. Well…that’s not what this project is.
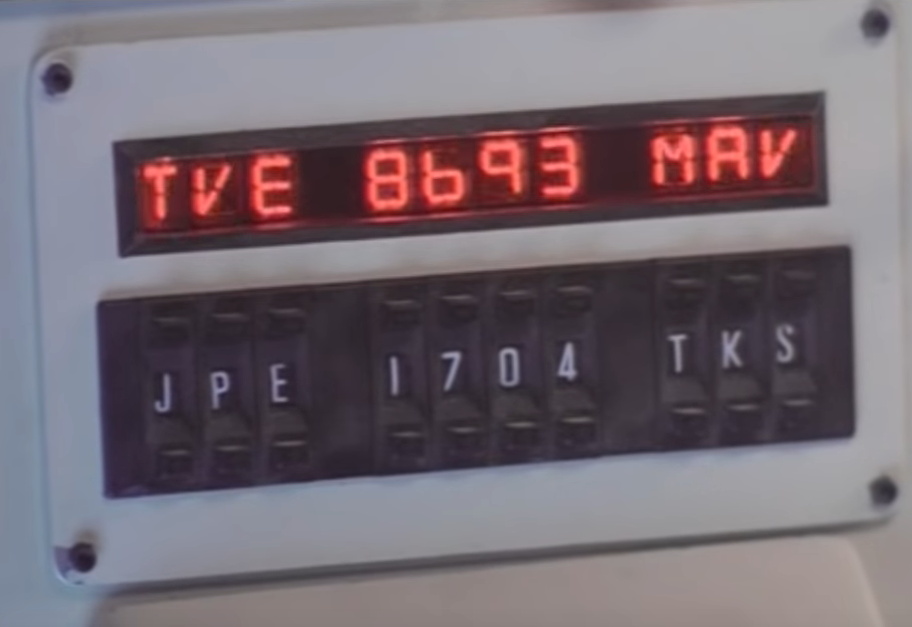
The [Unexpected Maker] is as much a WarGames fan as any of us, but he was more interested in recreating the red alphanumeric displays that ticked along as the WOPR was trying to brute force missile launch codes. These displays, complete with their thoroughly 1980s “computer” sound effects, were used to ratchet up the tension by showing how close the supercomputer was to kicking off World War III.
The display as it appeared in the film.
Of course, most us don’t have a missile silo to install his recreated display in. So when it’s not running through one of the randomized launch code decoding sequences, the display doubles as an NTP synchronized clock. With the retro fourteen segment LEDs glowing behind the smoked acrylic front panel, we think the clock itself is pretty slick even without the movie references.
Beyond the aforementioned LEDs, [Unexpected Maker] is using a ESP32 development board of his own design called the TinyPICO. An associated audio “Shield” with an integrated buzzer provides the appropriate bleeps and bloops as the display goes through the motions. Everything is held inside of an understated 3D printed enclosure that would look great on the wall or a desk.
Once you’ve got your launch code busting LED clock going in the corner, and your illuimated DEFCON display mounted on the wall, you’ll be well on the way to completing the WarGames playset we’ve been dreaming of since 1983. The only way to lose is to not play the game! (Or something like that…)
Python is often touted as a great language for beginner coders to learn. Until recently, however, it simply wasn’t a viable choice in the embedded space. That’s begun to change with projects like CircuitPython, and now it’s available on the Teensy 4.0!
This milestone is thanks in part to [arturo182], who did the ground work of getting CircuitPython to run on the iMX RT series of microcontrollers. This was built upon by [tannewt], who is the lead in charge of the CircuitPython project.
It’s an exciting development, which brings easy Python development to one of the more powerful embedded development platforms on the market. We look forward to seeing many more projects take advantage of the power of the Teensy 4.0 moving forward. If you’re eager to see what can be done with CircuitPython, be sure to check out projects we’ve featured before. Video after the break.
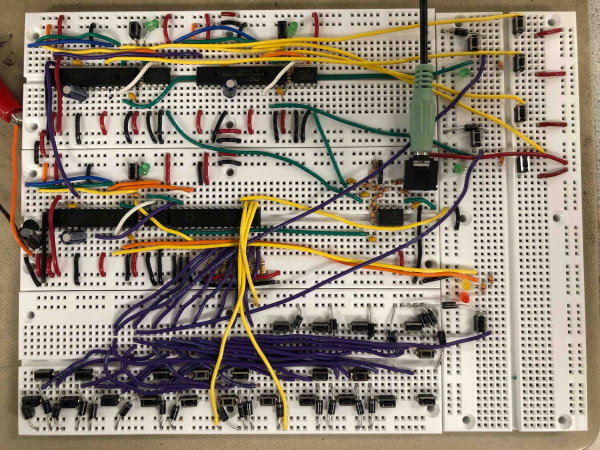
For his final project in [Bruce Land]’s microcontroller design class, [Mark] set out to make a decently-sized synth that sounds good. We think you’ll agree that he succeeded in spades. Don’t let those tiny buttons fool you, because it doesn’t sound like a toy.
Why does it sound so good? One of the reasons is that the instrument samples are made using additive synthesis, which essentially stacks harmonic overtones on top the fundamental frequency of each note. This allows synthesizers to better mimic the timbre of natural, acoustic sounds. For each note [Mark] plays, you’re hearing a blend of four frequencies constructed from lookup tables. These frequencies are shaped by an envelope function that improves the sound even further.
Between the sound and the features, this is quite an impressive synth. It can play polyphonically in piano, organ, or plucked string mode through a range of octaves. A PIC32 runs the synthesizer itself, and a pair of helper PIC32s can be used to record songs to be played over. So [Mark] could record point and counterpoint separately and play them back together, or use the helper PICs to fine-tune his three-part harmony. We’ve got this thing plugged in and waiting for you after the break.
Embarrassing confession time: I never learned my multiplication tables in grade school. Sure, I had the easy tables like the twos and the fives down, but if asked what 4 x 7 or 8 x 6 was, I’d draw a blank. As you can imagine, that made me a less than stellar math student, and I was especially handicapped on time-limited tests with lots of long multiplication problems. The standard algorithm is much faster when you’ve committed those tables to memory, as I discovered to my great woe.
I was reminded of this painful memory as I watched Charles Lohr’s 2019 Supercon talk on the usefulness and flexibility of lookup tables, or LUTs, and their ability to ease or even completely avoid computationally intensive operations. Of course most LUT implementations address problems somewhat more complex than multiplication tables, but they don’t have to. As Charles points out, even the tables of sines and logarithms that used to populate page after page in reference books have been ported to silicon, where looking up the correct answer based on user input is far easier than deriving the answer computationally.
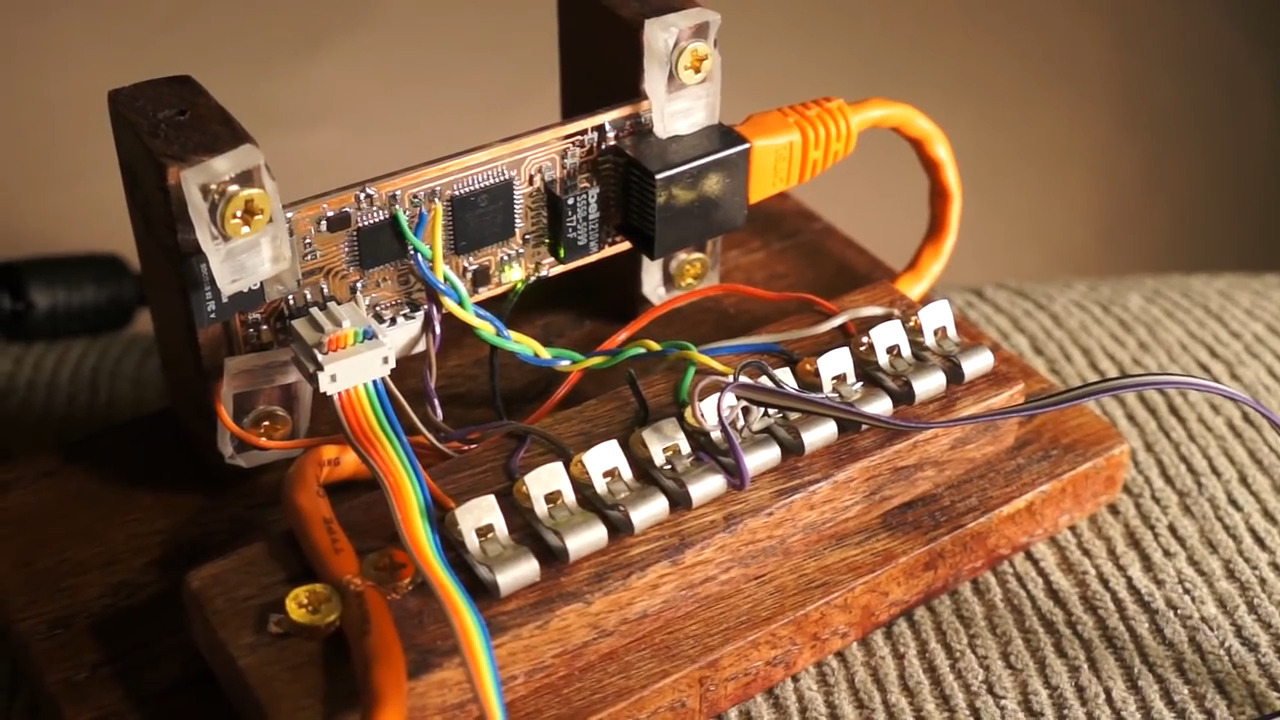
Yes, this is a Minecraft server all thanks to LUTs.
One of the most interesting examples of how LUTs can achieve the seemingly impossible lies in an old project where Charles attempted to build a Minecraft server on an ATMega168. Sending chunks (the data representations of a portion of the game world) to clients is the essential job of a Minecraft server, and on normal machines that involves using data compression. Rather than trying to implement zlib on an 8-bit microcontroller, he turned to a LUT that just feeds the raw bytes to the client, without the server having the slightest idea what any of it means. A similar technique is used by some power inverters, which synthesize sine wave output by feeding one full cycle of values to a DAC from a byte array. It’s brute force, but it works.
Another fascinating and unexpected realization is that LUTs don’t necessarily have to be software. Some can be implemented in completely mechanical systems. Charles used the example of cams on a shaft; in a car’s engine, these represent the code needed to open and close valves at the right time for each cylinder. More complicated examples are the cams and gears once found in fire control computers for naval guns, or the programming cards used for Jacquard looms. He even tips his hat to the Wintergatan marble machine, with its large programming drum and pegs acting as a hardware LUT.
I found Charles’ talk wide-ranging and fascinating. Originally I thought it would be an FPGA-heavy talk, but he didn’t actually get to the FPGA-specific stuff until the very end. That worked out fine, though — just hearing about all the cool problems a LUT can solve was worth the price of admission.
And for the curious, yes, I did eventually end up memorizing the multiplication tables. Oddly, it only clicked for me after I started playing with numbers and seeing their relationships using my first calculator, which ironically enough probably used LUTs to calculate results.