I2C To The Max With ATtiny

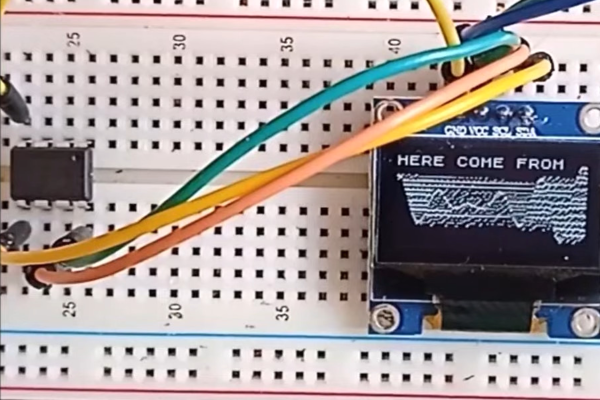
The Arduino is a powerful platform for interfacing with the real world, but it isn’t without limits. One of those hard limits, even for the Arduino MEGA, is a finite number of pins that the microcontroller can use to interface with the real world. If you’re looking to extend the platform’s reach in one of your own projects, though, there are a couple of options available. This project from [Bill] shows us one of those options by using the ATtiny85 to offload some of an Arduino’s tasks using I2C.

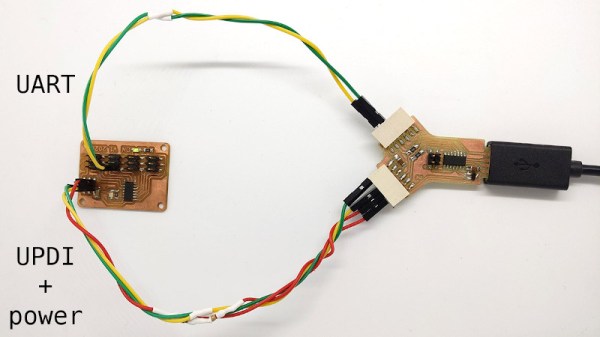
I2C has been around since the early 80s as a way for microcontrollers to communicate with each other using a minimum of hardware. All that is needed is to connect the I2C pins of the microcontrollers and provide each with power. This project uses an Arduino as the controller and an arbitrary number of smaller ATtiny85 microcontrollers as targets. Communicating with the smaller device allows the Arduino to focus on more processor-intensive tasks while giving the simpler tasks to the ATtiny. It also greatly simplifies wiring for projects that may be distributed across a distance. [Bill] also standardizes the build with a custom development board for the ATtiny that can also double as a shield for the Arduino, allowing him to easily expand and modify his projects without too much extra soldering.

Using I2C might not be the most novel of innovations, but making it easy to use is certainly a valuable tool to add to the toolbox when limited on GPIO or by other physical constraints. To that end, [Bill] also includes code for an example project that simplifies the setup of one of these devices on the software end as well. If you’re looking for some examples for what to do with I2C, take a look at this thermometer that communicates with I2C or this project which uses multiple sensors daisy-chained together.

Continue reading “I2C To The Max With ATtiny”

Improving An Already Phenomenal Star Trek Prop

When Star Trek: Voyager was in the development phase, concept art was created for a new style of tricorder to be used by the crew of the titular starship. But as it often the case with a younger sibling, the show ended up having to largely make do with the hand-me-down props from Star Trek: The Next Generation, which had recently finished its TV run.

Trek aficionado [Mangy_Dog] completed a jaw-dropping recreation of this unused tricorder design back in 2019, but unable to leave well enough alone, he’s recently completed a second version that truly raises the bar for fan replicas. It’s not hyperbole to say that the prop he’s created is of a far higher quality and fidelity than anything they would have had during the actual filming of the show.

Now you might be thinking that building the second version of the tricorder was easier than the first, and indeed, [Mangy_Dog] learned some important lessons from the earlier build. But that’s not to say that construction of this new replica, which was actually done on commission, went off without a hitch. In fact, he almost immediately ran into a serious problem. When he attempted to order a new display from Nextion, he found the quality had dropped significantly from the ones he’d used previously. The viewing angles and color reproduction were abysmal, so he was forced to go back to the drawing board and not only find a new display, but a completely new graphics chip to talk to it. Continue reading “Improving An Already Phenomenal Star Trek Prop”

Pico Does PID

If you wanted to, say, control a temperature you might think you could just turn on a heater until you reach the desired temperature and then turn the heater off. That sort of works, but it is suboptimal — you’ll tend to overshoot the goal and then as the system cools down, you’ll have to catch up and the result is often a system that oscillates around the desired value but never really settles on the correct temperature. To solve that, you can use a PID — proportional integral derivative — loop and that’s what [veebch] has done with a Rasberry Pi PICO and Micropython.

The idea is to control an output signal based on the amount of difference between the actual temperature and the desired temperature (the proportional error). In addition, the amount is adjusted based on the long term error (integral) and any short term change (the derivative). You can also see a video about using the control loop to make a better sous vide burger, below. Continue reading “Pico Does PID”

Digital Rain Animation Crammed Into Pi Pico

With a new Matrix movie now in cinemas, we’ve all been reminded of those screensavers that were just the coolest thing ever when the original film dropped in 1999. [en0b] decided to recreate the classic “digital rain” effect on the Raspberry Pi Pico, using up all the little microcontroller’s storage in the process.

Rather than rely on existing graphics libraries, [en0b] set about using a high-quality GIF for the animation. The original file was 8 MB, which was far too big to fit on the Pico. After some finagling in an image editor and with the help of a custom Python script, however, [en0b] managed to fit the 127-frame animation at 240 x 135 resolution into the 2 MB Flash onboard the chip. With the microcontroller hooked up to the 1.14″ IPS “Pico Display” from Pimoroni, the final looks great and faithfully recreates the aesthetic seen in the film.

[en0b]’s technique could reliably be used for displaying any GIF that you can cut down to 14 to 16 colors without losing too much quality. It’s not the world’s highest-end graphics format, but it does the job for little animations like these.

We’ve seen similar builds before too, using more heavy-duty hardware to build a magic 8-ball in much the same way. Meanwhile, if you’ve got your own neat little GIF hacks or Pico projects, don’t hesitate to send them in!

Electronic Drum Toy Built From Scratch

Drum kits used to be key to any serious band, however, these days, much of our music is created on computer or using a drum machine instead. [spanceac] has built a simple example of the latter, using a microcontroller to build a basic sample-based drum toy.

The brains of the operation is the STM32F100VET6B, which comes complete with a 12-bit DAC for outputting sound. It’s also got a healthy 512 KB of flash, enabling it to store the drum samples onboard without the need for extra parts. Samples are stored at a sample rate of 22,050 Hz in 16-bit resolution – decent quality for a tiny little build, even if the DAC chops that back down to 12-bits later.

[spanceac] was sure to code proper mixing into the drum machine, so that triggering a second sample doesn’t stop the first one playing. With a kick, snare, two toms, and crash and ride samples onboard, there’s plenty to get a solid beat going on the kit.  It’s all built up on a small PCB with tactile buttons to activate each sound.

The demo video shows the kit performing ably; it’s not clear if there’s an issue with latency on the samples or that’s just from the difficulty of [spanceac] playing one-handed. If the former, likely some code tweaks or simply trimming silence at the start of samples would be all that was needed. Overall, it’s a neat little groovebox, and the kind of thing that’s great fun to use when jamming with other musicians. Video after the break.

Continue reading “Electronic Drum Toy Built From Scratch”

Raspberry Pi Pico Gets A Tiny Keyboard On Its Back

With hackers and makers building custom computing devices that don’t necessarily follow conventional design paradigms, there’s been a growing demand for smaller and smaller keyboards. Many of the cyberdecks we’ve seen over the last couple of years have used so-called 60% or even 40% keyboards, and there’s been a trend towards repurposing BlackBerry keyboards for wearables and other pocket-sized gadgets. But what if you need something even smaller?

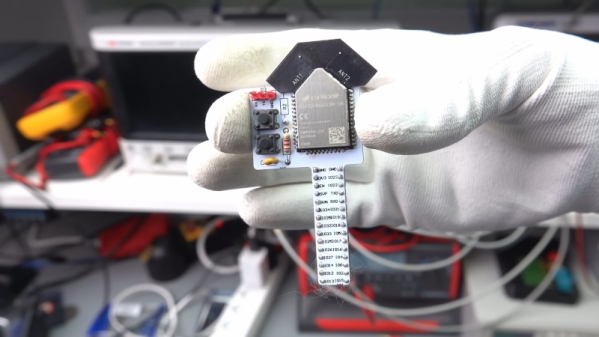
Enter this incredibly diminutive keyboard created by [TEC.IST]. With 59 keys crammed into an area scarcely larger than three US pennies, it may well be the smallest keyboard ever made. The PCB has been designed to mount directly onto the back of a Raspberry Pi Pico, which is running some CircuitPython code to read the switch matrix and act as a standard USB Human Interface Device. The board design files as well as the source code for the Pico have been released on the project’s Hackaday.io page, giving you everything you need to spin up your own teeny tiny input device.

The Pi Pico’s castellated pads make attaching the PCB a snap.

Of course, you probably won’t be breaking any speed records when banging out text on this thing. We know from past Hackaday badges that an array of microswitches make for a functional, if somewhat unpleasant, method of text entry.

Continue reading “Raspberry Pi Pico Gets A Tiny Keyboard On Its Back”

Blink An LED On A PIC32 With Rust, Easily

Got a PIC32 microcontroller and a healthy curiousity about the Rust programming language and its low-level capabilities, but unsure how to squash the two of them together with a minimum of hassle? If that’s the case, then today is your lucky day!

[Harry Gill] has you covered with his primer on programming a PIC32 with Rust, which will have you blinking an LED in no time. [Harry] admits that when he got started, his microcontroller programming skills were a bit rusty, so don’t let yourself think setting this up is beyond your abilities. If you have a working knowledge of the basics of microcontroller programming, you’ll be fine. [Harry] had to jump through a few hoops to get the right tools working, but thoughtfully documented the necessary steps, and provides a bare minimum hardware list.

Unsure what Rust is or what it offers? Check out the basics here, and see if it’s something that interests you. If you want to look even deeper, check out the kind of work that goes into writing a bare metal kernel in Rust.