Here’s How To Sniff Out An LCD Protocol, But How Do You Look Up The Controller?

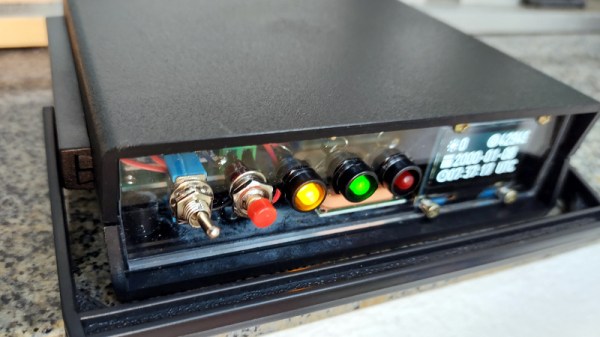
Nothing feels better than getting a salvaged component to do your bidding. But in the land of electronic displays, the process can quickly become a quagmire. For more complex displays, the secret incantation necessary just to get the things to turn on can be a non-starter. Today’s exercise targets a much simpler character display and has the added benefit of being able to sniff the data from a functioning radio unit.

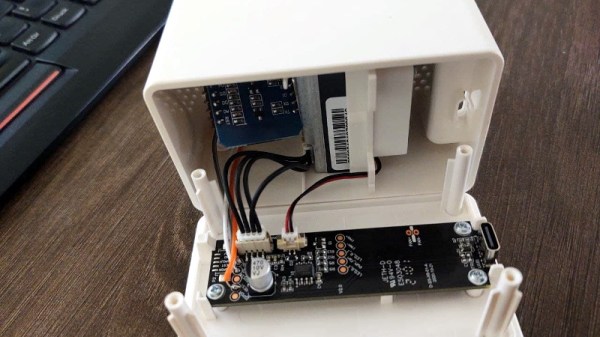
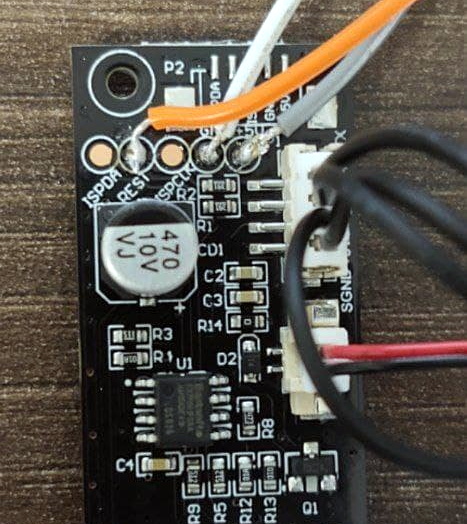
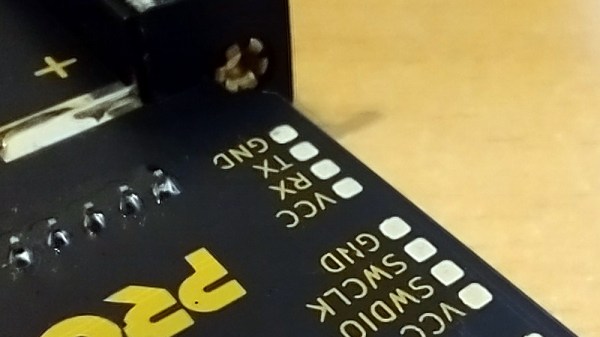
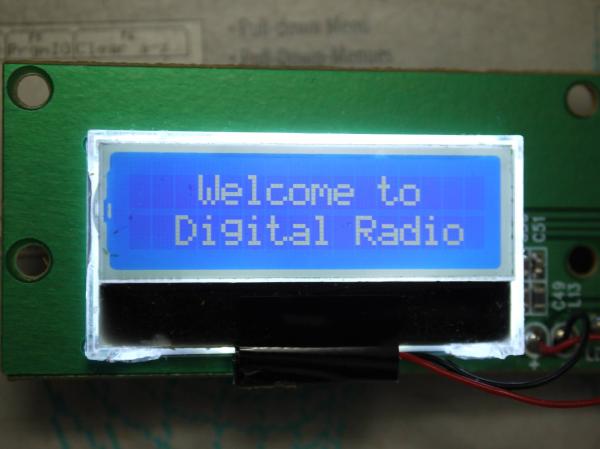
When [Amen] upgraded his DAB radio he eyed the 16×2 character display for salvage. With three traces between the display and the controller it didn’t take long to trace out the two data lines using an oscilloscope. Turing on the scope’s decoding function verified his hunch that it was using I2C, and gave him plenty of data to work from. This included a device address, initialization string, and that each character was drawn on screen using two bytes on the data bus.

He says that some searching turned up the most likely hardware: a Winstar WO1602I-TFH- AT derived from an ST7032 controller. What we’re wondering is if there is a good resource for searching this kind of info? Our go-to is the LCD display and controller reference we covered here back in March. It’s a great resource, but turns up bupkis on this particular display. Are we relegated to using DuckDuckGo for initialization strings and hoping someone’s published a driver or a logic dump of these parts in the past, or is there a better way to go about this? Let us know in the comments!

Portable GPS Time Server Powered By The ESP8266

Most Hackaday readers will be familiar with the idea of a network time server; a magical box nestled away in some distant data center that runs the Network Time Protocol (NTP) and allows us to conveniently synchronize the clocks in our computers and gadgets. Particularly eager clock watchers can actually rig up their own NTP server for their personal use, and if you’re a true time aficionado like [Cristiano Monteiro], you might be interested in the portable GPS-controlled time server he recently put together.

The heart of the build is a NEO-6M GPS module which features a dedicated pulse per second (PPS) pin. The ESP8266 combines the timestamp from the GPS messages and the PPS signal to synchronize itself with the atomic clock aboard the orbiting satellite. To prevent the system from drifting too far out of sync when it doesn’t have a lock on the GPS signal, [Cristiano] is using a DS3231 I2C real-time clock module that features a high accuracy temperature-compensated crystal oscillator (TCXO).

Continue reading “Portable GPS Time Server Powered By The ESP8266”

ESP8266 Adds WiFi Logging To IKEA’s Air Quality Sensor

Introduced back in June, the IKEA VINDRIKTNING is a $12 USD sensor that uses colored LEDs to indicate the relative air quality in your home depending on how many particles it sucks up. Looking to improve on this simplistic interface, [Sören Beye] tacked an ESP8266 to the board so it can broadcast sensor readings out over MQTT.

Just three wires link the ESP8266 to the PCB.

While some of us would have been tempted to gut the VINDRIKTNING and attach its particle sensor directly to the ESP8266, the approach [Sören] has used is actually quite elegant. Rather than replacing IKEA’s electronics, the microcontroller is simply listening in on the UART communications between the sensor and the original controller. This not only preserves the stock functionality of the VINDRIKTNING, but simplifies the code as the ESP doesn’t need to do nearly as much.

All you need to do if you want to perform this modification is solder a couple wires to convenient test pads on the VINDRIKTNING board, then flash the firmware (or write your own version), and you’re good to go. There’s plenty of room inside the case for the ESP8266, though you may want to tape it down so it doesn’t impact air flow.

While not required, [Sören] also recommends making a small modification to the VINDRIKTNING which makes it a bit quieter. Apparently the 5 V fan inside the sensor is occasionally revved up by the original controller, rather than kept at a continuous level that you can mentally tune out. But by attaching the sensor’s fan to the ESP8266’s 3.3 V pin, it will run continuously at a lower speed.

We’ve seen custom firmware for IKEA products before, but this approach, which keeps the device’s functionality intact regardless of what’s been flashed to the secondary microcontroller, is particularly appealing for those of us who can’t seem to keep the gremlins out of our code.

[Thanks to nexgensri for the tip.]

The Newlib Embedded C Standard Library And How To Use It

When writing code for a new hardware platform, the last thing you want to do is bother with the minutiae of I/O routines, string handling and other similarly tedious details that have nothing to do with the actual project. On bigger systems, this is where the C standard library would traditionally come into play.

For small embedded platforms like microcontrollers, resources are often tight enough that a full-blown stdlib won’t fit, which is why Newlib exists: to bring the portability benefits of a standard library to microcontrollers.

Whether you use C, C++ or MicroPython to program an MCU, Newlib is likely there under the hood. Yet how exactly does it integrate with the hardware, and how are system calls (syscalls) for e.g. file and input/output handling implemented? Continue reading “The Newlib Embedded C Standard Library And How To Use It”

PNG Image Decoding Library Does It With Minimal RAM

Want to display a PNG file on a display attached to an Arduino or other microcontroller board? You’ll want to look at [Larry Bank]’s PNGdec, the Arduino-friendly PNG decoder library which makes it much easier to work with PNG files on your chosen microcontroller.

The PNG image format supports useful features like lossless compression, and was generally developed as an improved (and non-patented) alternative to GIF files. So far so great, but it turns out that decoding PNG files on a microcontroller is a challenge due to the limited amount of memory compared to desktop machines. When the PNG specification was developed in the 90s, computers easily had megabytes of memory to work with, but microcontrollers tend to have memory measured in kilobytes, and lack high-level memory management. [Larry]’s library addresses these issues.

PNGdec is self-contained and free from external dependencies, and also has some features to make converting pixel formats for different display types easy. It will run on any microcontroller that can spare at least 48 K of RAM, so if that sounds useful then check out the GitHub repository for code and examples.

We’ve seen [Larry]’s wonderful work before on optimizing GIF playback as well as rapid JPEG decoding, and these libraries have increasing relevance as hobbyists continue to see small LCD and OLED-based displays become ever more accessible and affordable.

[PNG logo: PNG Home Site]

Digital Audio For Microcontrollers Doesn’t Come Much Simpler Than A WART

Adding an audio channel to your microcontroller project can mean a pile of extra components and a ton of processing power, as a compressed stream must be retrieved and sent to a dedicated DAC. Or if you are [rdpoor], it can mean hooking up a low-pass filter to the UART that’s present on even the simplest of devices, and constructing a serial data stream that mimics PWM audio.

Sound on your microcontroller, it’s this simple!

WART is a Python script that converts a WAV file into a C formatted byte array that can be baked into your microcontroller code, and for which playback is as simple as streaming it to the UART. The example uses a Teensy and a transistor to drive a small speaker, we’re guessing that better quality might come with using a dedicated low-pass filter rather than relying on the speaker itself, but at least audio doesn’t come any simpler.

The code can be found in a GitHub repository and there’s a few recordings of the output in the files section Hackaday.io page, one is embedded below. It’s better than we might have expected given that the quality won’t be the best at the PWM data rate of even the fastest UART. But even if you won’t be incorporating it into your music system any time soon we can see it being a useful addition for such things as small warning sounds. Meanwhile if persuading serially driven speakers to talk is of interest, there’s always the venerable PC speaker.

Continue reading “Digital Audio For Microcontrollers Doesn’t Come Much Simpler Than A WART”

Motorized Camera Slider Gives Your Shots Style

We’ve all seen those smooth panning shots, which combined with some public domain beats, are a hallmark of the modern YouTube tech video. Recreating that style in your own productions is as easy as pointing your browser to Amazon and picking up a motorized camera slider, so long as you don’t mind parting with a few hundred bucks, anyway. But [Paweł Spychalski] had a better idea. He decided to build his own camera slider and make it an open source project so others could spin up their own versions.

His design uses many components that have become popular and affordable thanks to the desktop 3D printer explosion, such as 2020 aluminum extrusion, LM8UU linear bearings, an 8 mm lead screw, and a NEMA 17 stepper motor. In fact, if you’ve got a broken 3D printer that you don’t know what to do with, stripping it for parts would get you a long way towards completing the BOM for this project.

To control the slider, [Paweł] is using an ESP32 and TMC2209 “StepStick” driver connected to an OLED display and a few buttons. As designed, a smartphone connected to a simple web page hosted by the ESP32 is the primary method of controlling the camera, but the buttons and display on the slider itself gives you a physical backup should you need it.

If you need something a bit more advanced than a linear slider, we’ve seen some impressive DIY motion rigs that can spin the camera around the target and produce some very professional looking shots.

Continue reading “Motorized Camera Slider Gives Your Shots Style”