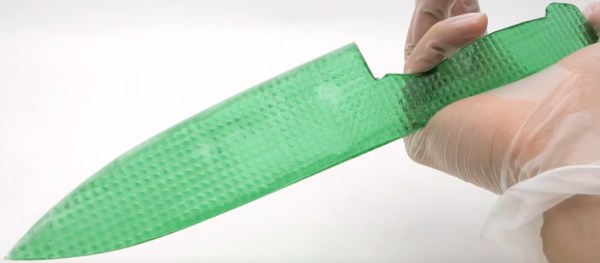
How do you feel about Jello? It’s alright tasting, but it’s much more about how jiggly it gets. Nobody — probably — would eat Jello if it was a hard candy. It would quickly become restricted to the bowl of strawberry candies that Grandma always seems to have. How do you feel about knives? We’re on Hackaday. Most everybody here has at least a couple in their toolbox. Some of them have more than a couple, including the whetstones to sharpen them. It’s safe to say they probably like the concept. Now, what if you could combine the two? Two favorites are always better than one. A Jello knife, while seemingly impossible, would be rather impressive, and [kiwami japan] does just that, as well as so much more.
He starts with a couple dozen adorable Jello snacks (Jellos?), and from the wiggliest of foundations, he builds a masterpiece. The first order of business is to eat a couple of the stragglers while he decides what to do with the rest. A bit of blue food coloring, some more gelatin, and the help of several cow shaped bowls and pitchers later, [kiwami japan] has melted the survivors down and gotten a flat sheet. Once sufficiently cooled, it makes a nice knife-shaped Jello blank.
Continue reading “Dust To Dust And Jello To Jello: The Journey Of A Very Strange Knife”
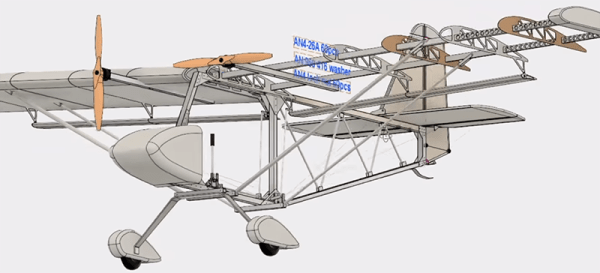
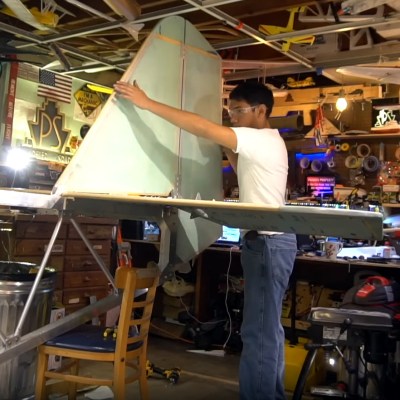 Now [Peter] is onto his next adventure. Compared to the previous plane, this has a more simplified, traditional construction. It’s a high wing monoplane with an aluminum frame. There are two motors again, although he’s still in the process of finding lower kV motors. This plane should also fly slower, longer, something you really want in an ultralight.