If you doubt the power of the Hackaday community, check this one out. Stalwart reader and tipster [starhawk] has pitched in to help a friend in need, someone he met through Hackaday.io. Seems this friend’s current living arrangements are somewhat on the cramped side, and while he’s in need of a PC, even a laptop would claim too much space.
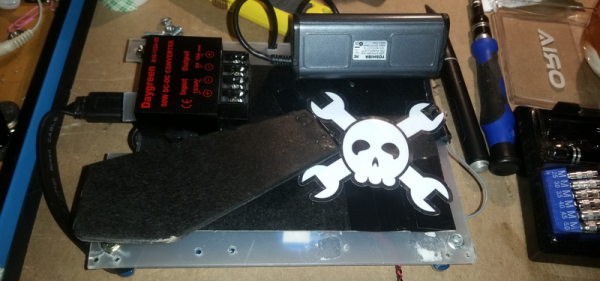
So with a quick trip to the store and a few items from the junk bin, [starhawk] whipped up an all-in-one PC the size of a tablet for his friend. As impressed as we are by the generosity, we’re more impressed by the quality of his junk bin. The heart of the compact machine is a motherboard from a Wintel CX-W8, scarcely larger than a Raspberry Pi model A. After the addition of a larger heatsink and fan, the board was attached via a sheet of plastic to the back of a 7-inch touchscreen, also a junk bin find. A cheap picture frame serves as the back of the all-in-one, complete with Jolly Wrencher, of course. Alas, the DC-DC converter was one of the only purchased items, bringing the cost for the build to all of $22, including the $15 for a wireless keyboard/touchpad on clearance from Walmart. After some initial power troubles, the fixes for which are described in this update, the machine was ready to ship.
Does this one seem familiar? It should — [starhawk] built a similar “laptop” for himself a while back when he was low on funds. Now it seems like he’s paying it forward, which we appreciate. For more details on how he pulled this all of, check out The Anytop, [starhawk’s] portable computer anyone can build. It was his 2017 Hackaday Prize entry!