Some folks just can’t leave well enough alone, and that often ends up being a good thing. Such is the case with this 3D-printed compressed air engine, which just keeps getting better.
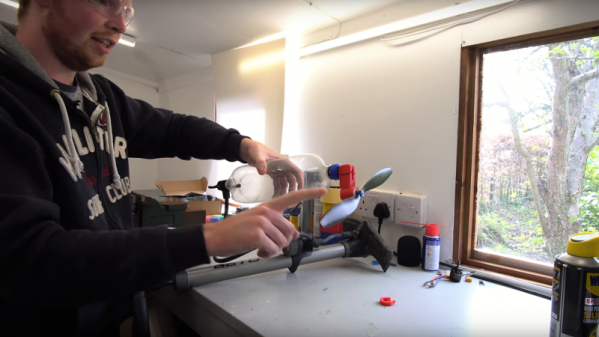
The design has changed a lot since we first covered [Tom Stanton]’s attempts at reviving the powerplant from the glory days of the Air Hogs line of toys, which he subsequently built a plane around. The engine was simple, with a ball valve that admitted air into the cylinder when a spring mounted to the top of the piston popped it out of the way. That spring has always bothered [Tom], though, compelling him to go back to the drawing board. He wanted to replace the ball valve with one actuated by a cam and pushrod. This would increase the complexity of the engine quite a bit, but with the benefit of eliminating the fail point of the spring. With a few iterations in the design, he was able to relocate the ball valve, add a cam to the crankshaft, and use a pushrod to open the valve. The new design works much better than the previous version, sounding more like a lawnmower than a 3D-printed engine should. Check out the design process and some tests in the video below.
And speaking of lawnmowers that run on compressed air…
Continue reading “Cams And Pushrods Improve 3D-Printed Compressed Air Engine”