When you think of simple synths, what components come to mind? All you really need to make one is an oscillator, an amplifier, and some kind of input such that you can play different notes. Our favorite go-to for churning out square waves is probably the 40106 IC, which has six inverting Schmitt triggers, and then usually a 386 to amplify the output.
But it’s possible to go even simpler than that, and school is in session with [Jule] giving the lesson. [Jule]’s little analog synth uses a single IC for both the oscillator and the amplifier — a TL072 op-amp. The rest is made of purely discrete components.
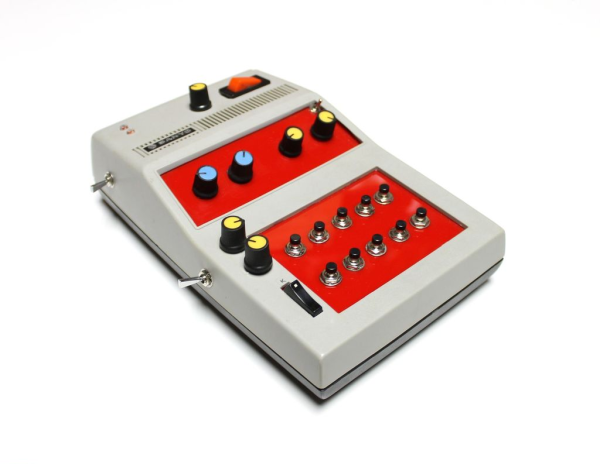
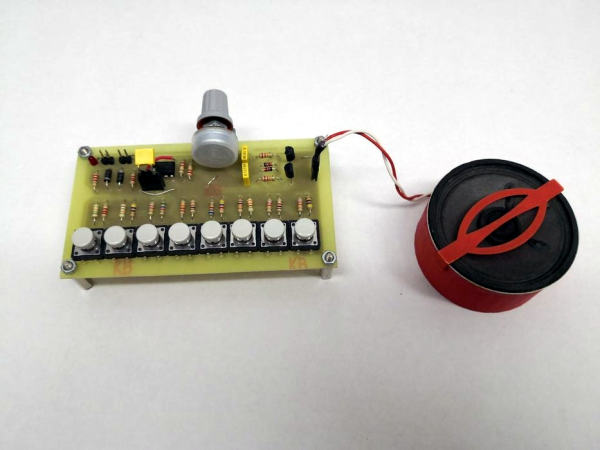
[Jule] says those momentary switches are sub-par, and will add a vibrato effect if properly wiggled while pressed. To us, the buttons looks pretty nice, and much easier to jam out with than the ones with 1/8″ diameter actuators. Plus, whenever you press multiple buttons, the additive resistance unlocks the synth’s inner R2D2 voice. We really see no downsides here.
By default, this is an eight-button synth tuned to C major. But there’s a surprise — you can plug different capacitors into a piece of header and change the octave on the fly. Check it out after the break.
Making pitch-correct frequencies requires weird resistor values, which we can usually satisfy with two resistors in series. But wait, what’s up with resistor values, anyway? And why do they have a color code?
Continue reading “One Chip Does It All In This MacGuyver Synth”